5
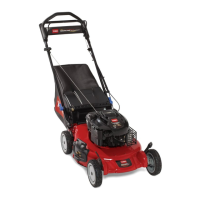
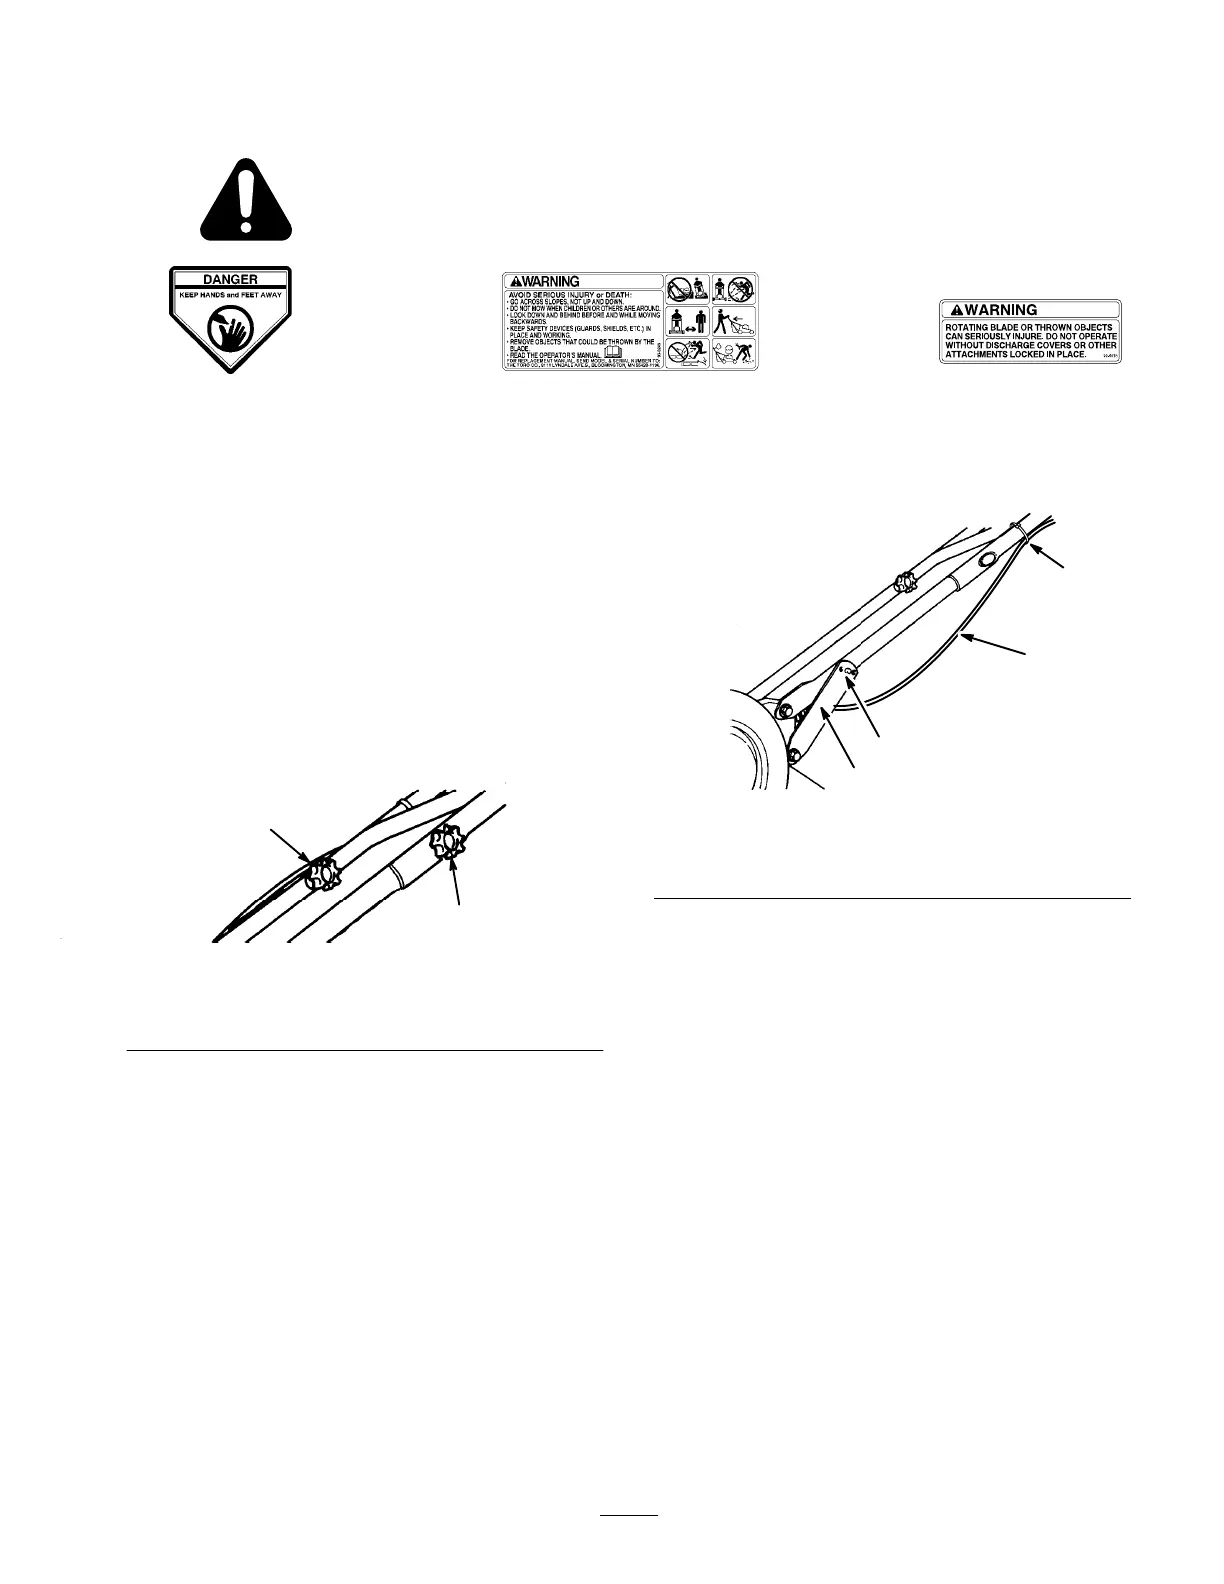
Safety
and Instruction Decals
Safety
decals and instructions are easily visible to the operator and are located near any
area of potential danger
. Replace any decal that is damaged or lost.
ON
MOWER HOUSING
(Part No. 43–8480)
ON MOWER HOUSING
(Part No. 93–0248)
ON MOWER HOUSING
(Part No. 99–6018)
Assembly
Assembling
the Mower
Hand
Push Model Only
1.
Align the upper and lower handles and remove the
packing filler from between the handles with a pliers.
2.
Remove the left knob and bolt then install the knob
and bolt on inside of the handle (Fig. 1).
311
2
1
Figure
1
1. Right
handle knob
2.
Left handle knob (before
moving it to the inside)
3. Tighten
both handle knobs.
4.
Move the handle support brackets slightly outward so
they will not be in the way when pivoting the handle
backward into the operating position (Fig. 2).
m–4271
4
1
2
3
Figure
2
1. Support
bracket
2.
Handle stud
3.
Control cable
4.
Cable tie
5. Pivot
the handle backward.
6.
Move the support brackets inward while positioning
the handle studs into center hole of the brackets
(Fig. 2).
Note:
If handle height is not satisfactory
, adjust it by
placing handle stud into a dif
ferent hole.
7.
If a support bracket does not fit tightly against the
handle, remove the bracket from the handle stud, bend
it inward, and attach it to handle stud.
8.
Secure the cable to the upper handle with a cable tie
(Fig. 2).
9.
Pull the starter rope through the rope guide on the
handle (Fig. 3).
 Loading...