13
7.
Fill the crankcase to the FULL line on the dipstick
with fresh oil. Refer to the Oil section, page 7, for
specifications.
8.
Check the oil level and install the dipstick.
9. W
ipe up any spilled oil.
Spark
Plug
Use
a Champion RJ19LM spark plug or equivalent. The
correct air gap is 0.030” (0.76 mm). Remove the plug
after every 25 operating hours and check its condition.
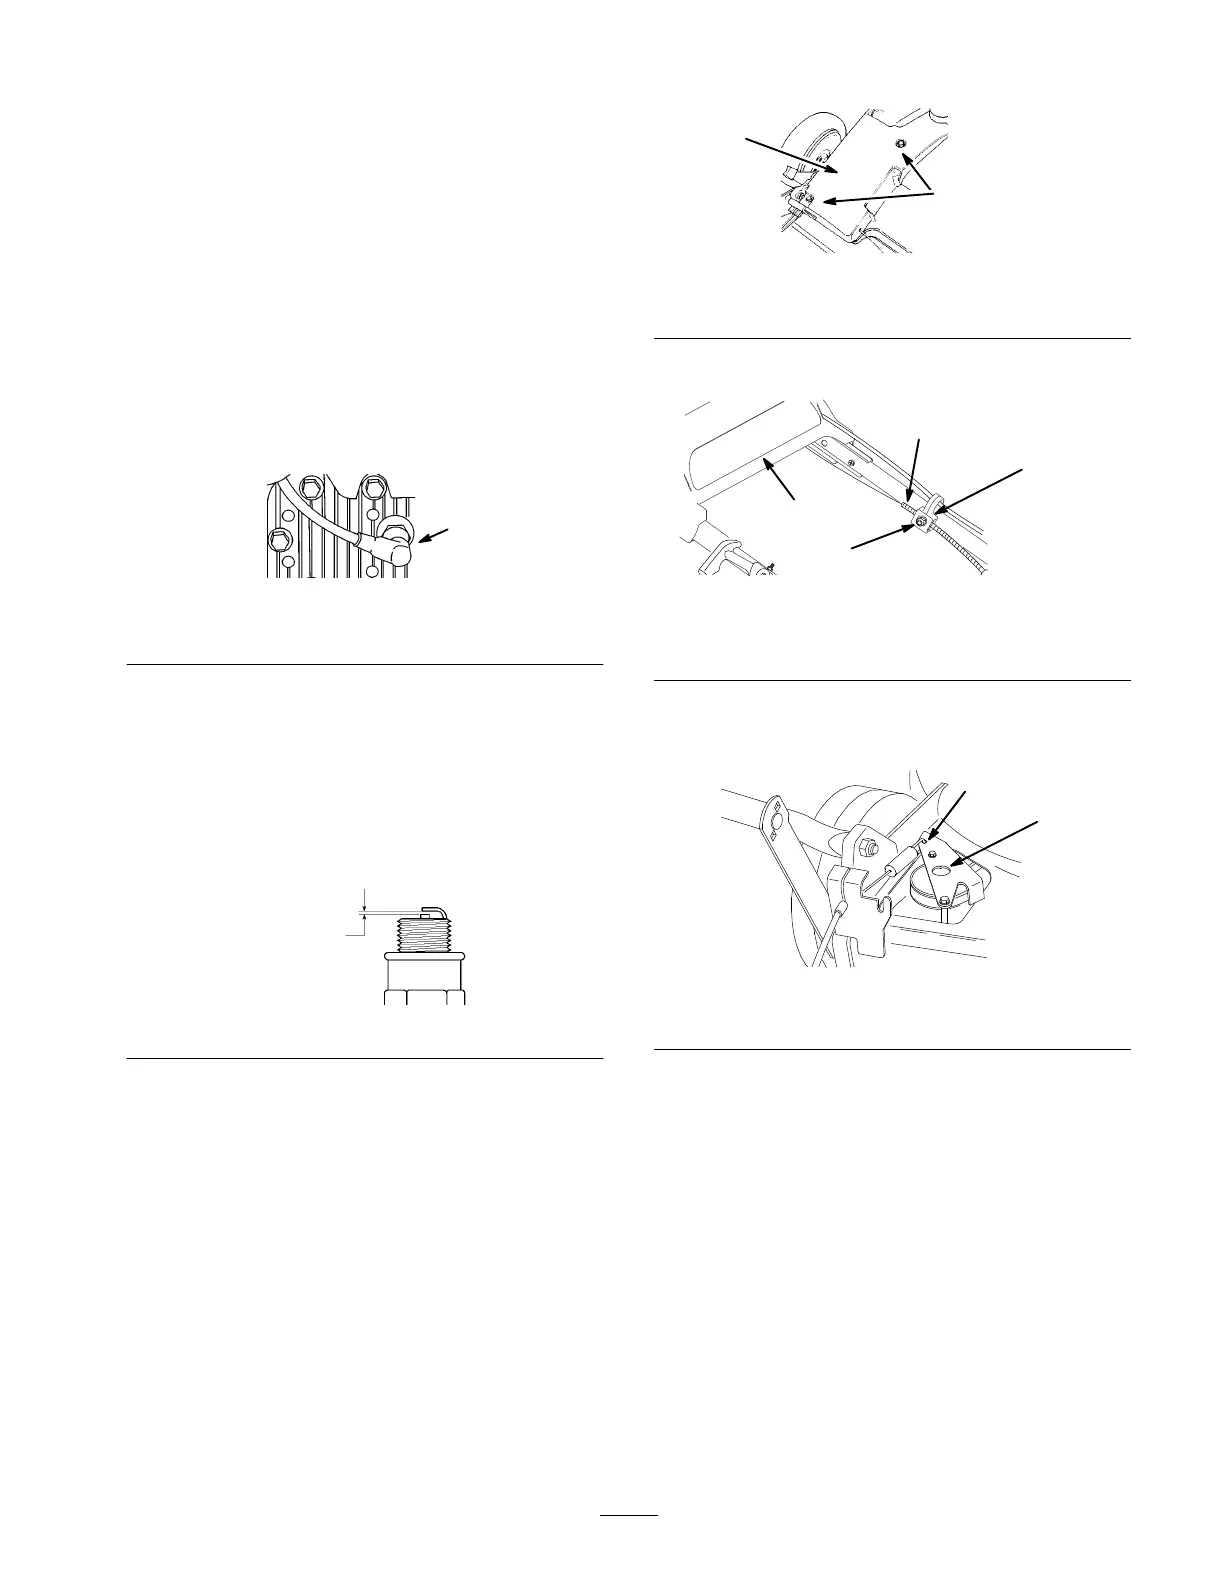
1.
Stop the engine and pull the wire off the spark plug
(Fig. 17).
1002
1
Figure
17
1. Spark
plug wire
2. Clean
around the spark plug and remove it from the
cylinder head.
IMPORTANT
: Replace a cracked, fouled, or dirty
spark plug. Do not clean the electr
odes because engine
damage could r
esult fr
om grit entering the cylinder
.
3.
Set the gap on the new plug to 0.030” (0.76 mm) (Fig.
18).
986
.030 in.
(.76 mm)
Figure
18
4. Install
the spark plug and gasket seal. T
ighten the plug
to 15 ft-lb (20 N
m).
5.
Connect the spark plug wire (Fig. 17).
Adjusting
the Self-propel Cable
Self-propelled
Models Only
If the top speed begins to slow on the mower
, adjust the
self–propel cable.
1. W
ith the engine turned of
f, remove the two bolts
securing the belt cover (Fig. 19) and remove the cover
.
1
2
281
Figure
19
1. Belt
cover
2. Bolt
2. Loosen
the cable support nut (Fig. 20).
m–4205
1
2
3
4
Figure
20
1. Cable
jacket
2.
Cable support
3. Nut
4.
Upper handle
3. Push
the drive bracket down until it contacts the
mower
, then hold it in place (Fig. 21).
m–4273
1
2
Figure
21
1. Drive
bracket
2.
Push here
4. With
the upper handle pushed and held back as far as
possible and while holding the drive bracket down,
pull the cable jacket down (toward the mower) until all
slack is removed from the cable (Fig. 20).
5. T
ighten the nut on the cable support (Fig. 20).
6.
Release the drive bracket and install the belt cover
.
Maintaining
the Blade
A
straight, sharp blade provides maximum cutting
performance. Regularly inspect and sharpen the blade.
 Loading...