
J
Jeffrey GentryAug 15, 2025
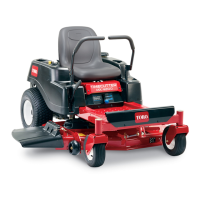
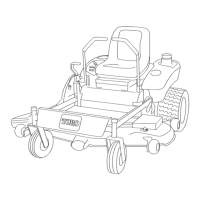
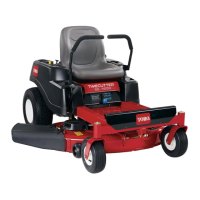
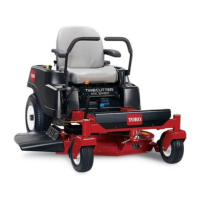
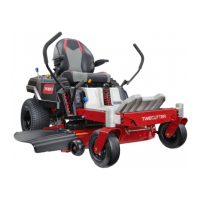
Why Toro TIMECUTTER 74685 engine does not start?
- DDebbie OwensAug 15, 2025
Several factors can cause your Toro Lawn Mower engine to not start, start hard, or fail to keep running. These include an empty fuel tank (fill the fuel tank), incorrect throttle position (ensure the throttle control is in the fast position), a dirty fuel filter (replace the fuel filter), dirt, water, or stale fuel in the fuel system (clean and flush the fuel system), a dirty air cleaner (clean or replace the air cleaner element), or a malfunctioning seat switch (check and replace if faulty). Additionally, check for corroded, loose, or damaged electrical connections (clean and apply dielectric grease), a fouled or improperly gapped spark plug (adjust or replace the spark plug), a disconnected spark plug wire (check the connection), or a worn or damaged switch (test and replace).