3
ConnectingtheLift
Cylinders
Partsneededforthisprocedure:
2
Cylinderpin
2
Capscrew(1/4x3/4inch)
2
Locknut(1/4inch)
Procedure
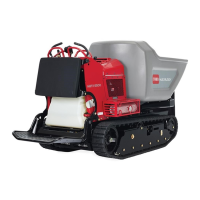
1.Secureeachliftcylinderrodendtotopdresser
basewithacylinderpin(Figure12).
2.Secureeachcylinderpintothetopdresserbase
withacapscrew(1/4x3/4inch),aatwasher,
andanut(Figure12).
g011402
Figure12
1.Cylinderrod2.Cylinderpin
Important:Alwaysunlockthedumpstop
leverbeforeattemptingtoattachthecylinder
fortilting.Usethetiltofthecylindersonly
forserviceoftheengineorhydraulics
underneath.
WARNING
Failuretoproperlysupportthe
topdresserwhenperformingservice
couldresultinseriouspersonalinjury.
Donotrelyonthecylinderstoholdup
themachine.Blockthetopdresserup
beforegoingunderneathtoperformany
typeofservice.
Important:
OnWorkmanvehicleswithserialnumbers
240000001andup,thebedortopdresser
cannotberaisedunlesstheliftcylinder
hosesareconnectedtothevehicle.
CAUTION
Failuretofollowtheproperproceduresfor
tiltingthehopperofthetopdressercould
causeseriousinjury.
•Removethefrontmountingboltsbefore
tiltingthehopper.
•Tiltthehopperonlywhenthehopperis
empty.
4
UsingtheBedSupport
Partsneededforthisprocedure:
–
Bedsupport(suppliedwiththeWorkmanvehicle)
Procedure
Important:Alwaysinstallorremovethebed
supportfromtheoutsideofthebed.
1.Raisethebeduntiltheliftcylindersarefully
extended.
2.Removethebedsupportfromthestorage
bracketsatthebackoftheROPSpanel(Figure
13).
10

 Loading...