2
3
4
5
1
1ECO(White)
2Wi-Fiaccess(White)
3Hi-Power(White)
4Timer(White)
5Operation(White)
●
Displaybrightnesscanbeadjusted,followprocedureon#.
RequireWirelessLANconnectingadapterwhichavailableasaccessory.
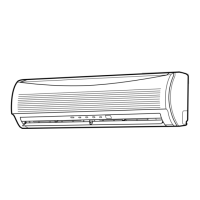
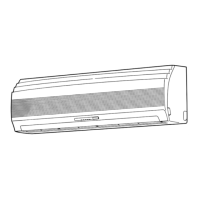
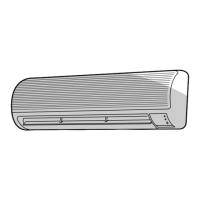
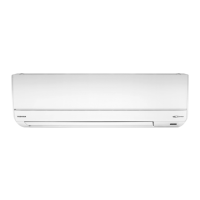
INDOOR UNIT DISPLAY ONE-TOUCH
AUTOMATIC OPERATION
DRY OPERATION
Hi-POWER OPERATION
ECO OPERATION
TEMPORARY OPERATION
TIMER OPERATION
COOLING / HEATING / FAN ONLY OPERATION
PREPARATION BEFORE USE
1 5
6
8
9
10
11
12
7
2
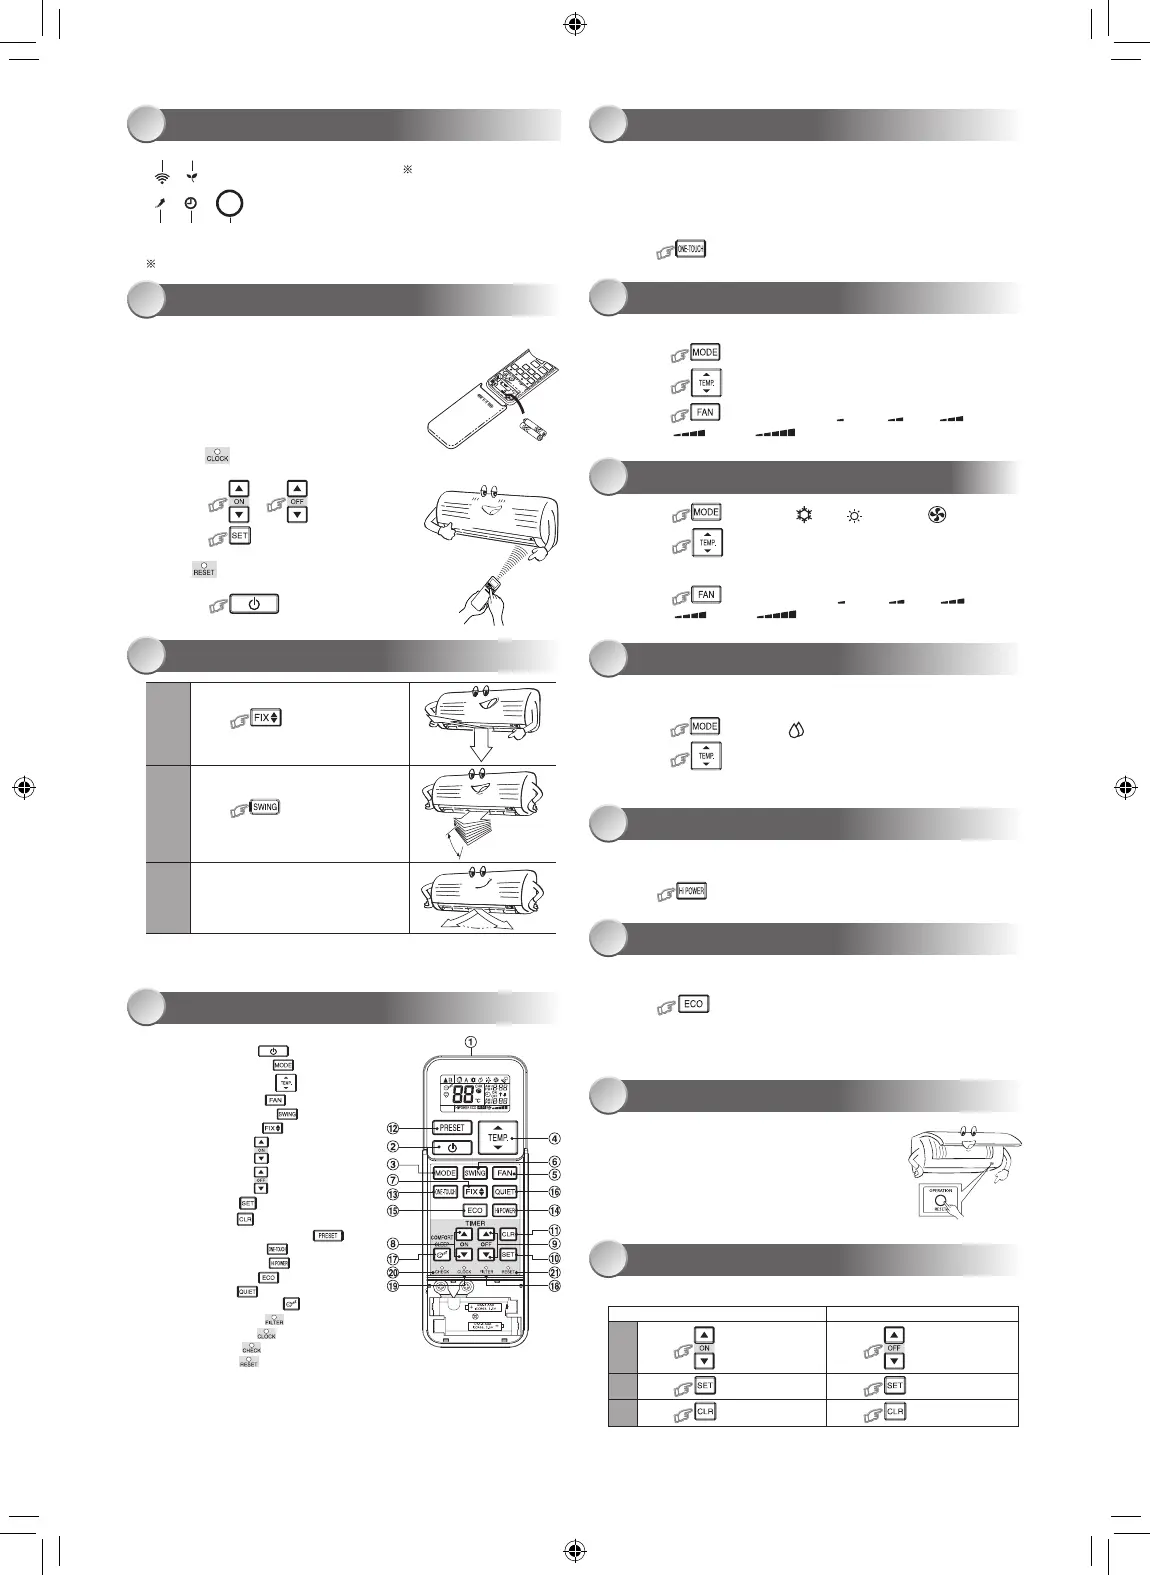
Preparing Filters
1.Opentheairinletgrilleandremovetheairlters.
2.Attachthelters.(seedetailintheaccessorysheet).
Loading Batteries (when use wireless operation.)
1.Removetheslidecover.
2.Insert2newbatteries(AAAtype)
followingthe(+)and(–)positions.
Clock Setup
1.Push bytipofthepencil.
Iftimerindicationisashing,gotothenextstep2.
2.Press or
:adjustthetime.
3.Press :Setthetime.
Remote Control Reset
Push bytipofthepencilor
1.Removethebatteries.
2.Press .
3.Insertthebatteries.
AIR FLOW DIRECTION
REMOTE CONTROL
3
4
1
Press :Movethelouverin
thedesiredverticaldirection.
2
Press :Swingtheair
automaticallyandpressagaintostop.
3
Forhorizontaldirection,adjust
manually.
Note:
• Donotmovethelouvermanuallybyothers.
• Thelouvermayautomationpositioningbysomeoperationmode.
Note:
• TheprovidedRemoteControllerisawirelesstype,whichalsocanbe
usedasawire.Pleasesee“HowtoConnectTheRemoteController
forWiredOperation”,locatedininstallationinstruction,incaseofwired
controlisrequired.
• Inwireoperation,remotecontrollerwillreturntoinitialcondition
(PRESET,TIMERandCLOCKwillreturntoinitialcondition)whenuser
shutdownpowersupplyofAirconditioner.
Pressthe“ONE-TOUCH”buttonforfullyautomatedoperationthatis
customizedtothetypicalconsumerpreferencedinyourregionoftheworld.
Thecustomizedsettingscontroltemperatureairflowstrength,airflow
directionandothersettingstoprovideyoualternatecontactwith
“ONE-TOUCH”ofthebutton.Ifyoupreferothersettingsyoucanselectfrom
themanyotheroperatingfunctionsofyourToshibaunit.
Press :Starttheoperation.
Toautomaticallyselectcooling,heatingorfanonlyoperation
1.Press :SelectAutoA.
2.Press :SetthedesiredtemperatureMin17°C,Max30°C.
3.Press :SelectAUTO,LOW ,LOW+ ,MED ,
MED+ orHIGH .
1.Press :SelectCool ,Heat orFanonly .
2.Press :Setthedesiredtemperature.
Min:17°C,Max:30°C,FanOnly:Notemperatureindication
3.Press :SelectAUTO,LOW ,LOW+ ,MED ,
MED+ orHIGH .
Fordehumidification,amoderatecoolingperformanceiscontrolled
automatically.
1.Press :SelectDry .
2.Press :SetthedesiredtemperatureMin17°C,Max30°C.
Note:DrymodefanspeedissettoAutoonly.
Toautomaticallycontrolroomtemperatureandairflowforfastercoolingor
heatingoperation(exceptinDRYandFANONLYmode)
Press :Startandstoptheoperation.
Toautomaticallycontrolroomtemperaturetosaveenergy(exceptinDRYand
FANONLYmode)
Press :Startandstoptheoperation.
Note:Coolingoperation;thesettemperaturewillincreaseautomatically1
degree/hourfor2hours(maximum2degreesincrease).
Forheatingoperationthesettemperaturewilldecrease.
Incaseofthemisplacedordischargedremotecontrol
• PressingtheRESETbutton,theunitcanstartor
stopwithoutusingtheremotecontrol.
• OperationmodeissetonAUTOMATICoperation,
presettemperatureis24°Candfanoperationis
automaticspeed.
Setthetimerwhentheairconditionerisoperating.
Daily timer allows the user to set both the ON & OFF timers and will be
activated on a daily basis.
Setting the ON Timer Setting the OFF Timer
1
Press :SetthedesiredON
timer.
Press :Setthedesired
OFFtimer.
2
Press :Setthetimer. Press :Setthetimer.
3
Press :Cancelthetimer. Press
:Cancelthetimer.
1 Infraredsignalemitter
2 Start/Stopbutton( )
3 Modeselectbutton( )
4 Temperaturebutton( )
5 Fanspeedbutton( )
6 Swinglouverbutton( )
7 Setlouverbutton( )
8 Ontimerbutton( )
9 Otimerbutton( )
0 Setupbutton( )
! Clearbutton( )
@ MemoryandPresetbutton( )
# One-Touchbutton( )
$ Highpowerbutton( )
% Economybutton( )
^ Quietbutton( )
& Comfortsleepbutton( )
* Filterresetbutton( )
( Setclockbutton( )
) Checkbutton( )
- Resetbutton( )
1118350275-00_S01_182x257_12p_S_p70_190327.indd 4 24/6/2562 11:23:08
 Loading...