59
EN
Introduction Connections
Basic Setup /
TV View Operation
Playback Editing OthersFunction SetupRecording FunctionsIntroduction Connections
Basic Setup /
TV View Operation
Playback Editing OthersFunction SetupRecording
Deleting Selected Titles
You can delete titles which you do not need anymore.
Please be advised that the titles once deleted cannot be
brought back.
1 Press [HDD], then press [TOP MENU].
2 Select the title you want to delete using
[K \ L \ 0 \ 1], then press [ENTER\OK].
3 Select “Delete Multiple Titles” using [K \ L],
then press [ENTER\OK].
4 Select other title you want to delete using
[K \ L \ 0 \ 1], then press [ENTER\OK].
Trash mark will appear whose title number is highlighted
for deletion.
5 Repeat step 4 until you select all the titles you
want to delete.
To remove the trash mark from the title:
Select the title with the trash mark, then press
[ENTER\OK].
6 Press [CLEAR].
Confirmation message will appear.
7 Select “Yes” using [K \ L], then press
[ENTER\OK].
Final confirmation message will appear. Select “Yes”, then
press [ENTER\OK].
You can edit the title names from this menu.
The title names you edit will appear on the title list.
If you edit the HDD, press [HDD] first.
If you edit a disc, press [DVD] first.
1 In stop mode, press [TOP MENU].
Title List will appear.
For HDD and VR mode DVD-RW disc, press
[DISC MENU] to switch between “Original” and “Playlist”.
2 Select the desired title with [K \ L \ 0 \ 1], then
press [ENTER\OK].
Pop up window will appear.
3 Select “Edit” with [K \ L], then press
[ENTER\OK].
Edit menu will appear.
4 Select “Edit Title Name” using [K \ L], then
press [ENTER\OK].
A window for entering the title name will appear.
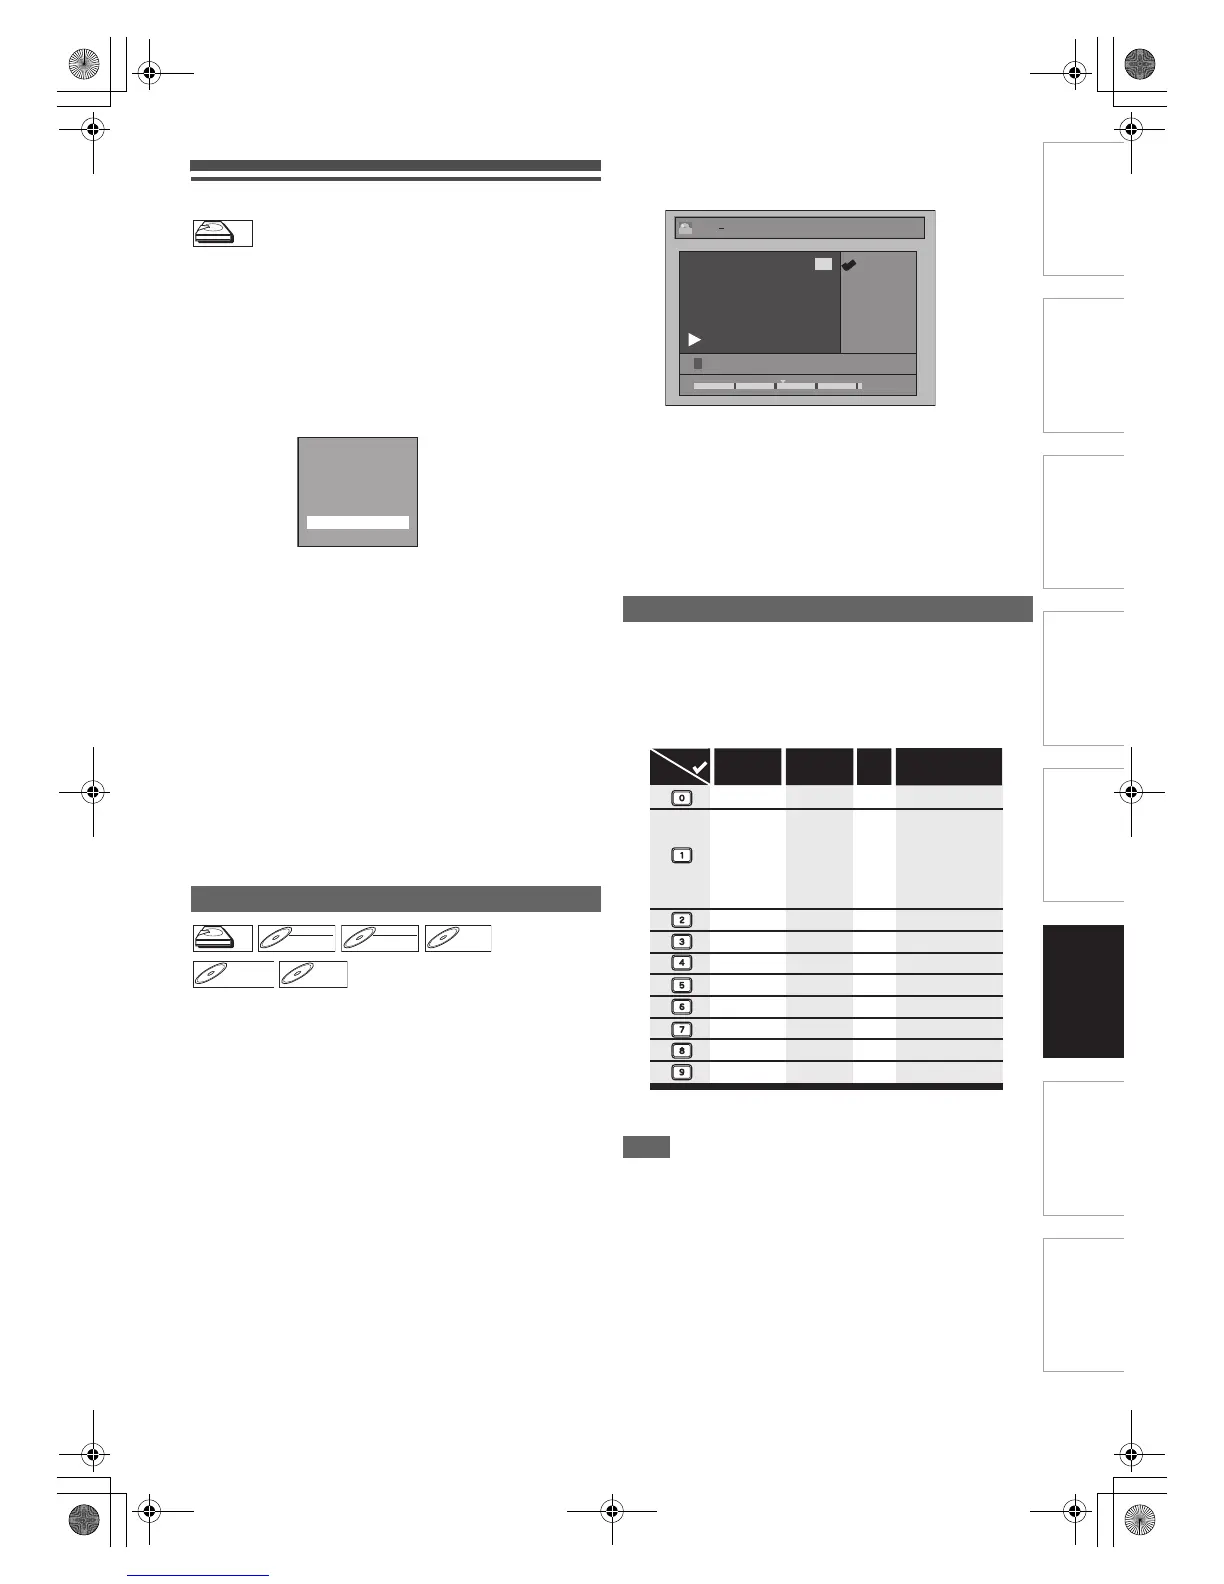
5 To enter the title name, refer to “Guide to
Editing Title Names” on this page.
When you finish entering the title name, press
[ENTER\OK].
6 Select “Yes” using [K \ L], then press
[ENTER\OK].
The name you edited becomes the title.
7 Press [RETURN\BACK] repeatedly to exit.
Writing onto the disc starts.
It may take awhile to write the data on a disc.
• Characters set will be changed to the “@!?” automatically if
you press [1] after you selected the “ABC” or “abc” mode.
Note
• To delete letters, press [CLEAR] repeatedly. Press and hold
[CLEAR] to delete all letters.
• Press [0 \ 1] to move the cursor to the left or right.
• You can enter up to 30 letters.
• Unrecognisable characters will be replaced with asterisks
(*). If you delete them, adjoining characters may change to
asterisks (*) or other.
Editing Title Name
HDD

 Loading...