62
EN
You can combine two titles into a single title.
If you edit the HDD, press [HDD] first.
If you edit a disc, press [DVD] first.
1 Follow steps 1 to 3 in “Editing Title Name” on
page 59.
2 Select “Title Combining” using [K \ L], then
press [ENTER\OK].
3 Select another title to combine using
[K \ L \ 0 \ 1], then press [ENTER\OK].
4 Select “Yes” using [K \ L], then press
[ENTER\OK].
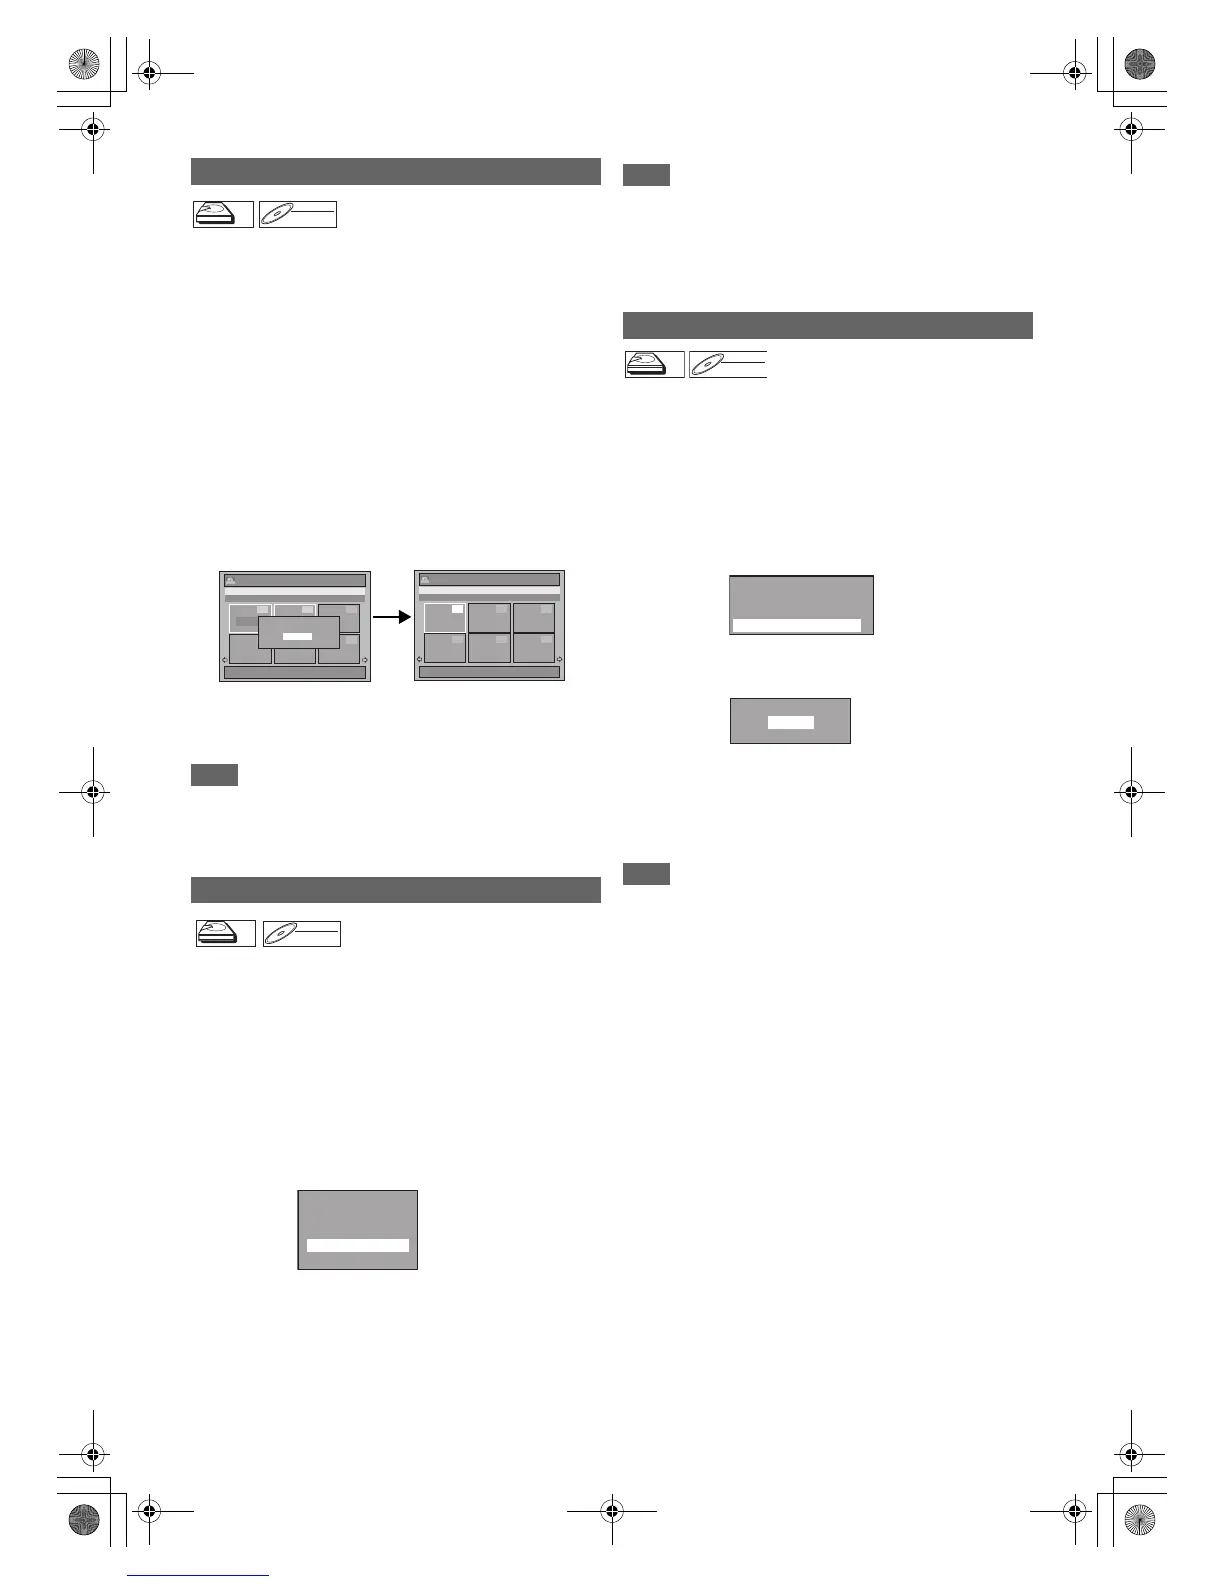
The two titles will combine into a single title.
e.g.) VR mode DVD-RW Playlist
5 Press [RETURN\BACK] to exit.
For DVD, writing onto the disc starts.
It may take awhile to write the data on a disc.
Note
• You cannot select the same title twice and combine it into a
single title.
• If either one of the two original titles is deleted, the combined
new title is also deleted.
For HDD and VR mode DVD-RW disc, you can add a title to
the Playlist as you want.
If you edit the HDD, press [HDD] first.
If you edit a disc, press [DVD] first.
1 Follow the steps 1 to 2 in “Deleting Titles” on
page 58.
2 Select “Add To Playlist” using [K \ L], then
press [ENTER\OK].
e.g.) VR mode DVD-RW Original
3 Select “Yes” using [K \ L], then press
[ENTER\OK].
The title is added to Playlist.
4 Press [RETURN\BACK] to exit.
For DVD, writing onto the disc starts.
It may take awhile to write the data on a disc.
Note
• To delete a title from the Playlist, refer to “Deleting Titles” on
page 58.
• When the number of the Playlist reaches its maximum (refer
to page 29), or when the number of the total chapter marks
of the Playlists reaches 999 (only for VR mode DVD-RW),
“Add To Playlist” cannot be selected.
All Playlists can be deleted if it is no longer needed.
1 Press [SETUP].
2 Select “DVD Menu” (for DVD) or “HDD Menu”
(for HDD) using [K \ L], then press
[ENTER\OK].
3 Select “Delete All Playlists” using [K \ L], then
press [ENTER\OK].
e.g.) VR mode DVD-RW
4 Select “Yes” using [K \ L], then press
[ENTER\OK].
“Are you sure?” will appear. Select “Yes” using [K \ L],
and then press [ENTER\OK].
Playlist is deleted.
For DVD, writing onto the disc starts.
It may take awhile to write the data on a disc.
Note
• Deleting a Playlist will not increase the available recording
time on the disc.
Combining Titles
Adding Titles to a Playlist
HDD

 Loading...