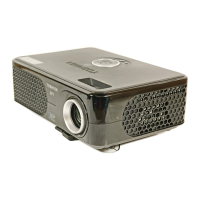
Perform the following tests
Test Verification
Power Up
Connect AC power, and turn the unit on.
Verify that the proper splash(logo) screen
Appears.
Verify image quality.
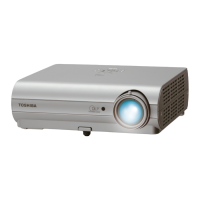
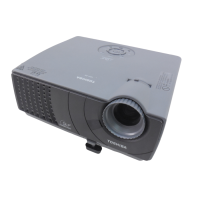
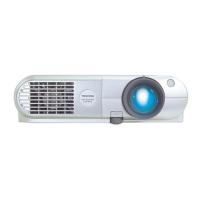
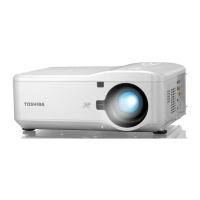
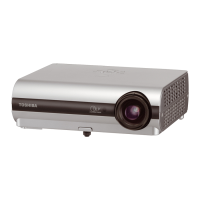
Cosmetics and mechanicals
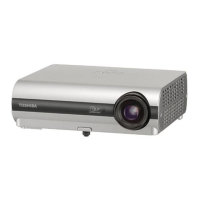
Adjust the projector so that the image is
Square. Make sure the lens is at a 90
degree angle to the wall.
Verify that the elevator and leveling foot
Are functional.
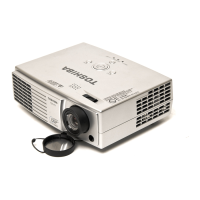
Verify that the focus and zoom rings
Operate properly.
Verify cosmetics.
Composite video from video source
Connect the yellow composite (RCA) video
Connector to the projector.
(Ensure that no other video source is
connected to the projector)
Verify that the video automatically
synchronizes.
Verify there is no distortion, noise or
other abnormalities.
S-Video from video source
Connect the S-Video cable to the projector.
Disconnect the yellow composite(RCA)
Video connector.
Verify that the video automatically
synchronizes.
Verify there is no distortion, noise or
other abnormalities.
Image keystone adjustment
Connect a video source to the projector.
Verify that image responds properly when
You adjust the keystone setting.
Audio from audio source
Connect the audio cable to the projector.
Verify that audio source plays through the
Projector’s speaker.
Verify that the volume controls function
correctly.
Manual source selection
Manually select a connected source.
Verify that the projector switches to the
Manually-selected source.
Verify that the video automatically
synchronizes.
Verify there is no distortion, noise or
other abnormalities.
Software Version / Lamptime Used
Navigate through the Basic menu to the
Setup menu.
Navigate to the Service menu.
Select info from the Service menu.
Verify software version
Verify the keys are not sticky.
Verify that the software version is current
and that the lamp is within its service life.
36
 Loading...