13
Warm tips:
please make sure you didn't shorten the length of fabric duct in this step.
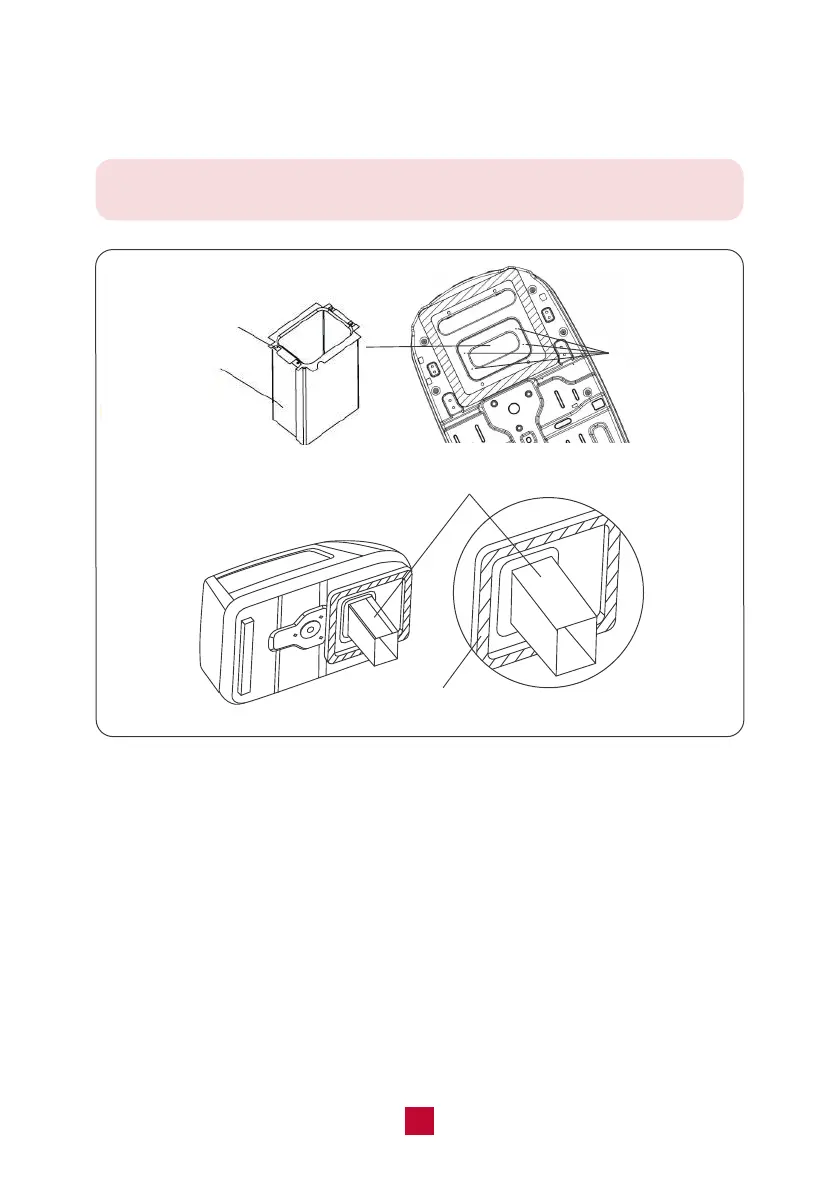
● Fasten the fabric duct (assembled) to the chassis of the rooftop air conditioner
with 4 tapping screws by the upper duct plate. See Figure 8.
● Before lifting the ceiling assembly, pull the fabric duct so it hangs out of the way
and does not get caught under the ceiling assembly frame.
● Check the thickness of your roof. If the roof is 1.2-3.15 inch thick, please use the
5.3" bolts. If the roof is 3.15-5.32 inch thick, please use the 7.5" bolts.
● Set the fabric duct into the duct opening of the frame. Secure the ceiling assembly
plate to the rooftop air conditioner with the mounting bolts with maximum torque
from 2.3-2.5Nm (see Figure 9). Please start threading the mounting bolts by hand
to avoid cross-threading. DO NOT START THE MOUNTING BOLTS WITH AN AIR
GUN. The mounting bolts should be tightened until the chassis gasket has been
evenly compressed.
4 Holes for
Tapping Screw
Upper Duct Plate
Fabric Duct
Fabric Duct
Upper Duct Plate
Figure 8
 Loading...