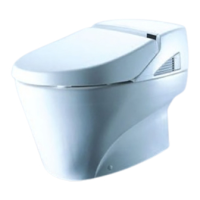
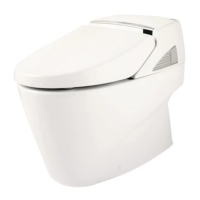
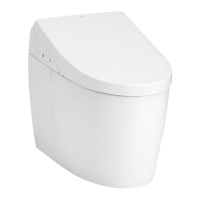
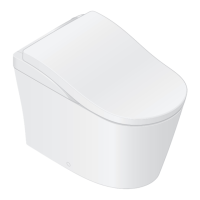
Do you have a question about the Toto NEOREST MS950CG and is the answer not in the manual?
Explains safety symbols like WARNING and Prohibited Use for safe product operation.
Lists all components provided in the installation kit for the toilet bowl.
Confirms adequate floor space and proper alignment of drain hole and pipes for installation.
Details minimum working pressure and how to check water pressure using a fill method.
Notes variations in fastener guides depending on the manufacturing date.
Illustrates the arrangement of all parts and their connections for installation.
Guides on installing the water shutoff valve, including cleaning and orientation.
Instructions for using a template to mark mounting block and outlet connection positions.
Details how to place hex bolts, mounting plates, and attach the front part and mounting block.
Instructs to remove debris from the rubber joint and drain horn before fitting.
Guides on attaching the toilet bowl using washers, nuts, screws, and caps.
Refers to the manual included with the Washlet unit for its installation.
Details connecting the gasket, hose to the shutoff valve, and attaching the diverter cover.
Suggests applying silicone caulking around the toilet bowl base to prevent leaks and stains.
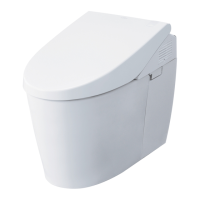
| Brand | Toto |
|---|---|
| Model | NEOREST MS950CG |
| Category | Toilets |
| Flush Type | Dual Flush |
| Water Use | Low Consumption |
| Material | Ceramic |
| Bowl Shape | Elongated |
| Bowl Height | 16.5 inches |
| Depth | 28.5 inches |
| Seat Included | Yes |
| Bidet Function | Yes |
| Air Deodorizer | Yes |
| Auto Open/Close Lid | Yes |
| Automatic Flush | Yes |
| Warm Air Dryer | Yes |
| Night Light | Yes |
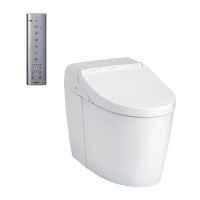
| Remote Control | Yes |
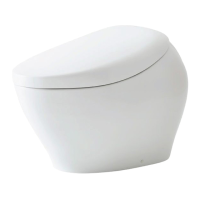
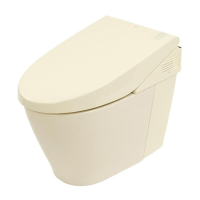
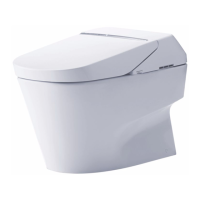
| Color | Cotton White |
| Flush Rate | 0.8 GPF / 1.0 GPF |
| Water Consumption | 1.0 and 0.8 gallons per flush |
| Seat Type | Integrated |
| Features | Tornado Flush |