Installing TouchTunes Karaoke
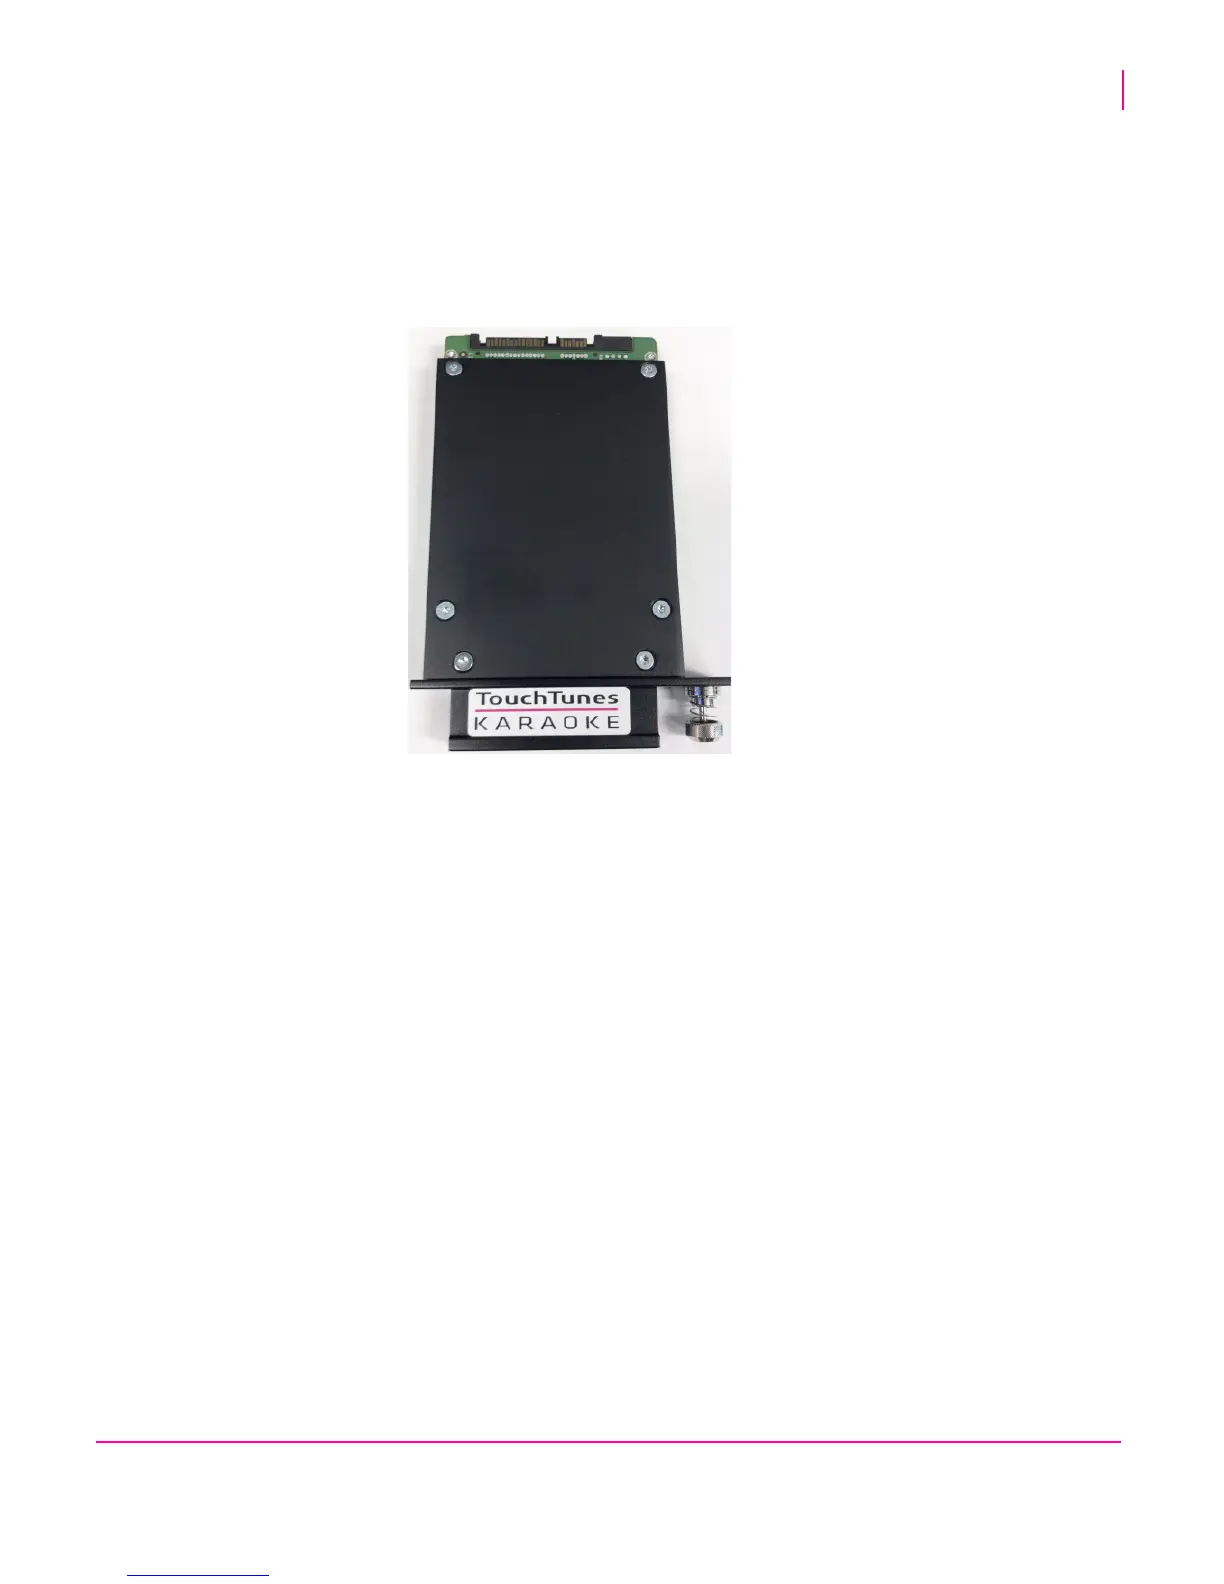
Installing the “TouchTunes Karaoke” Hard Drive
TouchTunes Karaoke Installation and Setup Guide 900587-001 Rev 03
17
Installing the “TouchTunes Karaoke” Hard Drive
In order to run the Karaoke service, Virtuo must be equipped with a hard drive labeled “TouchTunes Karaoke”. As of
May 2012, this is the standard drive shipped with all new Virtuos.
A “TouchTunes Karaoke” hard drive contains the standard Virtuo software and song library, as well as the Karaoke
software and song library. It is therefore not necessary to re-swap drives once you have installed a “TouchTunes
Karaoke” hard drive.
To install the “Karaoke Enabled” hard drive (if required):
1. Turn off the main power to Virtuo using the rocker switch on the power bar.
2. Unlock and open Virtuo.
3. Ground yourself by touching an exposed piece of metal in the Virtuo case.
4. Ensure that the computer is powered OFF at the switch on the power supply.
5. Locate the hard drive bay.
6. Using your fingers, loosen the thumb screw by turning it counterclockwise and remove the original Virtuo drive (if
one is present).
7. Align the TouchTunes Karaoke hard drive enclosure with its slot on the left-hand panel of the computer.
The hard drive enclosure cannot be inserted in its slot until it is properly aligned.
8. Insert the hard drive enclosure in the slot and then gently push the enclosure in until it is completely seated.


 To Next Page