8
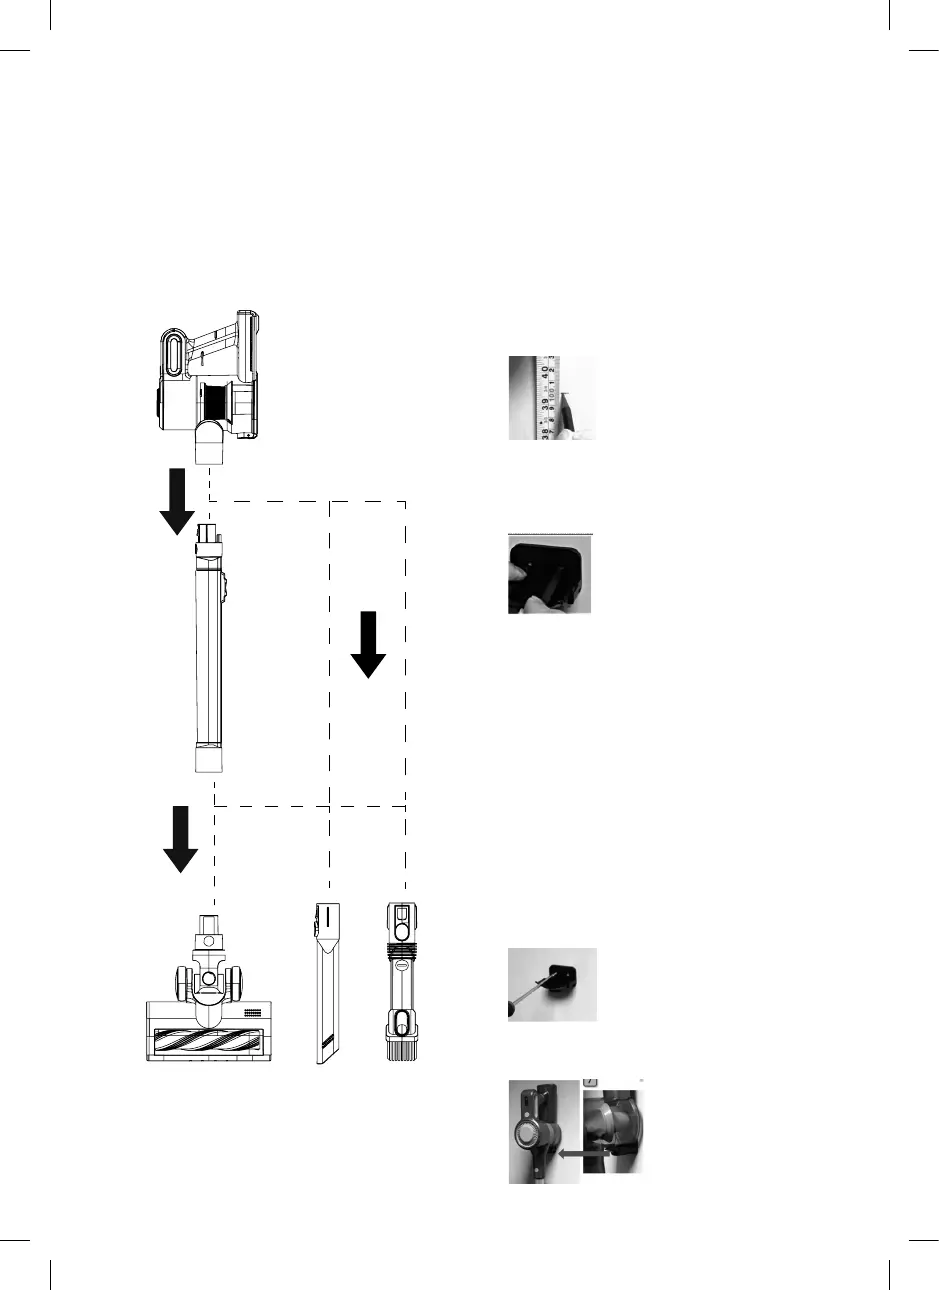
USING THE ACCESSORIES
This vacuum cleaner comes with a 2 in
1 Brush and Crevice tool and a Crevice
Nozzle for vacuuming corners and cleaning
delicate surfaces.
NOTE: Keep the brush free of bres, hairs,
and other objects that could impede
proper functioning. Always remove these
types of objects when the brush picks
them up.
INSTALLING THE WALL MOUNT
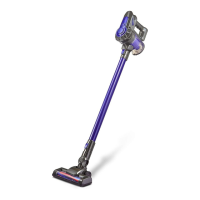
1. To wall-mount the appliance, begin by
afxing the included wall mount to the
wall. To do this, begin by choosing an
adequate position and height, roughly
one metre above the ground, and mark
it on the wall with a pencil, as shown in
Figure 1.
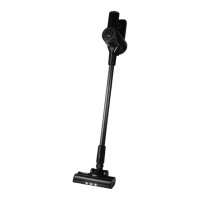
2. Hold the wall bracket level to the
marking and mark the position of the
two screw holes through the bracket, as
shown in Figure 2.
3. Remove the wall bracket from the
wall and drill two holes over the pencil
markings with a 6mm masonry drill (not
included).
4. Once the two holes have been
appropriately drilled, insert one of the
included wall plugs into each hole.
Ensure each wall plug is rmly secured
into place before proceeding.
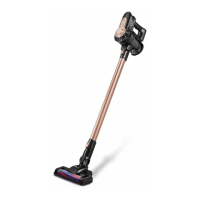
5. When both wall plugs have been
securely tted, place the wall bracket
over them and use the included screws
to afx it to the wall, as shown on Figure
3. Ensure the wall bracket is rmly
secured into place before proceeding.
6. Your appliance can now be wall-
mounted, as shown in Figure 4.