8
3.
Secure the mounting bracket to
the wall by driving the self-tapping
screws into the anchors.
Make sure the mounting bracket
lies at against the surface.
4.
Connect the Ethernet cable to the
Ethernet port on the Deco.
5.
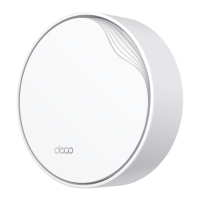
Orient the Deco LED according to
the image, attach the Deco to the
mounting bracket, then rotate it
clockwise until it locks into place.
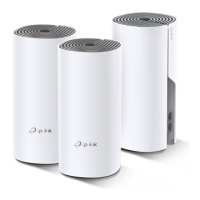
Option 1: On the Wall/Ceiling
The Deco can be mounted to the wall or the ceiling with the screws in
the package.
Self-tapping Screws *4
Plastic Wall Anchors *4
1.
If your Ethernet cable feeds
through the wall, position the
mounting bracket above the cable
hole.
Mark four positions for the screw
holes and drill four 6 mm (15/64
in) diameter holes at the marked
positions.
2.
Insert the plastic wall anchors into
the 6 mm diameter holes.
 Loading...