Do you have a question about the TP-Link WR702N and is the answer not in the manual?
Reset TP-Link WR702N/WR802N/WR810N/WR710N, WR841N/WR843ND, WA701ND/WA801ND/WA901ND.
Configure the device using default SSID and security passwords/PINs, and register MAC address.
This document outlines the process for setting up and maintaining a personal Wi-Fi access point for use in specific locations not covered by the eduroam network or St. John's College Wi-Fi. It is intended for users who need to establish a private wireless network within college areas where the primary Wi-Fi services are unavailable. The guide covers both initial setup for new devices and the necessary reset procedures for previously configured access points.
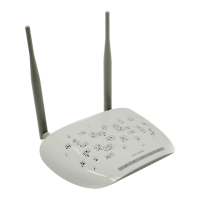
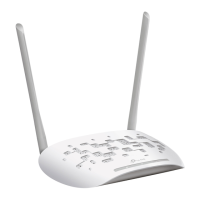
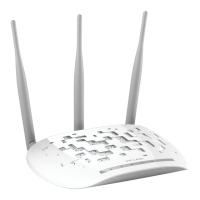
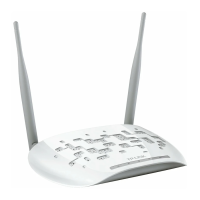
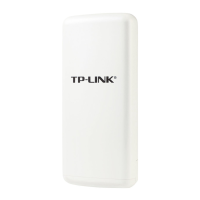
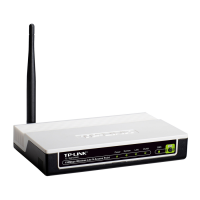
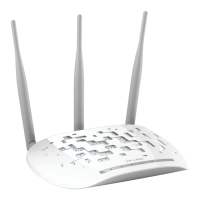
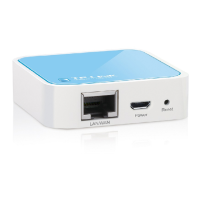
The primary function of these TP-Link access points is to provide a localized wireless network, enabling users to connect their personal devices to the internet in designated areas. These devices act as a bridge, extending network connectivity to areas that would otherwise lack Wi-Fi access. They are designed to be user-friendly, allowing for quick deployment and configuration to establish a personal Wi-Fi zone. The access points support various wireless standards, ensuring compatibility with a wide range of client devices such as laptops, smartphones, and tablets. Their compact design makes them suitable for personal use within college environments, offering a convenient solution for individual connectivity needs. The document specifically mentions several TP-Link models, including the WR702N, WR802N, WR810N, WR710N, WR841N, WR843ND, WA701ND, WA801ND, and WA901ND, indicating a range of devices that can fulfill this role.
The usage of these access points is straightforward, with a focus on ease of setup and connectivity. For new access points, the process bypasses the reset steps, moving directly to configuration. This implies that new devices are ready for immediate setup without prior intervention. The guide recommends using the TP-Link default broadcast name (SSID) and security passwords/PINs for simplicity, minimizing the need for users to create and remember new credentials. This approach streamlines the connection process for client devices, as the default information is typically printed on the device itself.
To connect client devices to the access point, users will need to register both the access point and any devices they wish to connect. This registration process is crucial for network security and management within the college infrastructure. The MAC address of the access point, which is essential for registration, is conveniently located on the back or bottom of the unit. This ensures that users can easily identify their specific device for the registration procedure. The document provides a link to the device registration pages, indicating an online portal where users can complete this step and find further instructions.
The access points are designed to be self-contained units, requiring minimal external components for operation. Once configured and registered, they provide a stable wireless signal, allowing multiple devices to connect simultaneously, depending on the specific model's capabilities. The emphasis on using default settings simplifies the user experience, making it accessible even for those with limited networking knowledge. The WPS/Reset button found on some models (like the WR841N and WR843ND) serves a dual purpose, facilitating both quick secure connections (WPS) and device resets, adding to the versatility of the device's controls.
Maintenance of these TP-Link access points primarily revolves around the reset procedure, which is crucial for ensuring proper functionality, especially if the device has been previously configured for a different network or if configuration issues arise. The document provides specific instructions for resetting different models, highlighting the importance of this step for devices used in the old network.
For models like the TP-Link WR702N, WR802N, WR810N, and WR710N, the reset process involves using a small, pointy object (like a paper clip) to press and hold the reset button while the router is powered on. The visual feedback, such as the status light flashing quickly and then turning off for two seconds before coming back on, indicates a successful reset to default settings. This clear visual cue helps users confirm that the reset operation has been completed correctly.
Similarly, for the TP-Link WR841N, WR843ND, WA701ND, WA801ND, and WA901ND models, the reset procedure involves pressing and holding the WPS/reset button on the back of the device while it is powered on. For these models, the indication of a successful reset is when all lights go solid, then turn off, and then come back on again. This consistent feedback mechanism across different models ensures that users can confidently perform the reset operation.
The ability to reset the device to its factory default settings is a critical maintenance feature. It allows users to clear any previous configurations, passwords, or network settings that might be causing conflicts or preventing proper operation. This is particularly useful when troubleshooting connectivity issues or when repurposing a device that was previously used in a different network environment. By reverting to default settings, users can effectively "start fresh" with the device's configuration, ensuring a clean slate for new setup. The document also implicitly suggests that if users wish to deviate from the default SSID and password, they should refer to the manufacturer's documentation, indicating that more advanced configuration and maintenance options are available through those resources. This approach empowers users to manage their devices effectively while providing clear guidance for basic and essential maintenance tasks.
| Wireless Standard | IEEE 802.11b/g/n |
|---|---|
| Wireless Speed | 150Mbps |
| Frequency | 2.4-2.4835GHz |
| Button | Reset Button |
| Antenna Type | Internal Antenna |
| Power Supply | 5VDC/1A |
| Operating Temperature | 0°C~40°C (32°F~104°F) |
| Storage Temperature | -40°C~70°C (-40°F~158°F) |
| Operating Humidity | 10%~90% non-condensing |
| Storage Humidity | 5%~90% non-condensing |
| Wireless Security | 64/128-bit WEP, WPA/WPA2, WPA-PSK/WPA2-PSK |
| Interface | 1 x 10/100Mbps Ethernet Port |
| Operating Modes | Router, Client, Repeater, Bridge, AP |