54
Chapter 11
VPN Server
7 ) Select the Key Exchange Method for the policy. We select Auto(IKE) here.
8 ) Enter the
Pre-Shared Key for IKE authentication. Then keep Perfect Forward
Secrecy
enabled.
Note: Make sure Site A and Site B use the same key.
9 ) Leave the Advanced Settings as default value. Then click OK.
Note: The Status column is Down after the configuration, and it will change to UP only when Site A and Site B are
communicating via the VPN connection.
3. Configuration on Site B (remote network). Refer to step 2 configuration on Site A
and make sure that Site A and Site B use the same
pre-shared keys and Perfect
Forward Secrecy
settings.
4. Check the VPN connection. You can ping site B’ LAN IP from your computer in site
A to verify that the IPSec VPN connection is set up correctly.
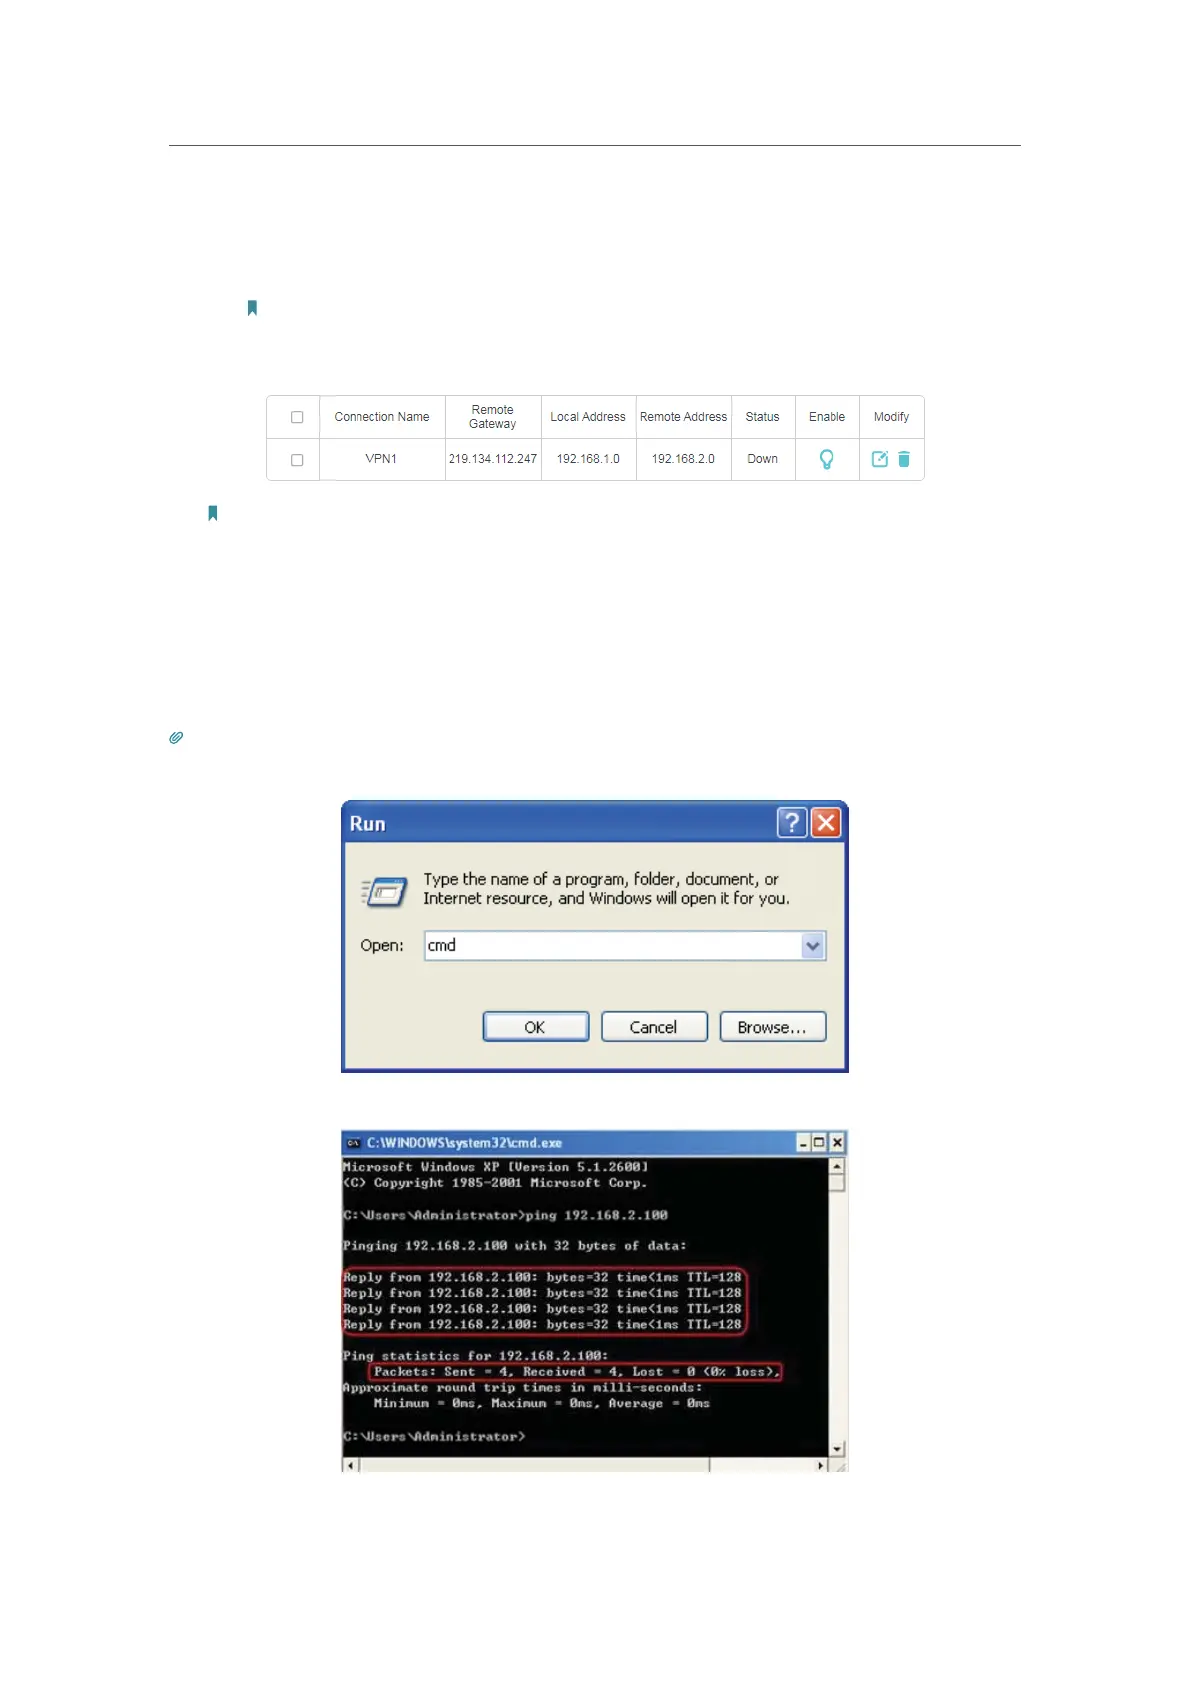
Tips: To check the VPN connection, you can do the following.
1. On the host in Site A, press [Windows Logo] + [R] to open Run dialog. Input “cmd” and hit OK.
2. In the CLI window, type in “ping 192.168.2.x” (“192.168.2.x” can be IP address of any host in Site B). Then press [Enter].
3. If Ping proceeds successfully (gets replies from host in Site B), the IPSec connection is working properly now.