JetStream L2 Managed Switch
11Installation
2.4 Product Installation
■
Desktop Installation
To install the device on the desktop, follow the steps:
1. Set the device on a flat surface which is strong enough to support the entire weight of the device
with all fittings.
2. Remove the adhesive backing papers from the rubber feet.
3. Turnover the device and attach the supplied rubber feet to the recessed areas on the bottom at
each corner of the device.
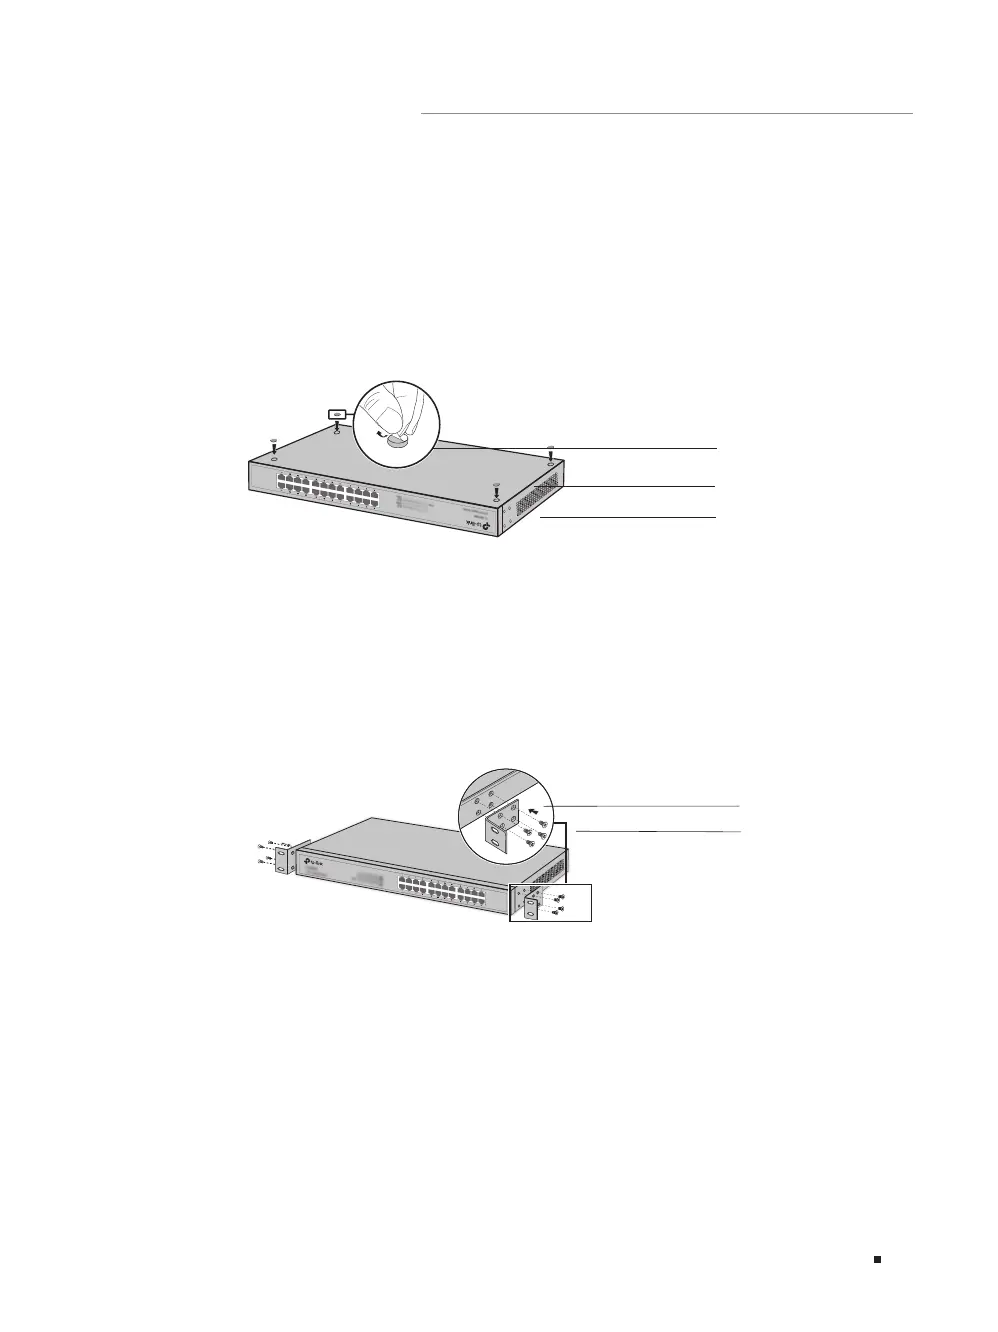
Figure 2-1 Desktop Installation
Feet
Bottom of the Device
Notch
■
Rack Installation
To install the device in an EIA standard-sized, 19-inch rack, follow the instructions described below:
1. Check the efficiency of the grounding system and the stability of the rack.
2. Secure the supplied rack-mounting brackets to each side of the device with supplied screws, as
illustrated in the following figure.
Figure 2-2 Bracket Installation
Rack-mounting Bracket
Screw
 Loading...