51
3. In the Scheduler Association section, configure the scheduler rule. There are two
association modes:
Association with SSID
and
Association with AP
. The following
sections introduce how to configure each mode.
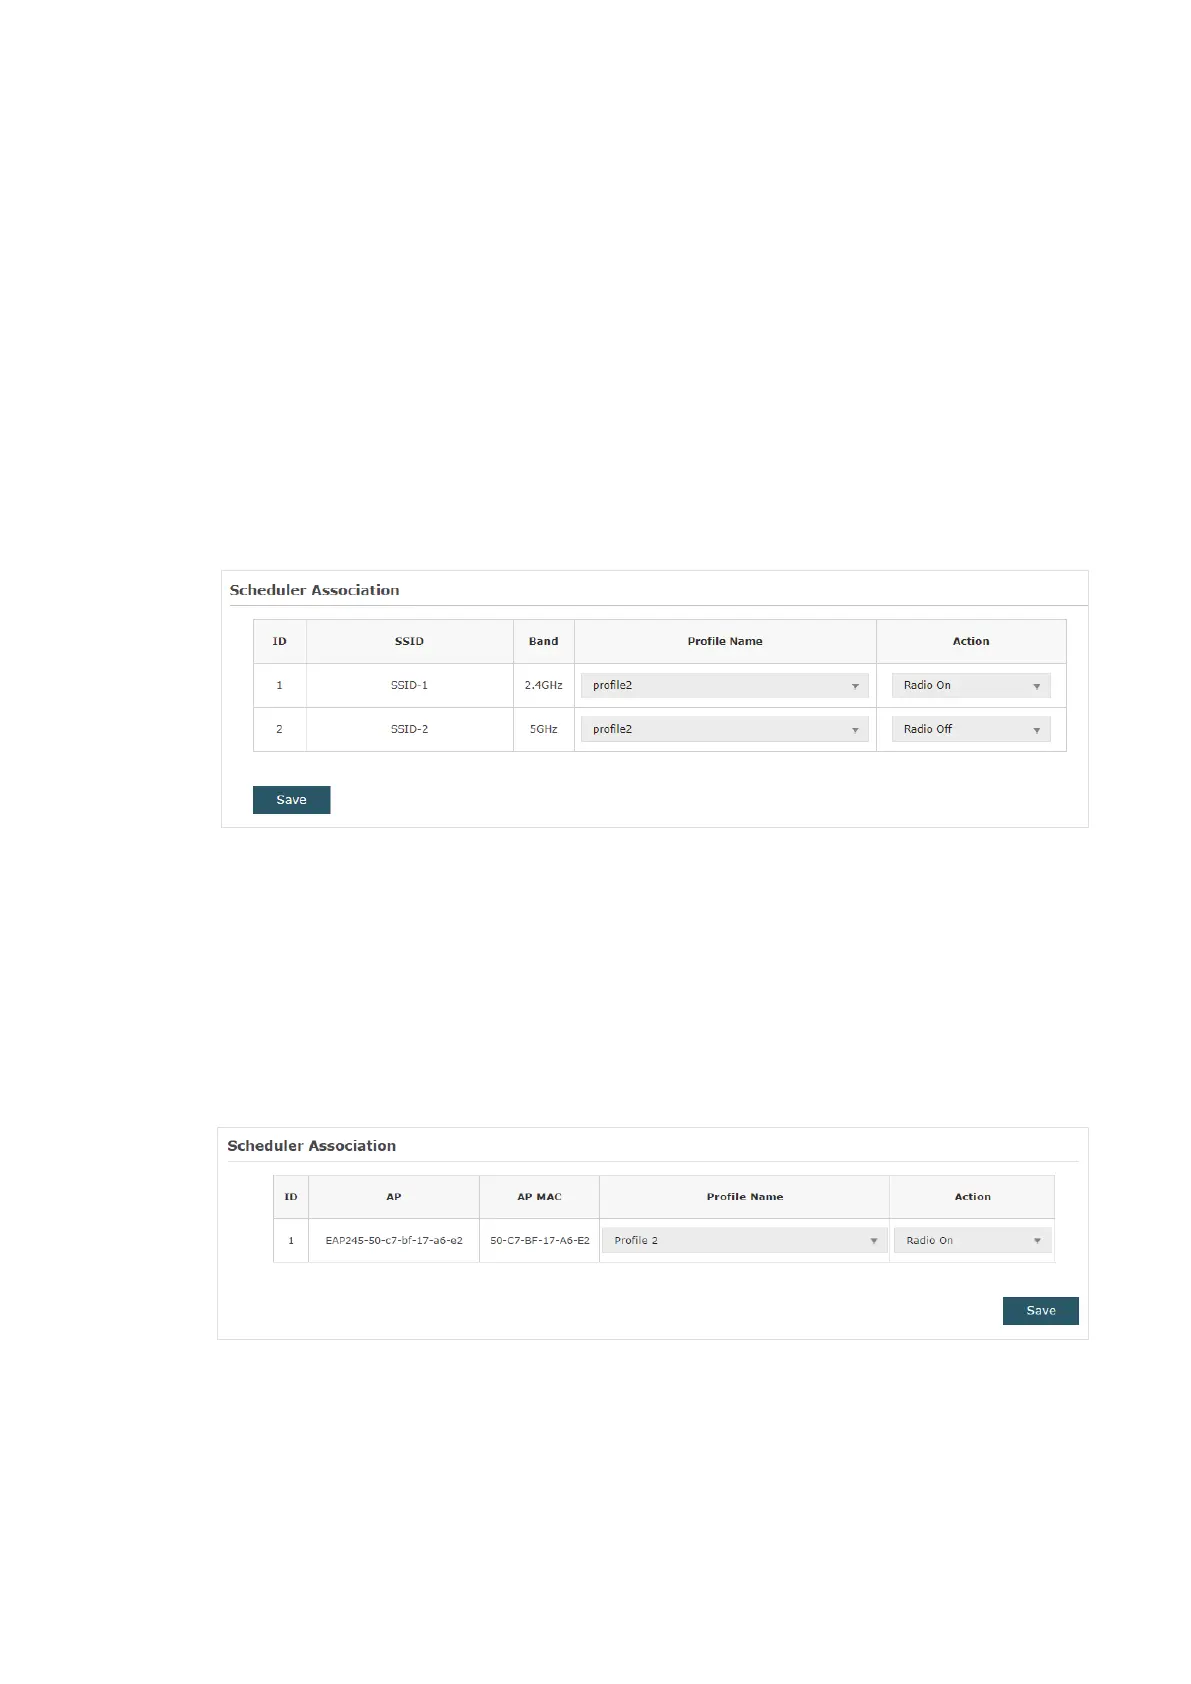
■ Association with SSID
If you select Association with SSID in step 1, the Scheduler Association table will
display all the SSIDs on the EAP. For each SSID, you can select a profile in the Profile
Name column and select the scheduler rule (Radio On/Radio Off) in the Action column.
Then click Save.
For example, the following configuration means that during the time range defined in
Profile2, the radio of SSID SSID-1 is on and the radio of SSID SSID-2 is off.
■ Association with AP
If you select Association with AP in step 1, the Scheduler Association table will display
the name and MAC address of the EAP. Select a profile in the Profile Name column and
select the scheduler rule (Radio On/Radio Off) in the Action column. Then click Save.
For example, the following configuration means that during the time range defined in
Profile2, the radio of all SSIDs on the EAP is on.