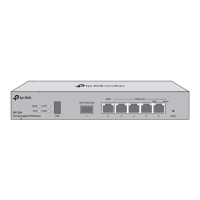
Omada L2+/Stackable Lite L3 Managed Switch
22 Connection
Chapter 3 Connection
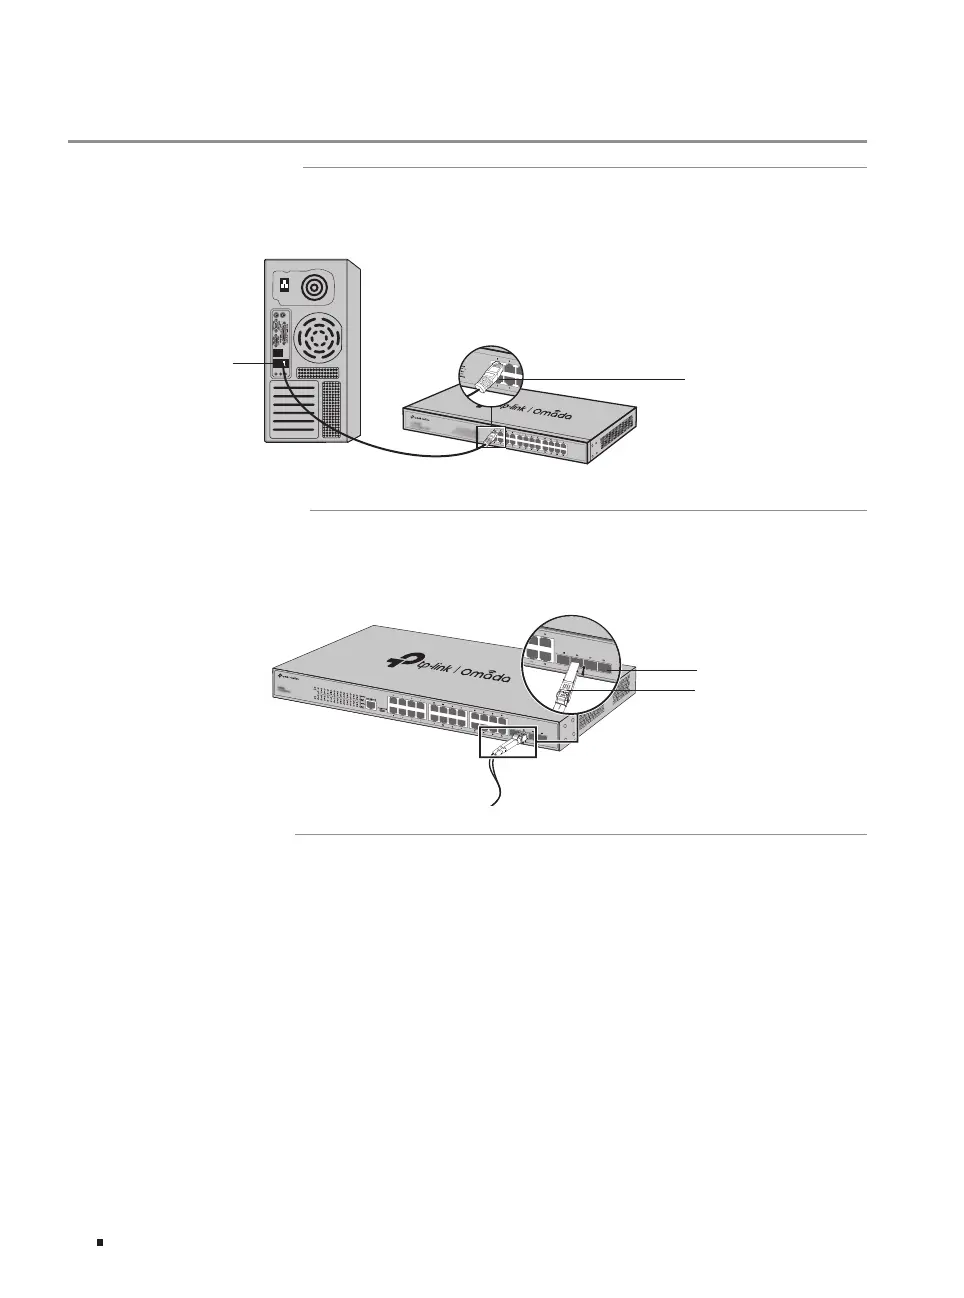
3.1 Ethernet Port
Connect an Ethernet port of the switch to the computer by RJ45 cable as the following figure shows.
Figure 3-1 Connecting the RJ45 Port
RJ45 Port
RJ45 Cable
3.2 SFP/SFP+ Slot
The following figure demonstrates the connection of SFP/SFP+ slot to an SFP/SFP+ module.
Figure 3-2 Inserting the SFP/SFP+ Module
SFP/SFP+ Slot
SFP/SFP+ Module
3.3 Console Port
CLI (Command Line Interface) enables you to manage the switch, thus you can load the CLI after
connecting the PCs or Terminals to the console port on the switch via a cable (an RJ45 console cable
is provided, while micro-USB/USB Type C cable is not provided).
Connect the console (RJ45) port of the device with your computer by the console cable as the
following figure shows.