Do you have a question about the TP-Link tapo C420 and is the answer not in the manual?
Instructions for charging the battery using a power source and USB charger.
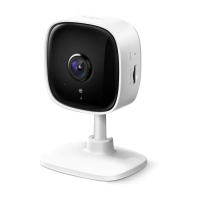
Instructions for inserting the battery and connecting the camera to a power source.
Guide to downloading the Tapo app from the App Store or Google Play.
Instructions for logging into the Tapo app with a TP-Link ID.
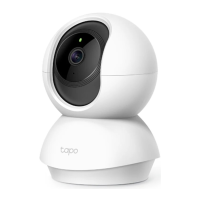
Steps to add the camera to the Tapo app and complete setup.
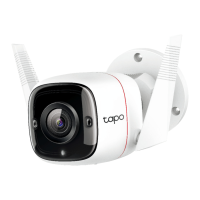
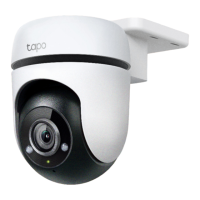
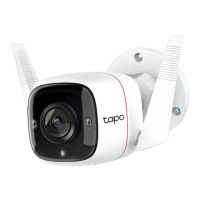
Instructions for marking and drilling holes using the mounting template.
Steps for inserting anchors and affixing the mounting bracket.
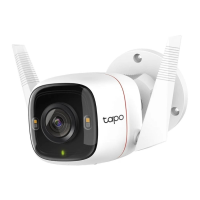
Guide to attaching the camera to the bracket and adjusting its angle.
| Type | IP security camera |
|---|---|
| Day/night mode | Yes |
| Placement supported | Indoor & outdoor |
| Connectivity technology | Wireless |
| Built-in HDD | - |
| Security algorithms | WPA, WPA2-PSK |
| Alert notification type | Snapshot alert message |
| Intelligent Video Surveillance (IVS) system features | Human detection, People counting, Vehicle detection |
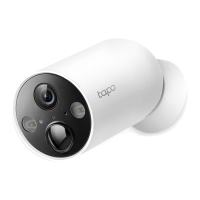
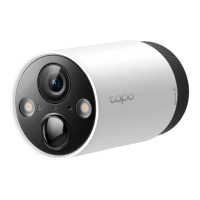
| Form factor | Turret |
| Mounting type | Wall/Pole |
| Product color | White |
| Protection features | Dust resistant, Water resistant |
| International Protection (IP) code | IP65 |
| Field of view (FOV) angle | 113 ° |
| Optical sensor size | 1/3 \ |
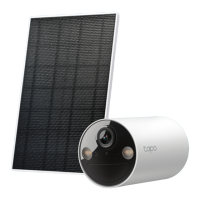
| Power source type | Battery |
| Number of batteries supported | 1 |
| Number of lenses | 2 |
| Fixed focal length | 3.18 mm |
| Cables included | LAN (RJ-45), USB |
| LED type | IR |
| Infra-red wavelength | 850 nm |
| Night vision distance | 15 m |
| Total megapixels | - MP |
| Maximum resolution | 2560 x 1440 pixels |
| Video compression formats | H.264 |
| Supported graphics resolutions | 2560 x 1440 |
| Wi-Fi standards | 802.11b, 802.11g, Wi-Fi 4 (802.11n) |
| Supported network protocols | TCP/IP, ICMP, DNS, HTTPS, TCP, UDP |
| Storage temperature (T-T) | -20 - 60 °C |
| Operating temperature (T-T) | -20 - 45 °C |
| Storage relative humidity (H-H) | 5 - 90 % |
| Operating relative humidity (H-H) | 10 - 90 % |
| Depth | 64.2 mm |
|---|---|
| Width | 110.6 mm |