Total Extension Cord Length (in feet)
Table A
25 50 100 150 200
AMP Rating Wire Gauge
0–10 18 14 12 10 8
10–12 16 14 10 8 8
12–14 14 12 10 8 6
14–16 14 12 10 8 6
16–18 12 12 8 8 6
Extension Cords:
Make sure your extension cord is not damaged. When
using an extension cord, be sure to use one heavy
enough to carry the current your product draws.
For lengths more than100 ft, No. 10 AWG extension
cords should be used. An undersized cord results in a
drop in line voltage and loss of power and overheating.
(NOTE: Table A below shows the correct size to use
depending on cord length and nameplate ampere
rating. When in doubt, use the next heavier gauge. The
smaller the gauge number, the heavier the cord.)
Using the Laser collimator system
WARNING: Do not stare directly at the laser beam.
Never aim the beam at any person or an object other
than the work piece.
Do not deliberately aim the beam at personnel and
ensure that it is not directed towards the eye of a person
for longer than 0.25s.
Always ensure the laser beam is aimed at a sturdy work
piece without reflective surfaces, i.e. wood or rough
coated surfaces are acceptable. Bright shiny reflective
sheet steel or the like is not suitable for laser use as
the reflective surface could direct the beam back at the
operator.
Only turn the laser beam on when the tool is on the work
piece.
1. Mark the line of the cut on the work piece.
2. Adjust the depth of the cut and bevel angle as
required.
3. Rest the front edge of the base on the work piece.
4. Switch on the laser beam using the laser light on/off
button.
5. Align the beam with the line on the work piece.
6. Start the motor by squeezing the trigger switch.
7. Always let the blade reach full speed (approximately
2 seconds) before you begin to cut into the work
piece.
8. Slowly push the saw forward using both hands,
keeping the red laser light beam on the line of cut.
9. After completing your cut, release the trigger switch
and allow the blade to come to a complete stop. Do
not remove the saw from the work piece while the
blade is moving.
10. Switch off the laser beam on completion of the cut.
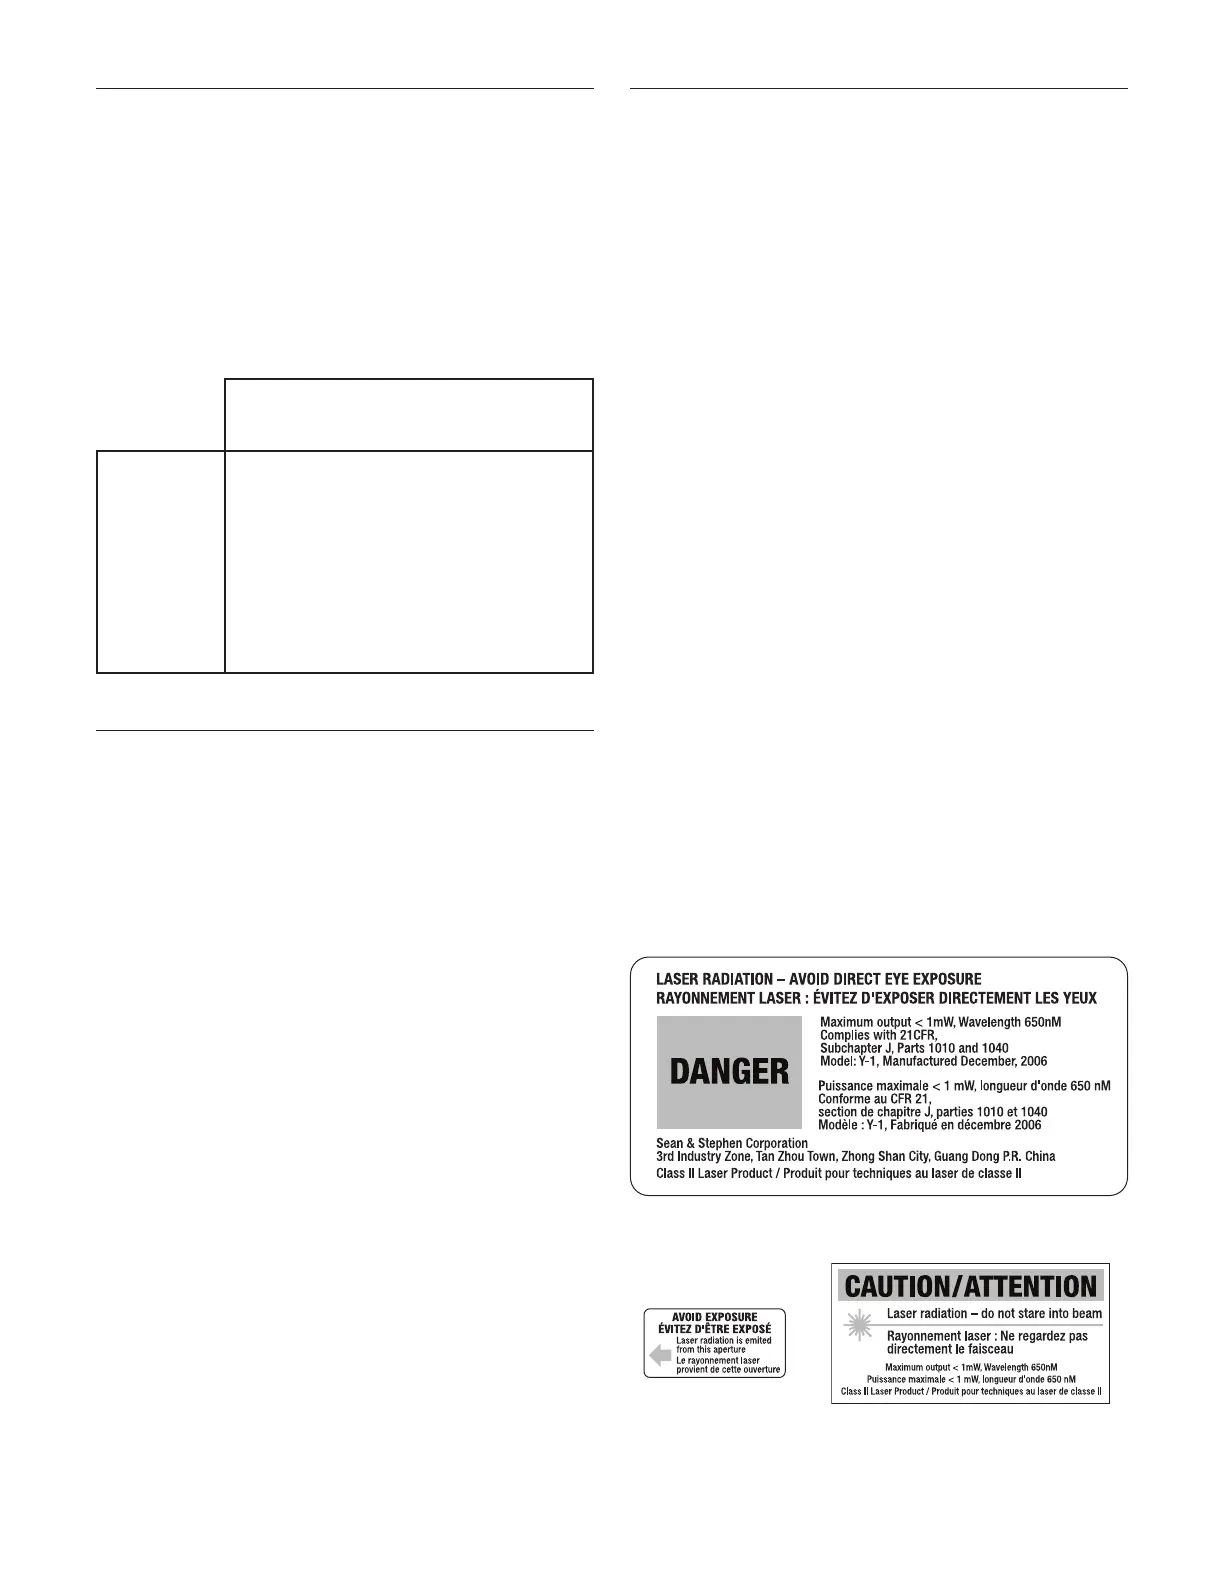
Safety rules for laser lights
The laser guide used in the tool is Class II with a
maximum output of 1 mW and a wavelength of 650 nm,
Complies with 21 CFR, Subchapter J, Parts 1010 and
1040, Class II laser product. The laser guide does not
normally present an optical hazard, although staring at
the beam may cause flash blindness.
User Information
CAUTION – The use of optical instruments with this laser
product will increase eye hazard.
CAUTION – The use of controls or adjustments or
performance of procedures other than those specified
herein may result in hazardous radiation exposure.
• Do not stare into the laser beam.
• The laser shall be used and maintained in accordance
with the manufacturer’s instructions.
• Never aim the beam at any person or an object other
than the work piece.
• Do not disassemble the laser.
• Operate the laser only when cutting. Turn the laser off
after use.
Always ensure the laser beam is aimed at a sturdy work
piece without a reflective surface, i.e. wood or rough
coated surfaces are acceptable. Bright shiny reflective
sheet or the like is not suitable for laser use as the
reflective surface could direct the beam back at the
operator.
This label is located on the top of the motor enclosure
(part # 63).
This label is located on the top
of the rocker arm (#87) beside
the laser battery box (#145) and
switch of laser (#139).
This label is located
on the lower back
edge of the safety
guard (#105)