55
Place the battery pad into battery tray
located behind the passenger’s seat.
56
Install the battery in the cart with the ter-
minals to the rear. First, install the positive
cable (red) to the ‘+” on the battery. Next, install
the negative cable (black or green) to the ’-’ on
the battery. NOTE: Use pliers to hold the nut while
using a Phillips head screwdriver to tighten the
screw.
GOKARTMASTERS.COM
GOKARTMASTERS.COM
58
Place rubber battery strap over bat-
tery hook to the front of the battery
tray first. Then, pull the strap over the battery
and place it on the rear hook of the battery
tray. If necessary, use pliers.
GOKARTMASTERS.COM
57
Place gray plastic cover over bat-
tery.
GOKARTMASTERS.COM
59
Locate the set bolt on the sprocket
hub and tighten securely.
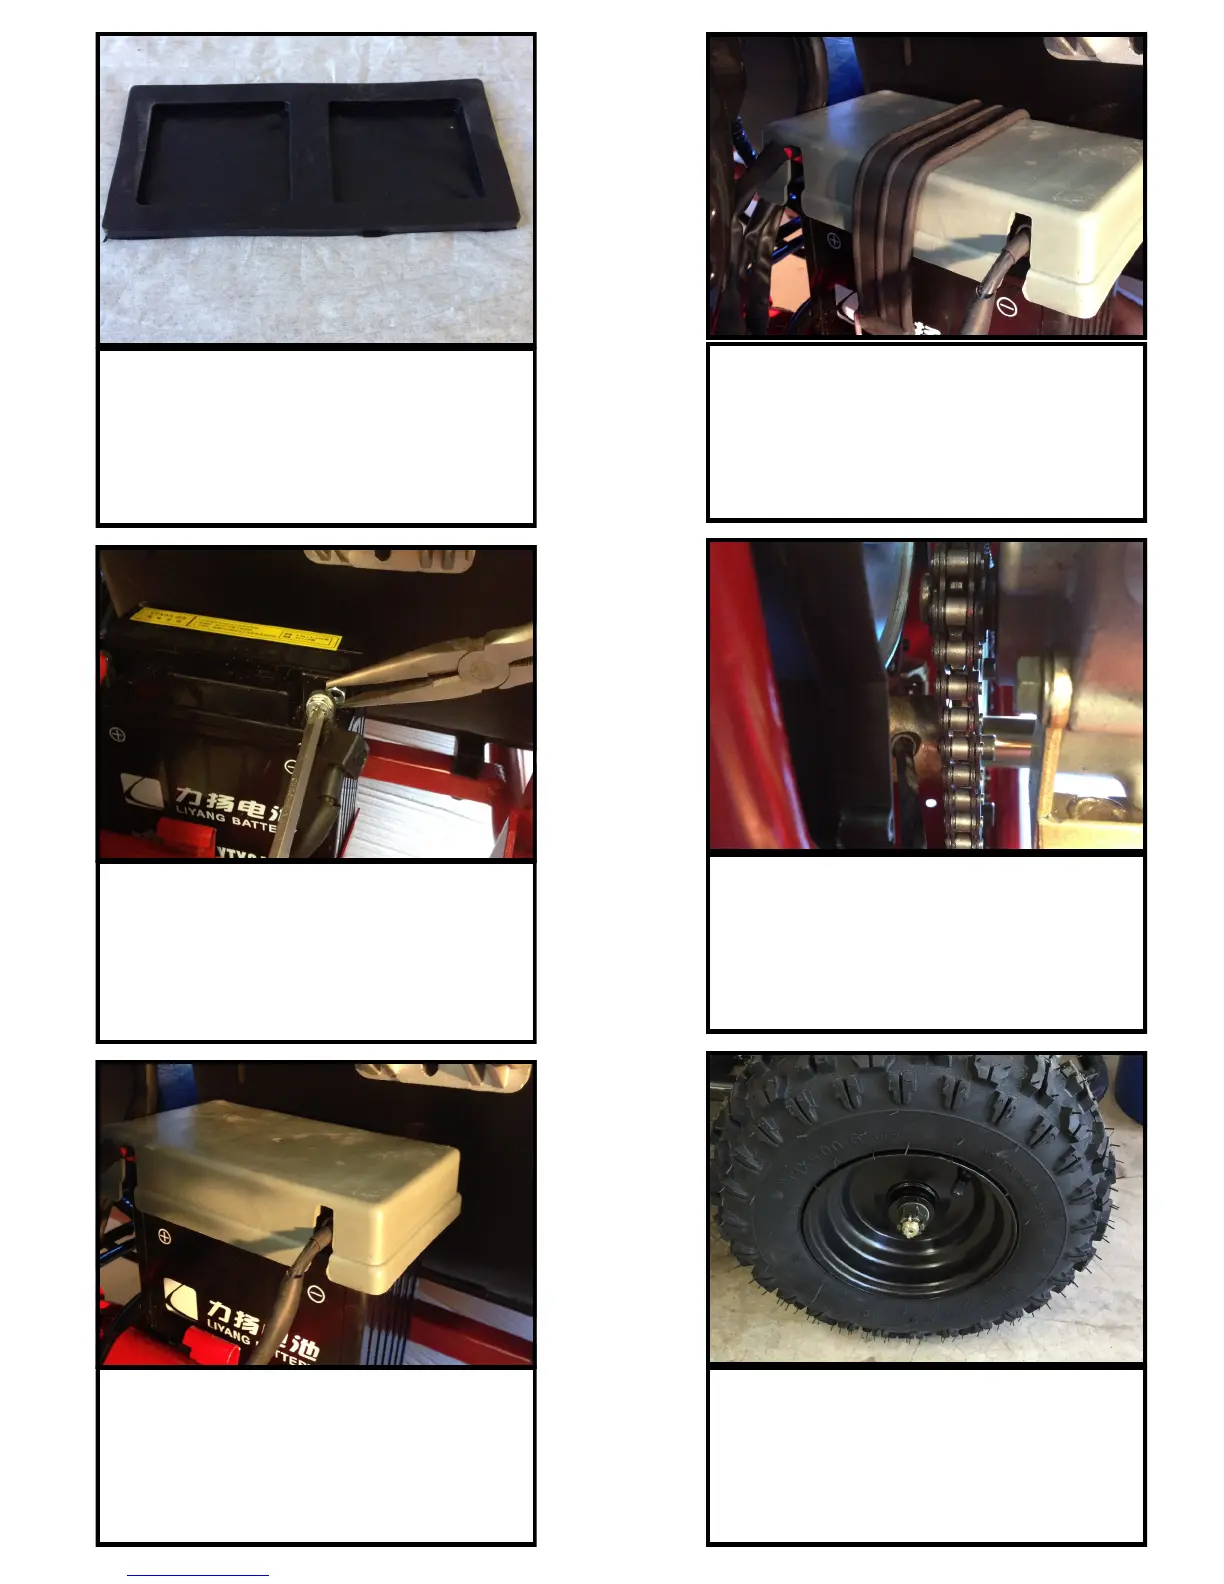
60
Locate the rear passenger’s side
wheel. This is one of the larger
wheels. The tread on top of the tire will point
towards the front of the go-kart & the air valve
stem will be facing towards the outside.
GOKARTMASTERS.COM
GOKARTMASTERS.COM