10
STEP 18
• At centre front of awning, insert straight pin of Awning Pole (14) into hole at end of Pole (12) & (10) and join with end of
Pole (13).
• Ensure Pole (13) tee nuts are facing downwards.
• Adjust Pole (14) in the upright position using the tee nuts.
STEP 19
• At other end of Pole (13), insert straight pin of Awning Pole (15) then join to hole at end of Pole (10).
• Insert 'L' shaped pin of 3rd awning roof pole (10) through the tent eyelet into hole located on end of pole (1).
• Ensure Pole (10) tee nuts are facing downwards.
• Adjust Pole (15) in the upright position using the tee nuts.
STEP 20
• Pull awning into position over awning poles and insert eyelets through straight pin at top of each pole.
STEP 21
• Insert straight pin of other awning Pole (15) through pre-drilled hole on
Awning Roof Pole (10), then through eyelet along side of awning edge.
• Attach Tension Bar (6 & 9) to awning Roof Poles (10) by ‘c’ clip.
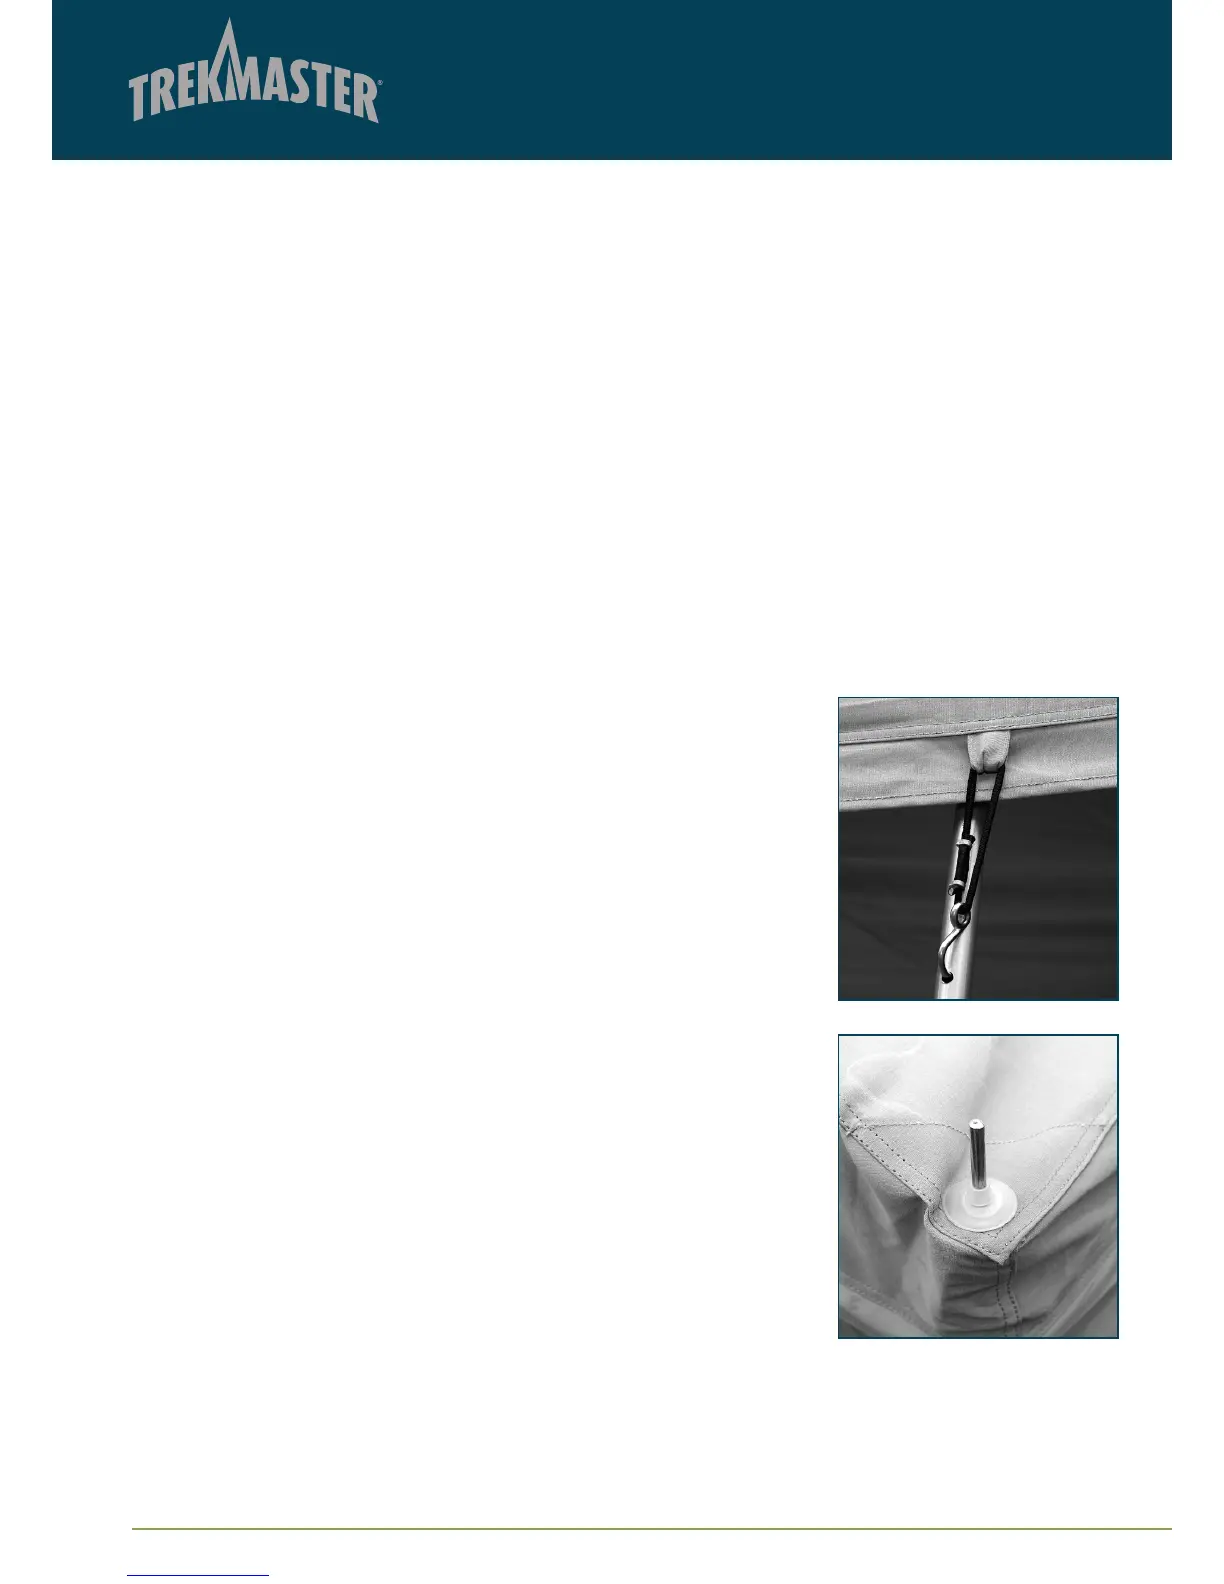
• Hook elastic straps around awning edge into holes located on upright poles.
• Position Rain Caps (F) over top of straight pin at each upright awning pole.
• Adjust all awning pole tee nuts until awning is tight. Do not over stretch
the canvas.
STEP 22
• Attach Guy Ropes (E) to awning poles and peg out.
• Tension guy ropes as required.
• Attach Dust Cover (G) at rear of trailer using hook and loop fastener.
STEP 23 – lounge room side awning (optional)
• The lounge room side tent wall can be unzipped and rolled up or used
as an awning with the remaining 2 x Poles (15).
• Attach Guy Ropes (E) to poles and peg out.
• Tension guy ropes as required.
• Peg out all the 'D' rings using Pegs (D).
Step 22
Step 22