Page 14
Chapter 3 Web-Based
Management
This chapter explains how to use your Web Browser to configure the Print Server.
Overview
The Print Server incorporates the HTTP server. This allows you to connect to the Print Server and configure it using your Web
Browser. Most browsers should work, provided they support tables and forms.
Preparation
Because it supports dynamic IP Address allocation using DHCP or BOOTP, the Print Server ships with an IP Address of 0.0.0.0.
This is NOT a valid IP Address.
Therefore, you must do ONE of the following:
Check your DHCP server (if you have one), and determine the IP Address allocated to the Print Server.
Use the Diagnostic Button (if fitted) to print a report which includes the current IP address. (Press the Diagnostic Button, and
hold it for 2 seconds.)
Use the Setup Wizard or another Print Server utility to allocate a valid IP Address to the Print Server.
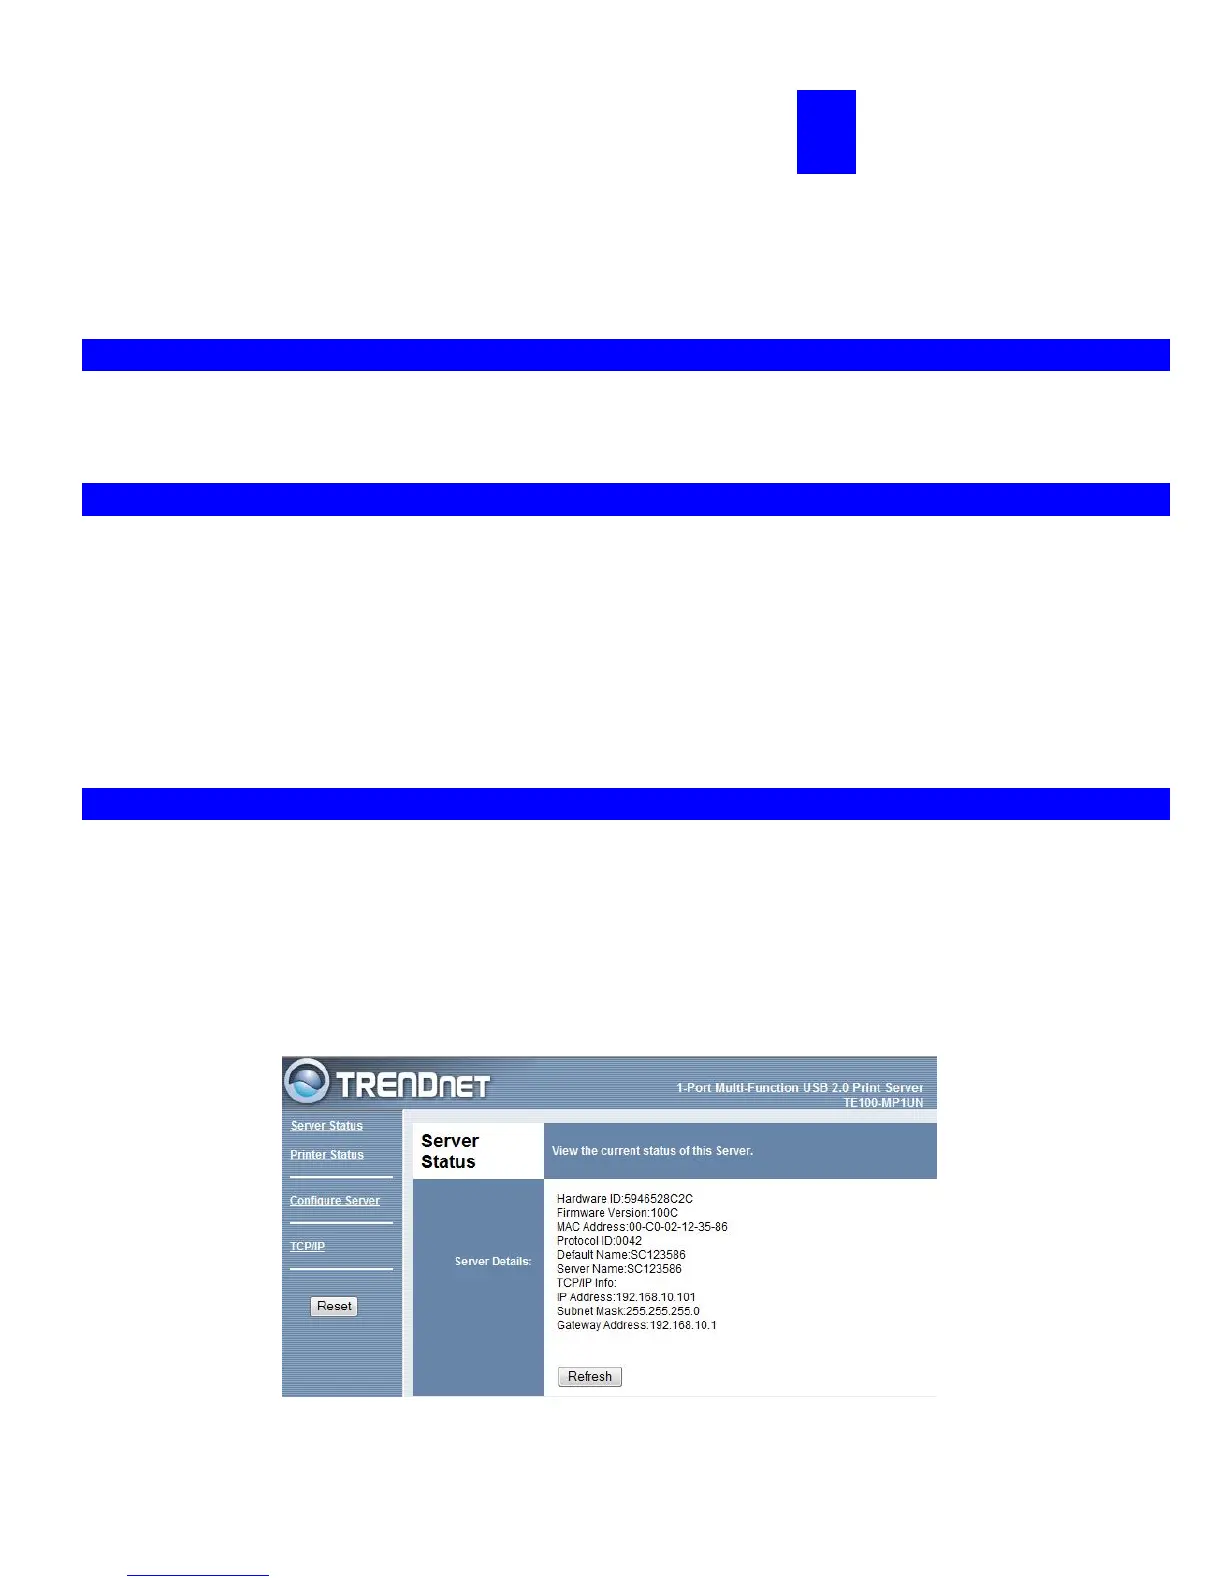
Connecting to the Print Server
1. Start your Web Browser.
2. In the Address box, enter HTTP:// followed by the IP Address of the Print Server.
e.g.
http://192.168.10.100
3. You will then be prompted for the password. If no password has been set, just press ENTER.
4. Use the menu bar to move from one screen to another. Remember to save each screen before changing to a different screen.
 Loading...