© Copyright 2017 TRENDnet. All Rights Reserved.
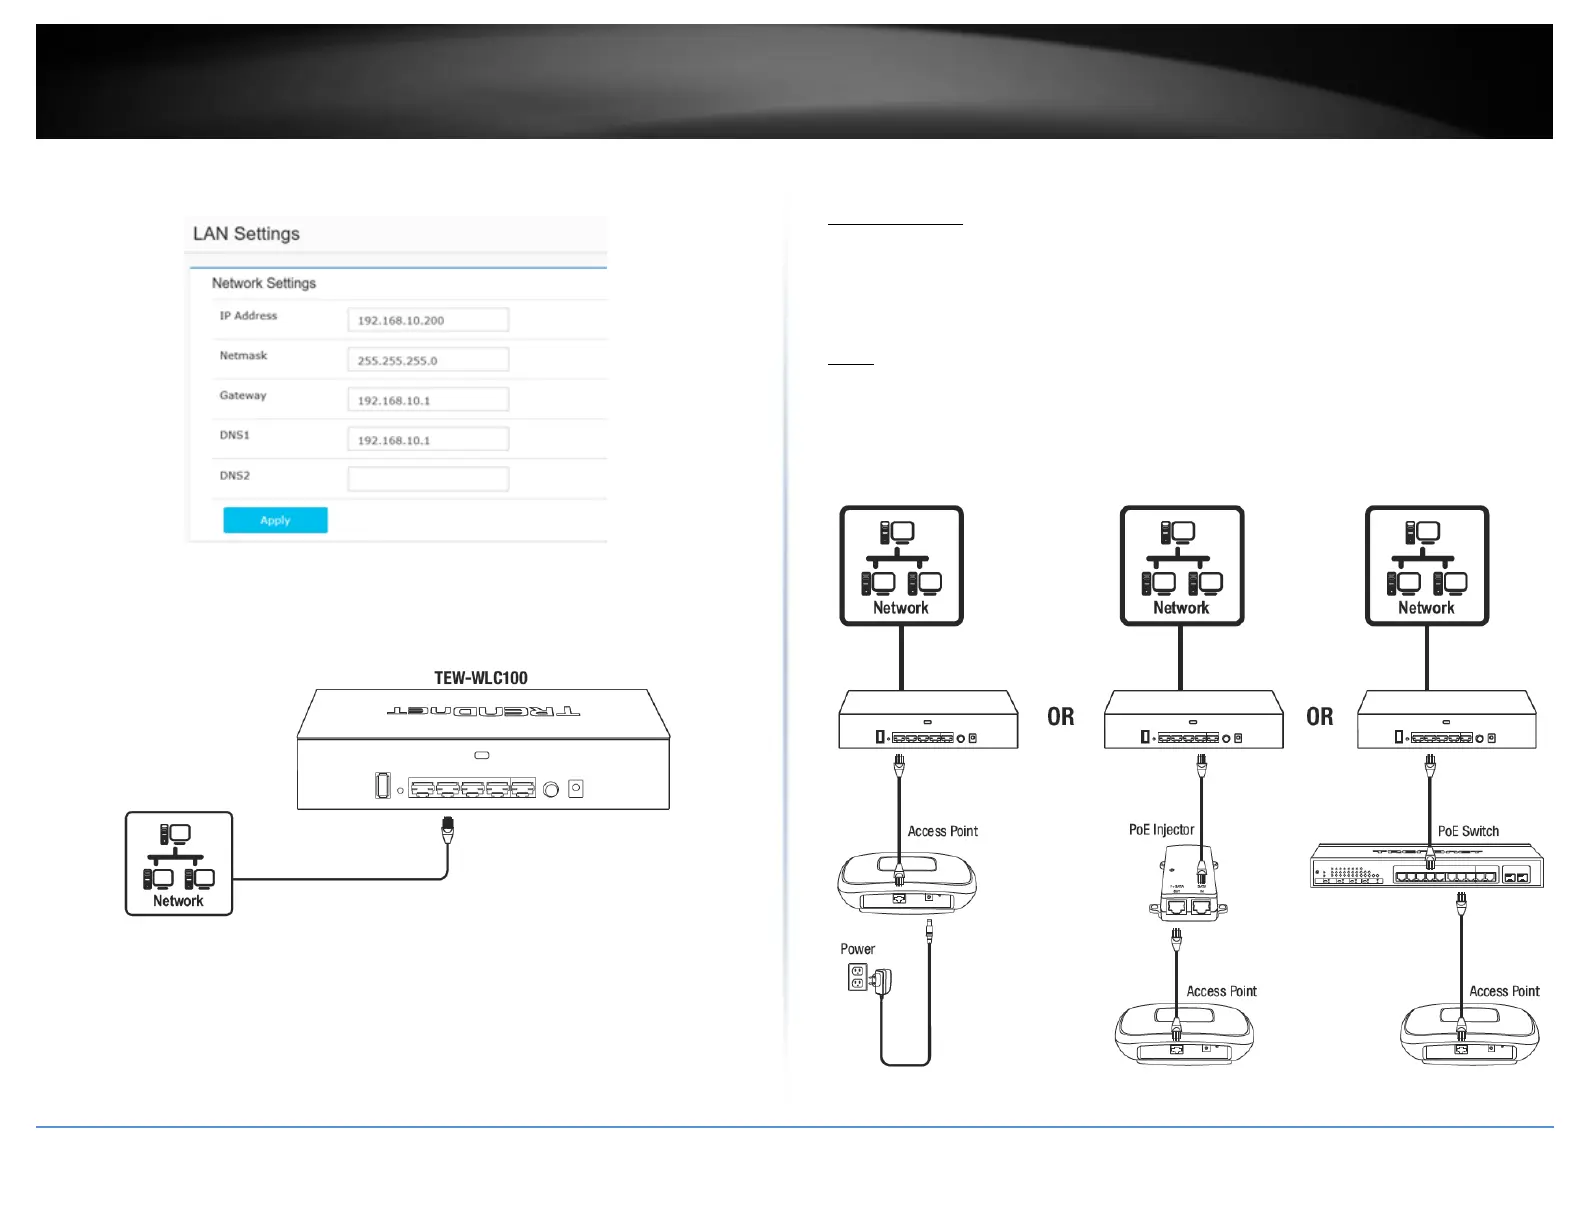
9. Configure the controller IP address settings to match the requirements of your
network and click Apply.
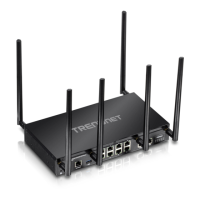
10. Using an Ethernet cable, connect one of the five Gigabit Ethernet ports located on
the back of the wireless controller to your network (e.g. router, switch, etc.)
11. After you have configured the wireless controller administrator password and IP
address settings accordingly, reconfigure your computer’s network adapter back to the
original settings to obtain IP address settings automatically using DHCP.
Note: For more information on configuring your computer’s network adapter to obtain IP
address settings automatically, please refer to the Troubleshooting section.
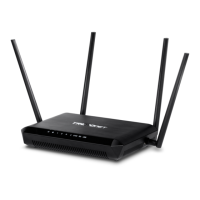
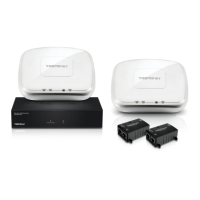
B. Connect your wireless access points
Important Note: Please make sure your access points have met the requirements in the
Access Point Compatibility section.
1. Using an Ethernet cable, connect each wireless access point to the wireless controller
or your network.
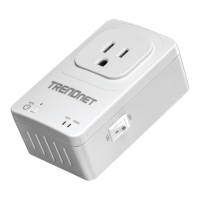
Note: If powering the access points using their power adapters, you can connect the
access points directly to your network or the wireless controller. If powering the access
point using power over Ethernet (PoE), you can connect your access points to your
network or to the wireless controller using a separate PoE injector (not included) or
PoE/PoE+ switch (not included).
 Loading...