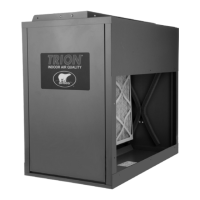
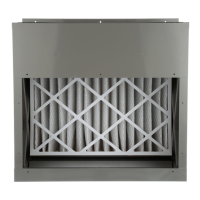
LOCATION SELECTION
Remember to select a location that is readily accessible
for periodic inspection and cleaning of the the Pre-filters
and Ionizing-Collecting Cells. Allow a minimum of 24”
clearance in front and 12” clearance above the air cleaner
for component removal and service space.
DIRECTION OF AIRFLOW THROUGH THE AIR
CLEANER
For left to right airflow:
This air cleaner is factory set for left to right airflow when
you are facing the Front Panel Assembly.
For right to left airflow:
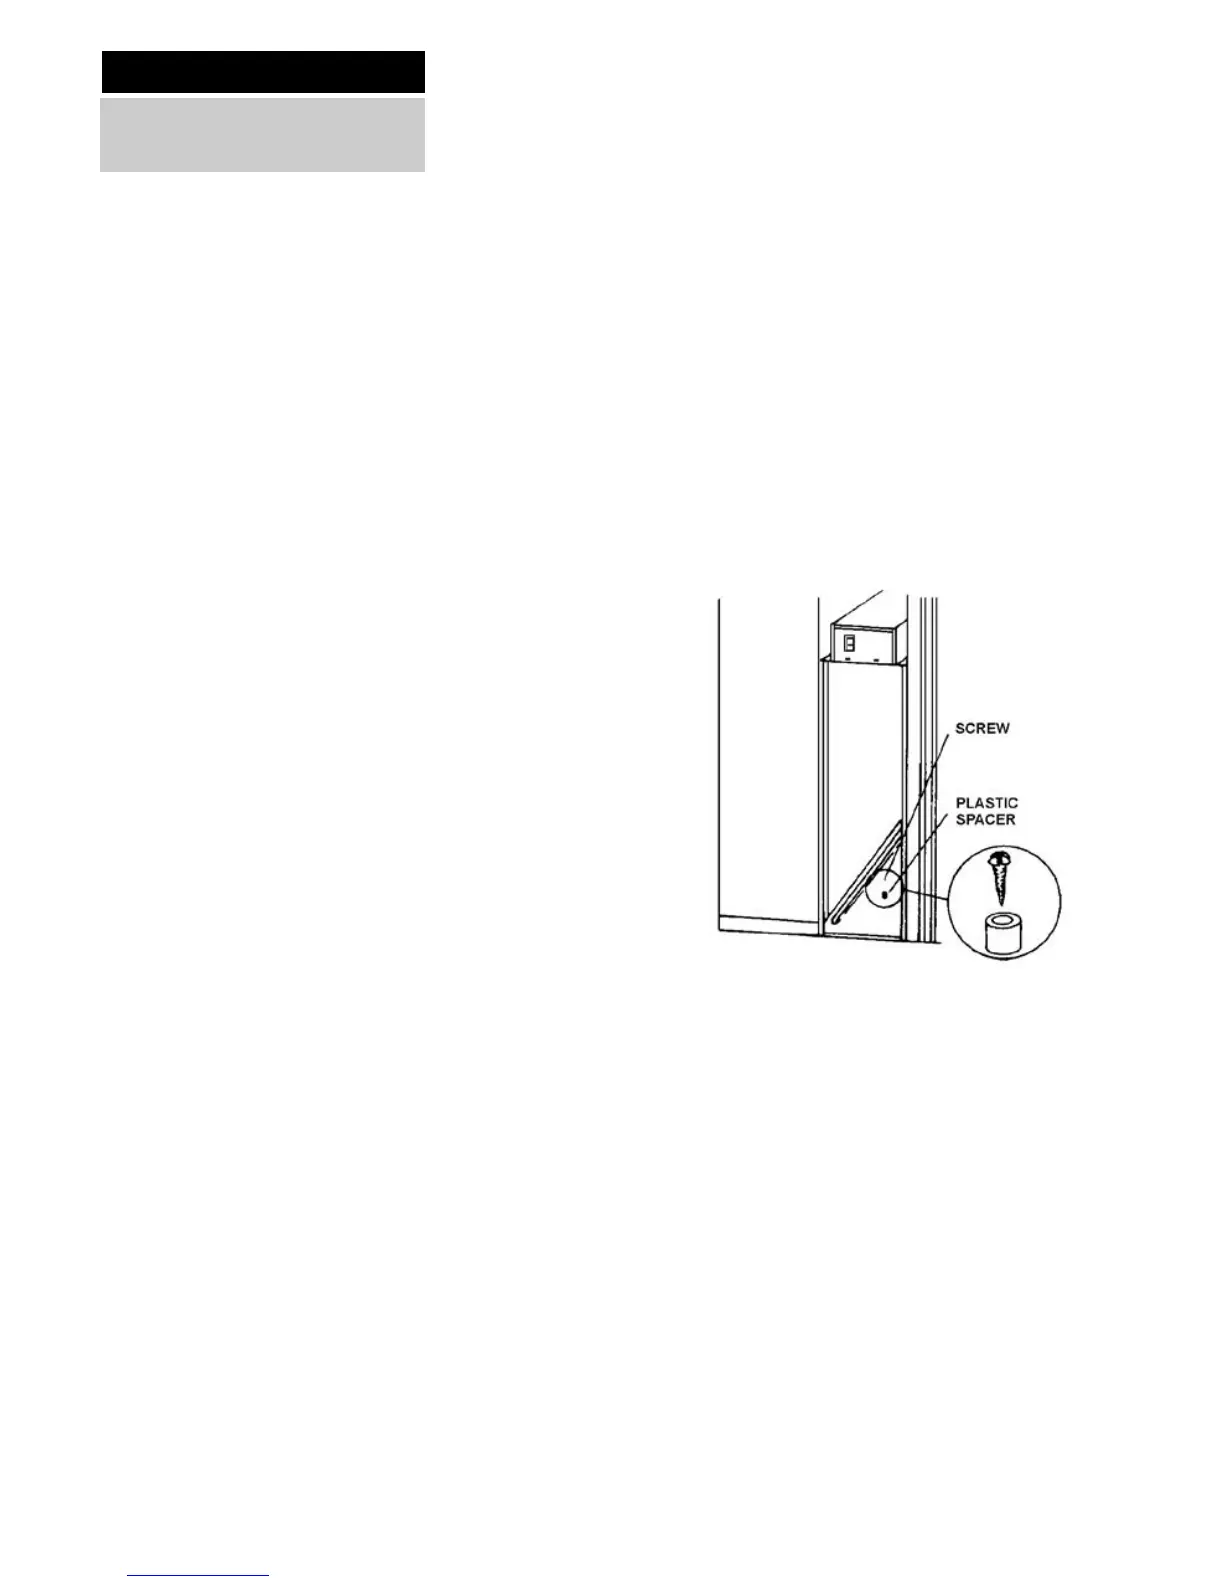
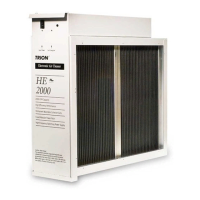
1. Remove the Pre-filters and Ionizing Collecting Cells
from the cabinet. A plastic positioning spacer is
located inside the bottom of the cabinet. This spacer
is secured to the cabinet by a #6 Phillips drive screw
to assure installation of the Cells in the correct
position with respect to air flow.
2. Remove the screw and reposition the spacer in the
alternate hole in the bottom of the cabinet.
3. Replace the screw to ensure the plastic spacer is not
accidentally dislodged during normal maintenance.
The spacer must be installed in the hole provided
nearest to the air leaving side of the cabinet.
4. Remove the Ionizing-Collecting Cell handle and re-
attach to the opposite end of the cell(s). Turn Cells
around, reversing their orientation and replace in
cabinet and replace Pre-filters on the air entering
side of the air cleaner. The directional arrows on the
cell end plates must point in the direction of airflow.
Installation
14
For Qualified HVAC
Installer Only



 To Next Page