Do you have a question about the Tripp Lite Smart Series and is the answer not in the manual?
Locate and remove two screws on the rear of the UPS to detach the battery door.
Grasp the tab and pull the battery cartridge out, supporting it as it is removed.
Remove tape and disconnect the black battery cable from its terminal using pliers.
Remove tape and disconnect the red battery cable from its terminal using pliers.
Disconnect the two battery cables connecting the three batteries using pliers.
Line up new batteries side by side and tape them together for easier connection and installation.
Reconnect the three new cells using original cables, connecting positive to negative terminals.
Place the new battery pack into the UPS compartment with the red terminal closest to the unit.
Using pliers, connect the red UPS cable to the red positive terminal of the battery pack.
Using pliers, connect the black UPS cable to the black negative terminal of the battery pack.
Push the battery cartridge fully in, align the door, and install the screws to secure it.
Allow UPS to charge for 6-8 hours and contact support if needed.
Contact Tripp Lite Technical Support via phone or email for assistance.
| Backup Runtime | Varies by model and load |
|---|---|
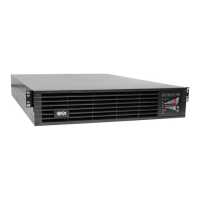
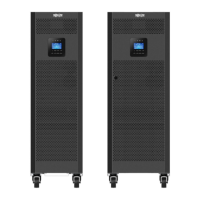
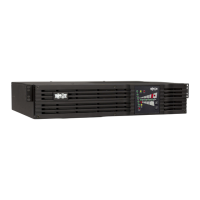
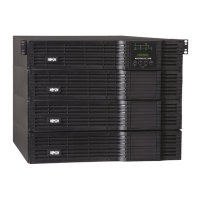
| Form Factor | Tower or Rackmount (Varies by model) |
| Communication Ports | USB, Serial (Varies by model) |
| Audible Alarm | Yes |
| Frequency | 50/60 Hz |
| Typical Recharge Time | 4-6 hours |
| Dimensions | Varies by model |
| Weight | Varies by model |
| Type | Line Interactive |
| Output Voltage | 120V |
| Input Voltage | 120V |
| Battery Type | Sealed Lead Acid (SLA) |
| Interface | LCD or LED display (varies by model) |
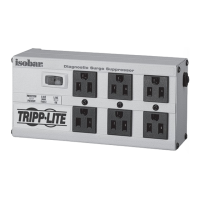
| Outlets | Varies by model (e.g., 6 outlets) |
| Network Management | Optional (varies by model) |
| Model | Tripp Lite Smart Series |