Do you have a question about the Tripp Lite SmartRack and is the answer not in the manual?
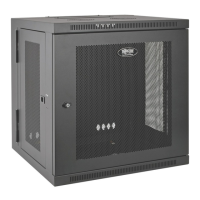
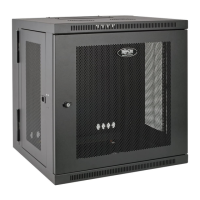
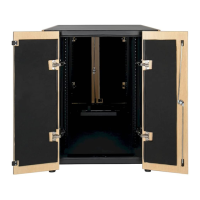
| Type | Rack Enclosure |
|---|---|
| Material | Steel |
| Color | Black |
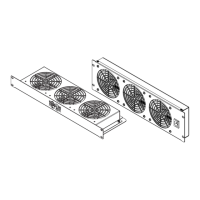
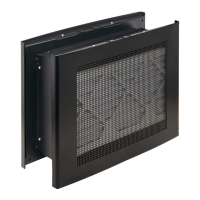
| Cooling | Fan Kit Optional |
| Locking Features | Locking doors and side panels |
| Compatibility | 19-inch Rack Equipment |
| Security | Locking Doors and Side Panels |
Preparing the installation site and gathering necessary tools for enclosure setup.
Steps for safely removing the enclosure from its shipping container and packaging.
Procedures for moving and positioning the enclosure at the final installation site.
Adjusting the enclosure to ensure it is perfectly level on the floor for stability.
Instructions for properly grounding the enclosure for electrical safety and protection.
Steps to add, remove, or reattach the front and rear doors of the enclosure.
Guide to reversing the swing direction of the front door for installation flexibility.
Instructions for removing and reinstalling the top roof panel of the enclosure.
Steps for removing and reinstalling the side panels on the enclosure.
How to adjust the depth of internal mounting and cable management rails.
Procedure for joining multiple enclosures together side-by-side for a bayed configuration.
How to install and remove cage nuts for mounting rack equipment securely.
Details of the product's 5-year limited warranty terms and conditions.
Instructions on how to register your product for service and potential benefits.
Explanation of the 'Ground Connection' symbol used on the product.