-6-
Assembly (Storage is the reverse of assembly)
Set-up Instructions
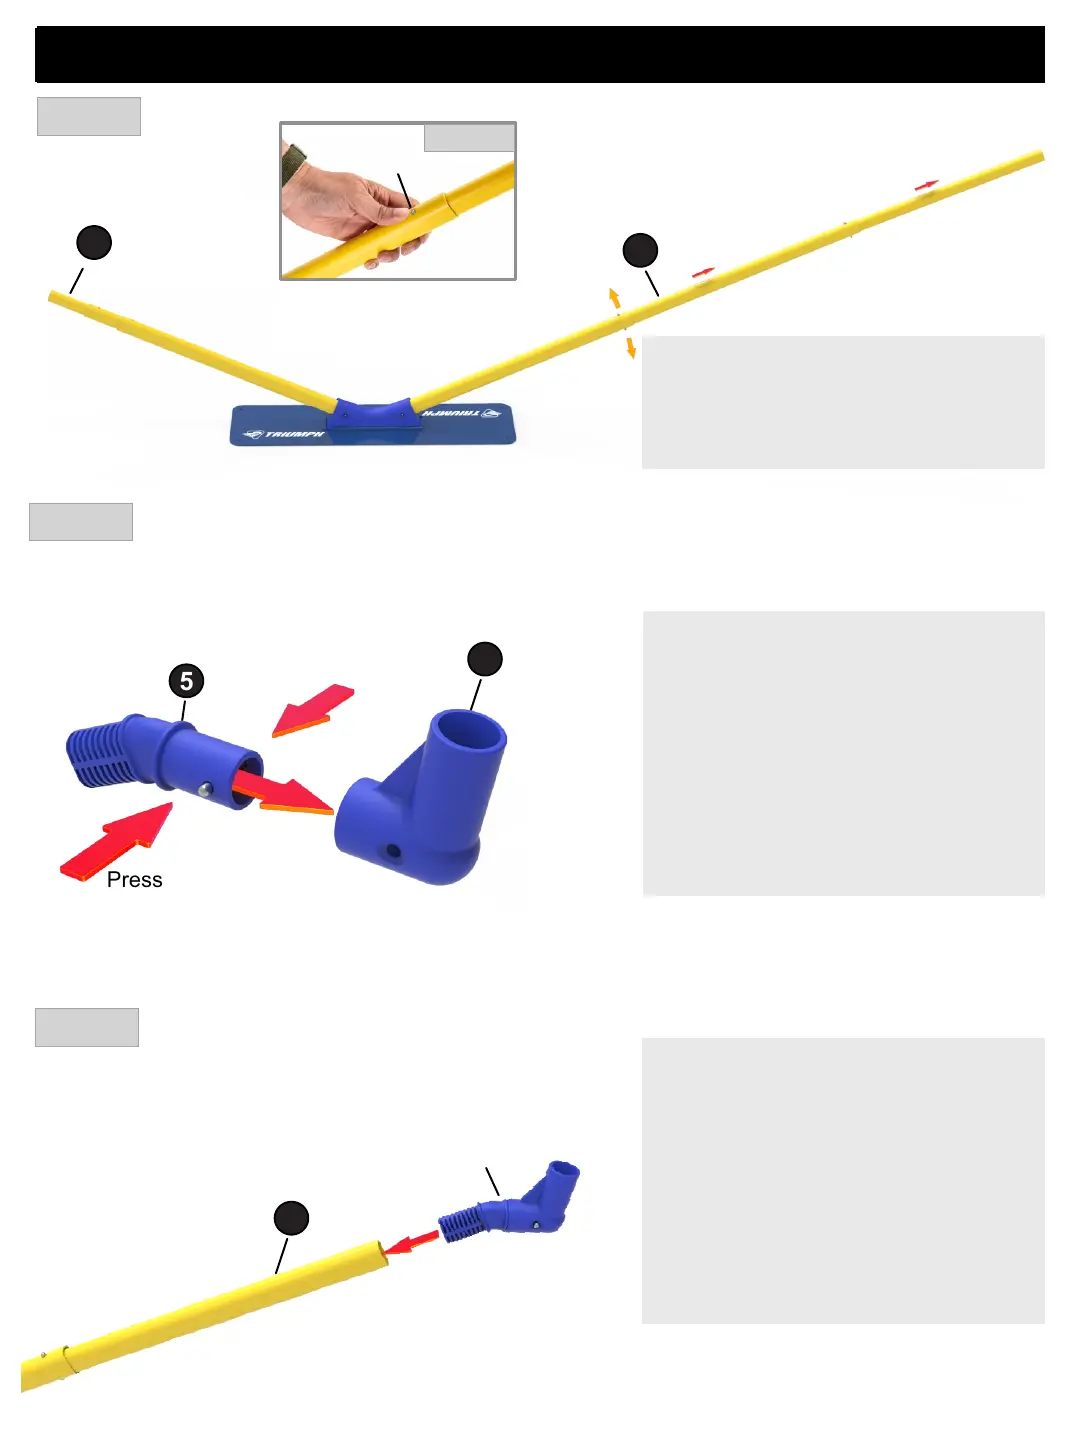
STEP 4
STEP 5
STEP 6
Rotatable
Pivot
6
5
3
3
Press
spring locks
Carefully pull out telescoping poles #3 as
shown, making sure spring locks engage.
See Detail A. Repeat for other side.
Attach Angled Connector #5 to Rotatable
Pivot Elbow #6 as shown. Repeat
assembly to make a second set.
Carefully insert Rotatable Pivot assembly
to the end of Yellow Telescoping Pole #3.
DETAIL A
Spring
Lock
3
 Loading...