Do you have a question about the Trojan PIONEER 300 and is the answer not in the manual?
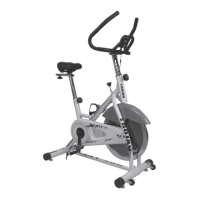
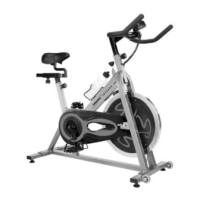
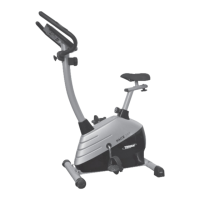
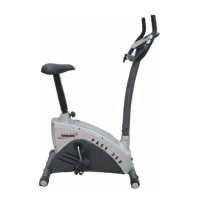
Fasten the front foot to the base frame using specified bolts, washers, nuts, and caps.
Fasten the rear foot to the base frame using specified bolts, washers, nuts, and caps.
Connect the computer wire to the sensor wire, ensuring cables are not damaged.
Insert and attach the handlebar post to the base frame using specified screws and washers.
Attach the saddle to the saddle post and place the plastic collar onto the saddle post.
Insert the saddle post into the base and secure it using the seat knob.
Attach the computer wire to the computer and mount the computer to the handlebar post.
Attach the handlebar and connect the pulse wire to the computer.
Insert and tighten the right and left pedals into the crank assembly.
Steps to follow when experiencing faults, including calling the hotline and service team involvement.
Details on free repairs for items under warranty and costs for non-covered repairs.
Information on costs for repairs after the warranty period has expired.
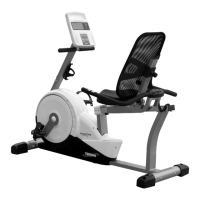
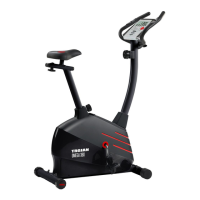
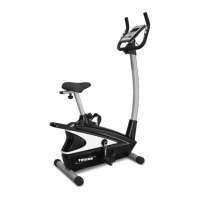
| Brand | Trojan |
|---|---|
| Model | PIONEER 300 |
| Category | Exercise Bike |
| Language | English |