EN 6
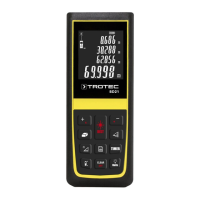
Operating manual – laser distance measuring device BD21 / BD26
Switch-on
1. Briefly press the Switch-on/measurement button(7).
ð The display is switched on and the device is ready for
operation.
Switch-off
1. Press the Switch-off button(12) for a long time.
ð The display is switched off.
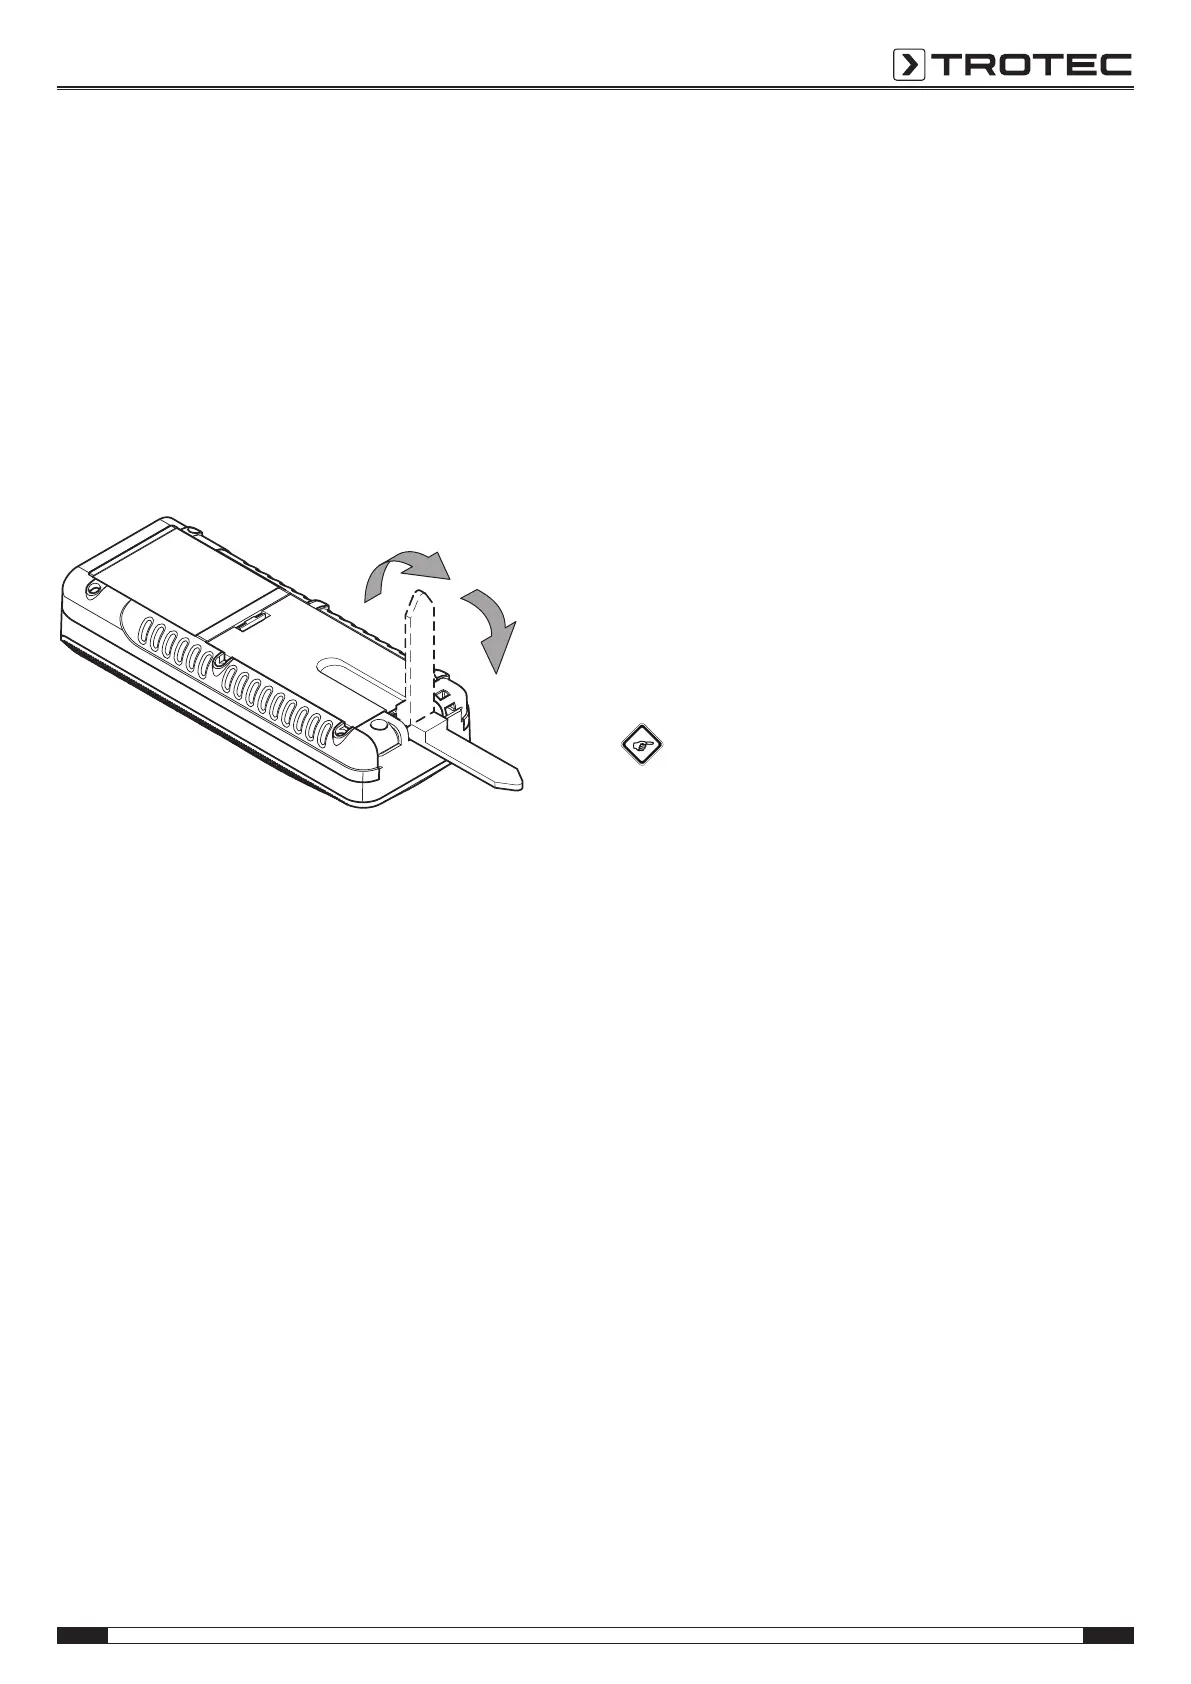
Using the multifunctional end piece
The device is equipped with a multifunctional end piece(2),
which you can use e.g. for measurements at corners. It serves
for device stabilization.
1. Fold out the end piece.
ð BD21: The position of the end piece and the associated
reference point must be set manually by pressing the
button(14).
ð BD26: The position of the end piece and the associated
reference point are automatically recognized by the
device.
ð An extended depiction of the reference value rear(29)
indication is displayed.
Basic settings
Switching the acoustic signal on/off
1. Press the Minus button(8) for a long time to switch the
acoustic signal on or off.
ð The switch-on/off process is confirmed by a brief
acoustic signal.
Aborting the measurement and deleting the display
1. Briefly press the Delete button(12) to abort the current
measurement or to delete the displayed measured values
one at a time.
Setting the reference value
The device always measures the total distance starting at the
reference point. This means that if the rear end of the device is
set as reference point, the length of the device will be part of
the measurement. By default the reference point is set to the
rear of the device. You can, however, also relocate the
reference point to the front part of the device. Proceed as
follows:
1. Press the Reference button(14) to relocate the reference
point to the front end of the device.
ð An acoustic signal is emitted each time the reference
point is relocated. Additionally, the indication Reference
value front(30) appears.
When switching the device off and then on again, the reference
value will automatically be relocated to the rear end of the
device.
Changing the units
1. Briefly press the Unit button(11) to switch between the
units for the measured values. Available units are m, ft in,in
and ft.
Info
If no measurement has been performed yet and if you
want to switch to another unit, there will be no unit
indication at first if you select ft in. Only if a
measurement is performed or if measured values are
already available will the measured values be
displayed in the xx' yy'' format.
Displaying the inclination
1. Briefly press the Inclination button(15).
ð The inclination of the device will be indicated in the
Inclination display(34).
Calling up a measured value in the device history
The device automatically saves the last 10 measured values.
The saved measured values can be called up as follows:
1. Press the Save button(13) to call up the history.
2. Briefly press the Minus button(8) or the Plus button(17) to
navigate through the history and call up the saved
measured values.
3. You can return to the normal measuring menu by briefly
pressing the Delete button(12) or the Measurement
button(7).