6 EN
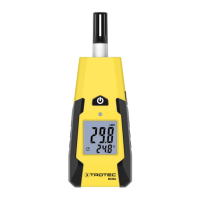
moisture measuring device BM40
Operation
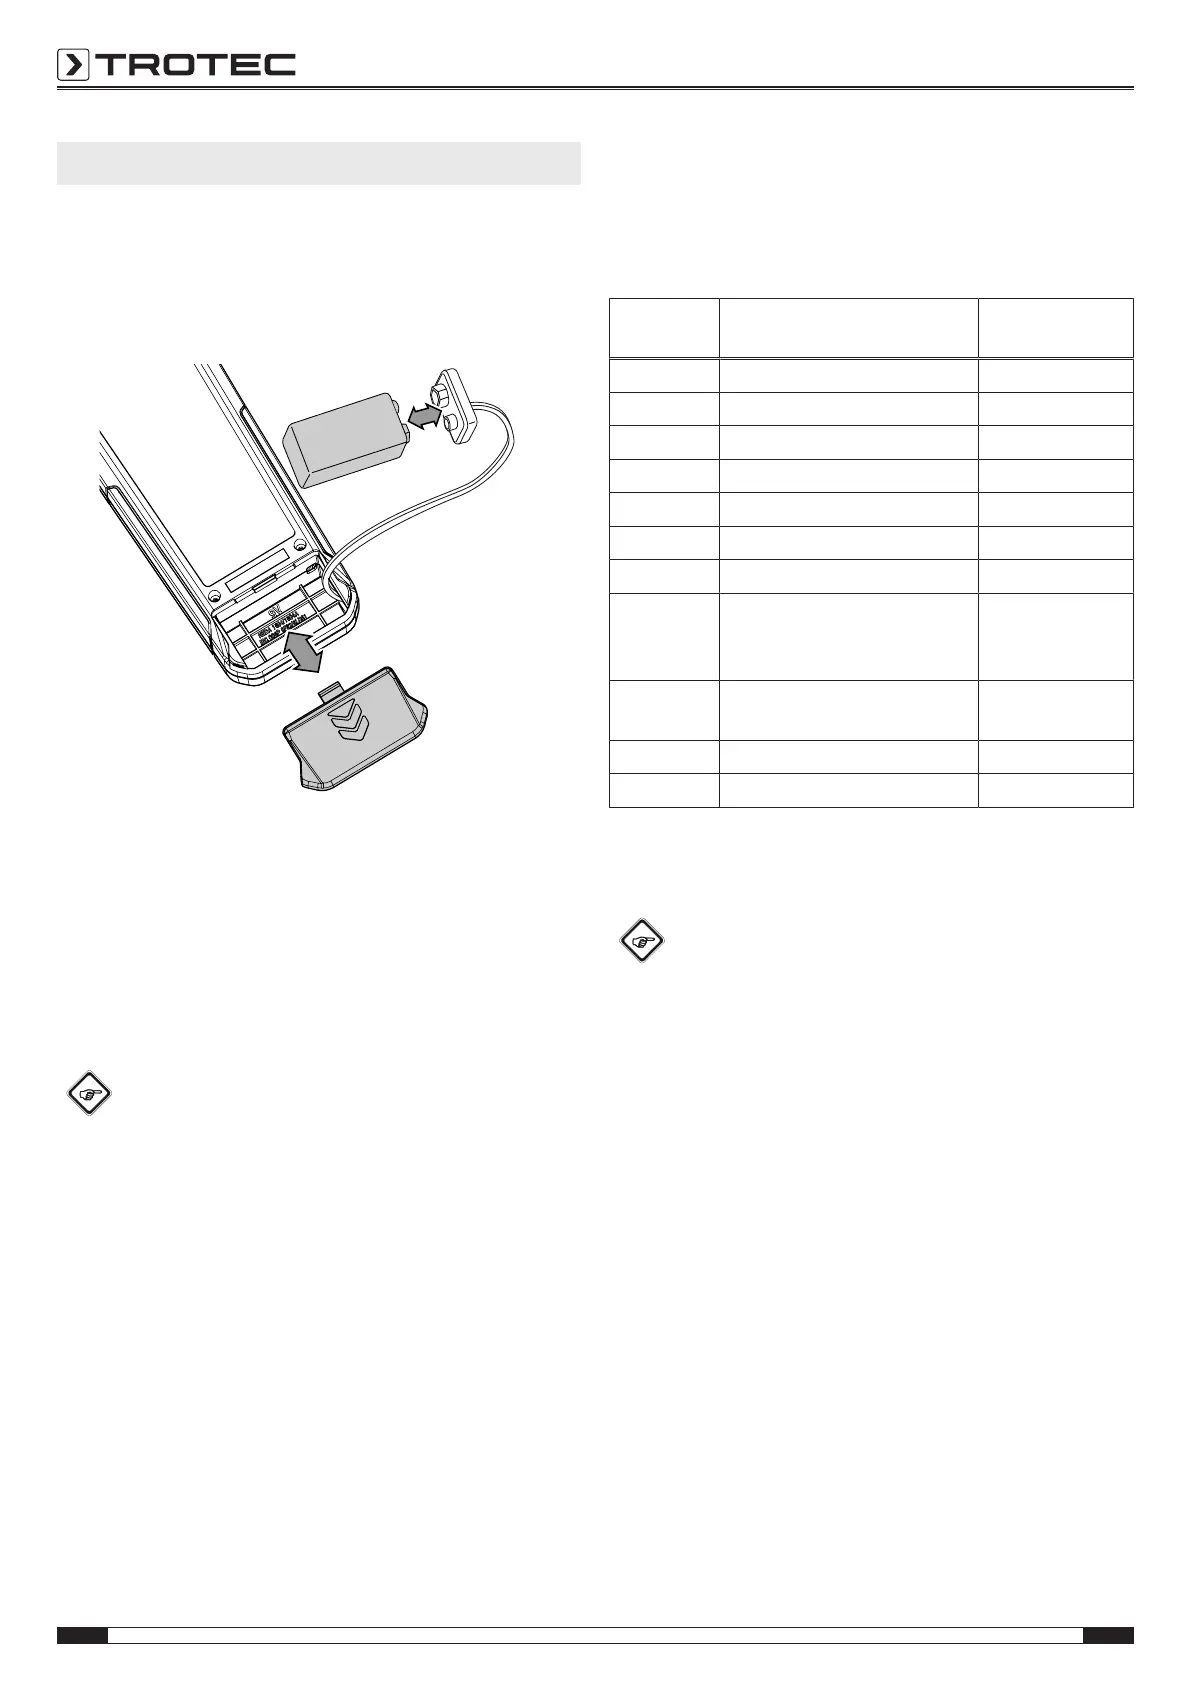
Inserting the battery
Insert the supplied battery into the device before first use.
Note
Make sure that the surface of the device is dry and the
device is switched off.
1. Open the battery compartment at the rear of the device by
sliding down the cover.
2. Use the battery clip to connect the 9V battery with correct
polarity.
3. Place the battery with the battery clip into the battery
compartment.
4. Slide the cover back onto the battery compartment until it
locks in place.
Switching the device on
Info
Please note that moving from a cold area to a warm
area can lead to condensation forming on the device's
circuit board. This physical and unavoidable effect can
falsify the measurement. In this case, the display
shows either no measured values or they are incorrect.
Wait a few minutes until the device has become
adjusted to the changed conditions before carrying out
a measurement.
1. Press the Power button(3) for approx. 1seconds.
ð The device starts in the measuring mode°C.
ð The measured value is displayed in real time on the
measurement value display(8).
Selecting the measuring mode
For an increased accuracy of the measured values, which are
directly indicated in % by weight, 10selectable material curves
are available for the following types of wood and building
materials:
Measuring
mode
Designation Measuring range
B1 Solid brick 0% to 20%
B2 Anhydrite screed 0% to 20%
B3 Cement screed 0% to 20%
B4 Sand-lime brick 0% to 20%
B5 Gas concrete 0% to 20%
B6 High-insulating brick 0% to 20%
B7 Concrete 0% to 20%
H1 Hardwood (e.g. maple, birch,
beech, Douglas fir, oak, ash,
walnut)
0% to 50%
H2 Softwood (e.g. spruce, pine,
cherry, larch, Meranti, poplar)
0% to 50%
H3 Chipboard 0% to 50%
°C Temperature -10 °C to 55 °C
1. Repeatedly press the MODE button(3) until the desired
measuring mode is set.
Moisture measurement
Info
When pressing the contact surface of the measuring
probe against the object, apply a steady contact
pressure (approx. 10N which corresponds to approx.
1kg of weight force) but do not bend it to the point of
overlapping.
In order to become a better judge of what the right
level of contact pressure might be, we recommend
pressing the device a few times against a pair of
scales.
1. Select the desired measuring mode.
2. Hold the device against the object at an angle of 90° and
make sure that the entire width of the measuring probe
rests on the contact surface.
ð The measured value is displayed in real time on the
measurement value display(8).
Switching the device off
The device switches off after approx. 10minutes of non-use.
1. Press the Power button(3) for approx. 3seconds.
ð The device switches off.