8 EN
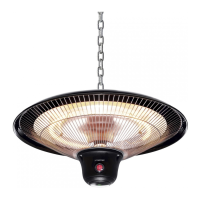
radiant heater IR 2005
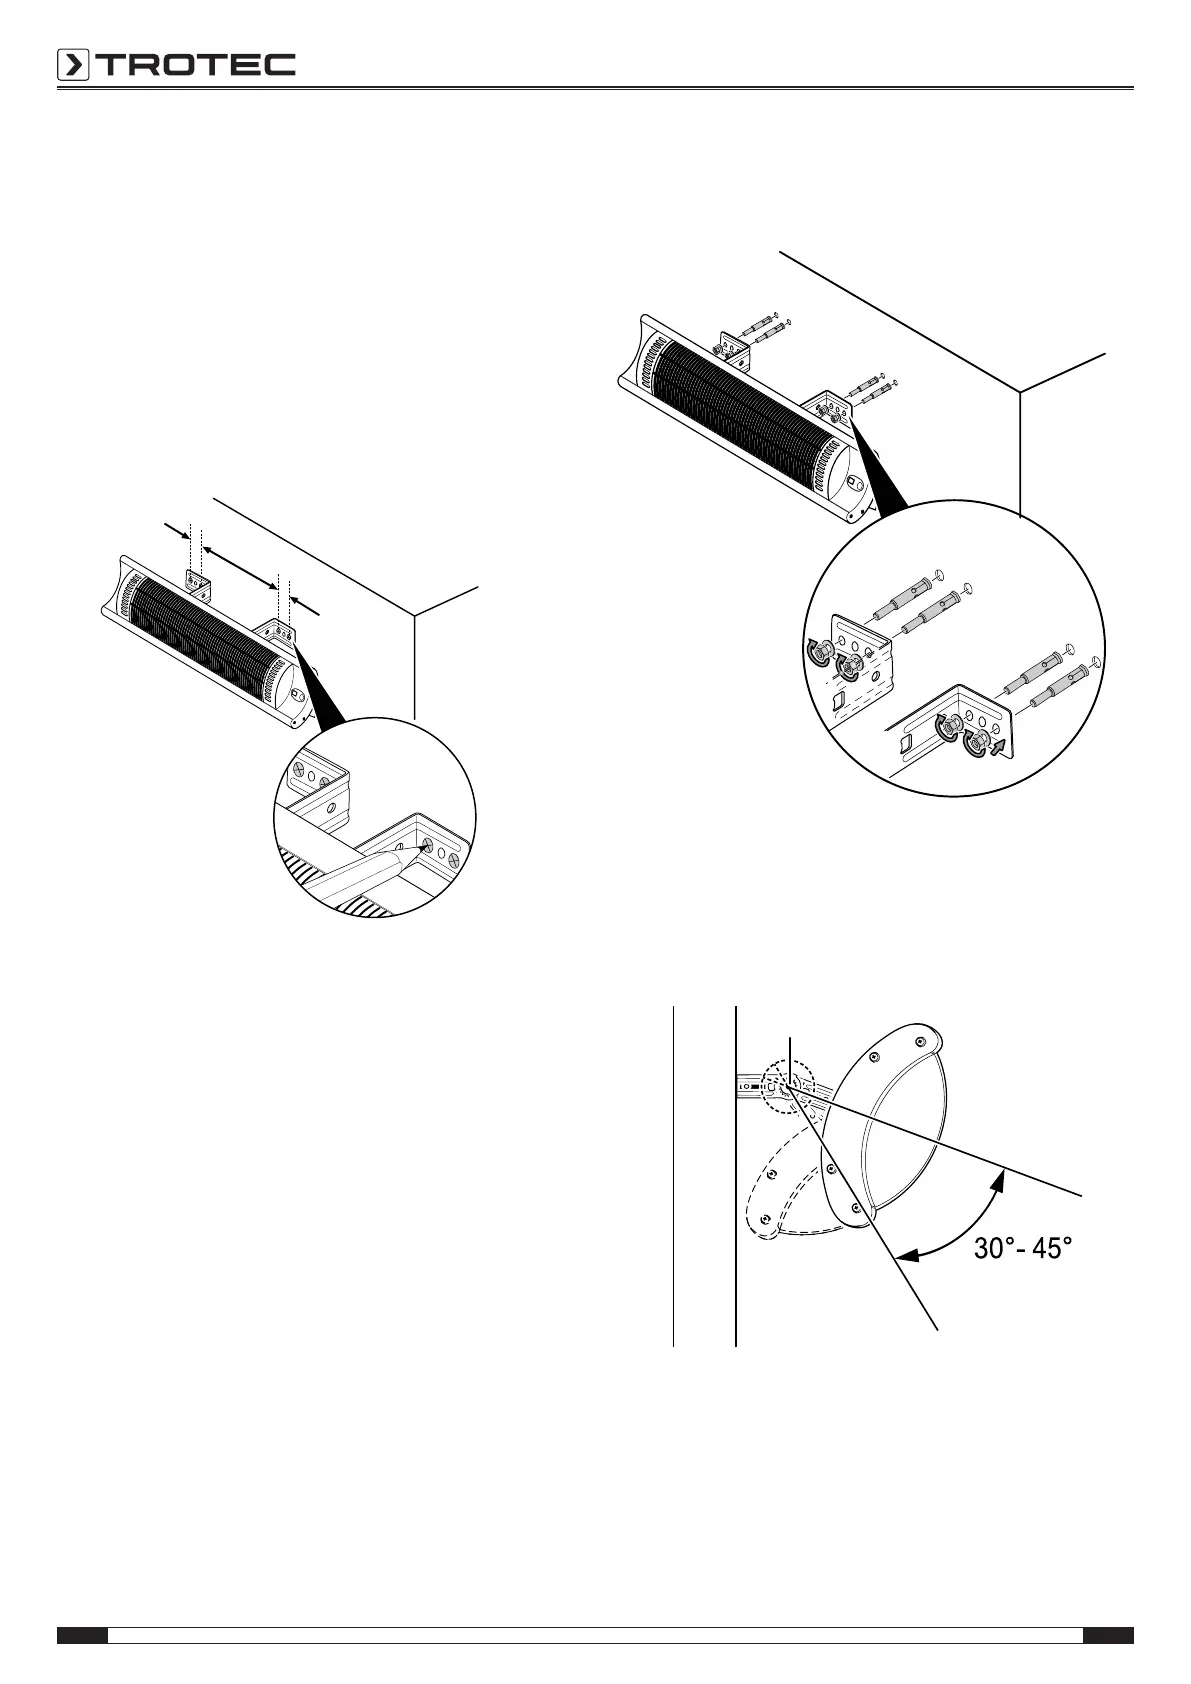
The following is required for installation:
• a pencil for marking the drill holes
• a tape measure for determining the distances
• a suitable drill
• a drill suitable for the wall/ceiling material, Ø6mm.
• a wrench SW10mm
• a spirit level
1. Mark the drill holes on the wall/ceiling according to the
following pattern:
ð Please note that the device must be mounted in
horizontal position. Use a spirit level for this purpose.
2. Drill the holes into the wall/ceiling at the marked positions.
3. Insert the wedge bolts included in the scope of delivery
into the dowel holes without the nuts and washers.
4. Position the mounting brackets of the device over the
threads of the wedge bolts and secure the mounting
brackets with the washers and the nuts.
5. Use a wrench (SW10mm) to tighten the nuts firmly.
6. Make sure that the device is attached securely.
7. Loosen the wing nut(8) and tilt the device to the desired
angle. Observe the different inclination angles.
ð When mounting the device on a wall, only align the
device downwards at an angle of30°to45°.
 Loading...