SECTION2: ASSEMBLINGYOURCHIPPERSHREDDERVACUUM
Unpacking
• Remove staples, break glue on top flaps, or cut
tape at carton end and peel along top flap to open
carton.
• Remove loose parts if included with unit (i.e.,
operator's manual, etc.)
• Cut along corners, lay carton down flat, and remove
packing material.
• Roll or slide unit out of carton and check carton
thoroughly for loose parts.
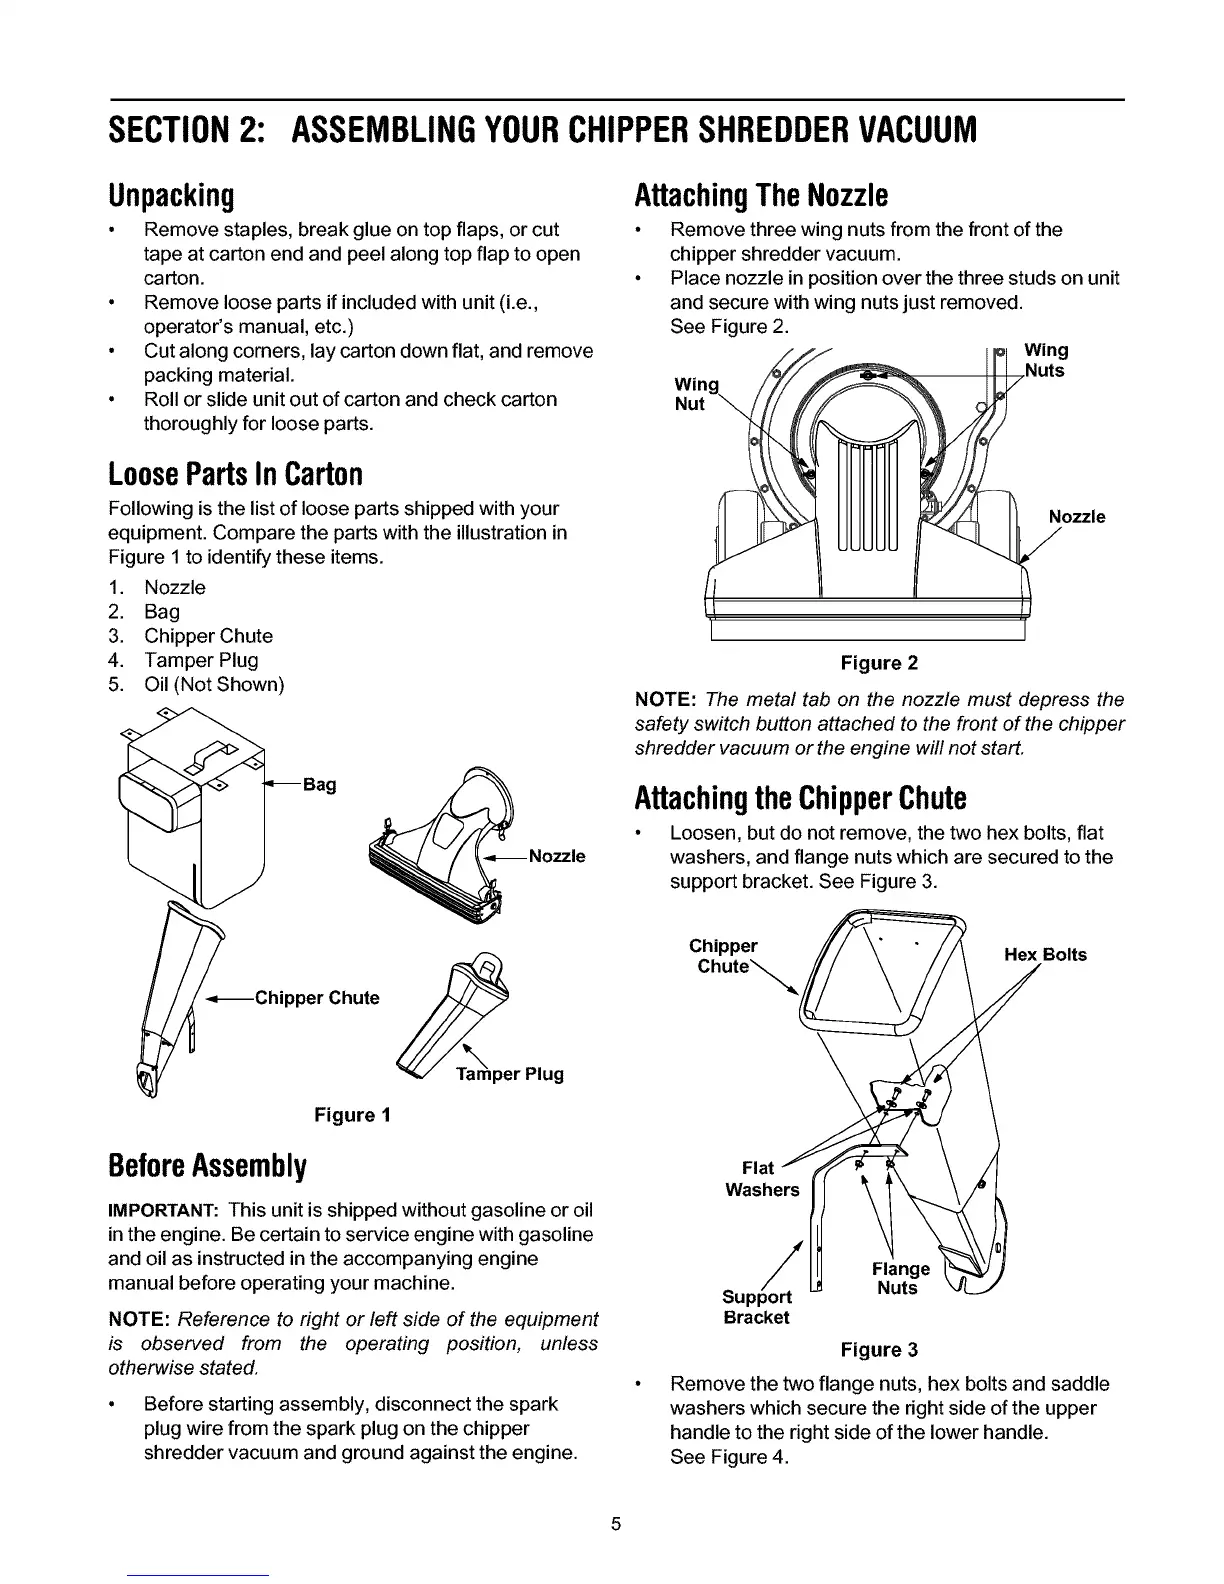
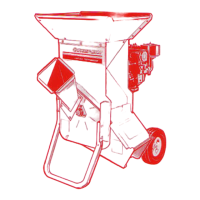
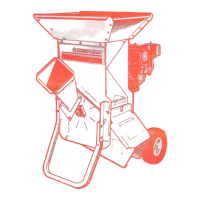
LoosePartsInCarton
Following is the list of loose parts shipped with your
equipment. Compare the parts with the illustration in
Figure 1to identify these items.
1. Nozzle
2. Bag
3. Chipper Chute
4. Tamper Plug
5. Oil (Not Shown)
_Bag
)
-_Chipper Chute
per Plug
Figure 1
Nozzle
BeforeAssembly
IMPORTANT: This unit is shipped without gasoline or oil
in the engine. Be certain to service engine with gasoline
and oil as instructed in the accompanying engine
manual before operating your machine.
NOTE: Reference to right or left side of the equipment
is observed from the operating position, unless
otherwise stated.
• Before starting assembly, disconnect the spark
plug wire from the spark plug on the chipper
shredder vacuum and ground against the engine.
AttachingTheNozzle
• Remove three wing nuts from the front of the
chipper shredder vacuum.
• Place nozzle in position over the three studs on unit
and secure with wing nuts just removed.
See Figure 2.
w,n0
Irl Nots
ozzle
Figure 2
NOTE: The metal tab on the nozzle must depress the
safety switch button attached to the front of the chipper
shredder vacuum or the engine will not start.
AttachingtheChipperChute
• Loosen, but do not remove, the two hex bolts, flat
washers, and flange nuts which are secured to the
support bracket. See Figure 3.
Chipper
Chute'_._
Hex Bolts
Flat
Washers
Su
Bracket
Flange
Nuts
Figure 3
Remove the two flange nuts, hex bolts and saddle
washers which secure the rightside of the upper
handle to the right side of the lower handle.
See Figure 4.