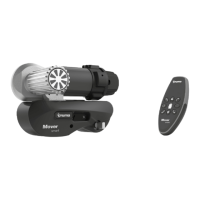
Application
The fastening brackets in this
installation kit are used to re-
inforce the frame and there-
fore allow the Euro Mover
manoeuvring system to be
fitted to caravans with the
AL-KO Vario III / AV chassis.
The equipment can only
be installed behind the
axle. If a spare wheel holder
or sewage tank has already
been fitted in this area, the
manoeuvring system cannot
be installed.
Read through these instruc-
tions carefully before starting
to install the equipment in or-
der to ensure that the equip-
ment is installed correctly
and safely.
The assembly order
must be adhered to!
Installation
instructions
1. Fig. A: Attach mounting
bracket (1) to existing holes
at both sides using 3 screws
(2), washers (3) and self-lo-
cking nuts (4) per side.
Only the holes that have
already been provided
in the rear section of the frame
by AL-KO must be used to at-
tach the mounting bracket.
The mounting brackets must
be flush with the chassis after
installation!
2. Fig. B + C: Continue with
the rest of the installation as
described in the Mover instal-
lation guide.
These installation instruc-
tions should be kept with the
caravan documents for later
inspection.
3
A
B
1
2
3
4
Direction of travel
C