7
Set up the sensor.
Choose an optimum sensor and fix in the main body
with one-touch connector.
1
Turnonpower. POWERbutton−PUSH No
No
No 00→No 01
No 01→No 02
No 00→No 02
2
Input No. by numerical keypad or
select button.
“SELECT”button − PUSH
【Number is forwarded sequentalty every time
“SELECT”button is pressed. 00→01→・ ・→38→39
00→01→02→In addition, you can jump to any
designated number by pressing a number with
numeric key. 】
Selecting procedure
“SELECT”button − PUSH(1st time)
“SELECT”button − PUSH(2nd time)
electing procedure
“2”button − PUSH
When “SELECT” button is pressed during the
following procedure (during display of unit mass,
belt width, span length input, and measured value),
the number being chosen is displayed.
3
EX: Select from 00 to No.02
Case of inputting a unit mass
manually.
Caseofinputtingtheunitmass
frombelttype.
EX:SelectP5M.
[See page 9 for input data.]
[See page 9 for input date.]
EX: Put 2.5g/mm wide x meter
long
Input the belt width.
EX: Put 25mm.
[See page 9 for input data.]
“MASS”button − PUSH
[Input the unit mass (g/mm W x m L) in the order of
blinking position on display screen by use of
numeric key. If you input wrong number, press
"MASS" button again to return the cursor to the
first.]
“0”button − PUSH
“0”button − PUSH
“2”button − PUSH
“5”button − PUSH
●"MASS"button−PUSH(holdingdownmore
thanonesecond)Belttypeisshownonscreenby
pressingMASSbuttonmorethanonesecond.
ByusingUPorDOWNbuttontoselectthe
belttype.
●"DOWN"button−PUSHPlacehighlighted
portiononP5M.
●"MEASURE"−PUSH
PX5Misdisplayedonscreen.
4-1
4-2
“WIDTH”button − PUSH
【Do the same step as the above 4-2. When data
above alIowable capacity is input, the cursor
returns to the first, and input of data is requested
again.】
“0”button − PUSH
“2”button − PUSH
“5”button − PUSH
“0”button − PUSH
5
Input the span length.
“SPAN”button − PUSH
【Do the same step as the above 4-1.】
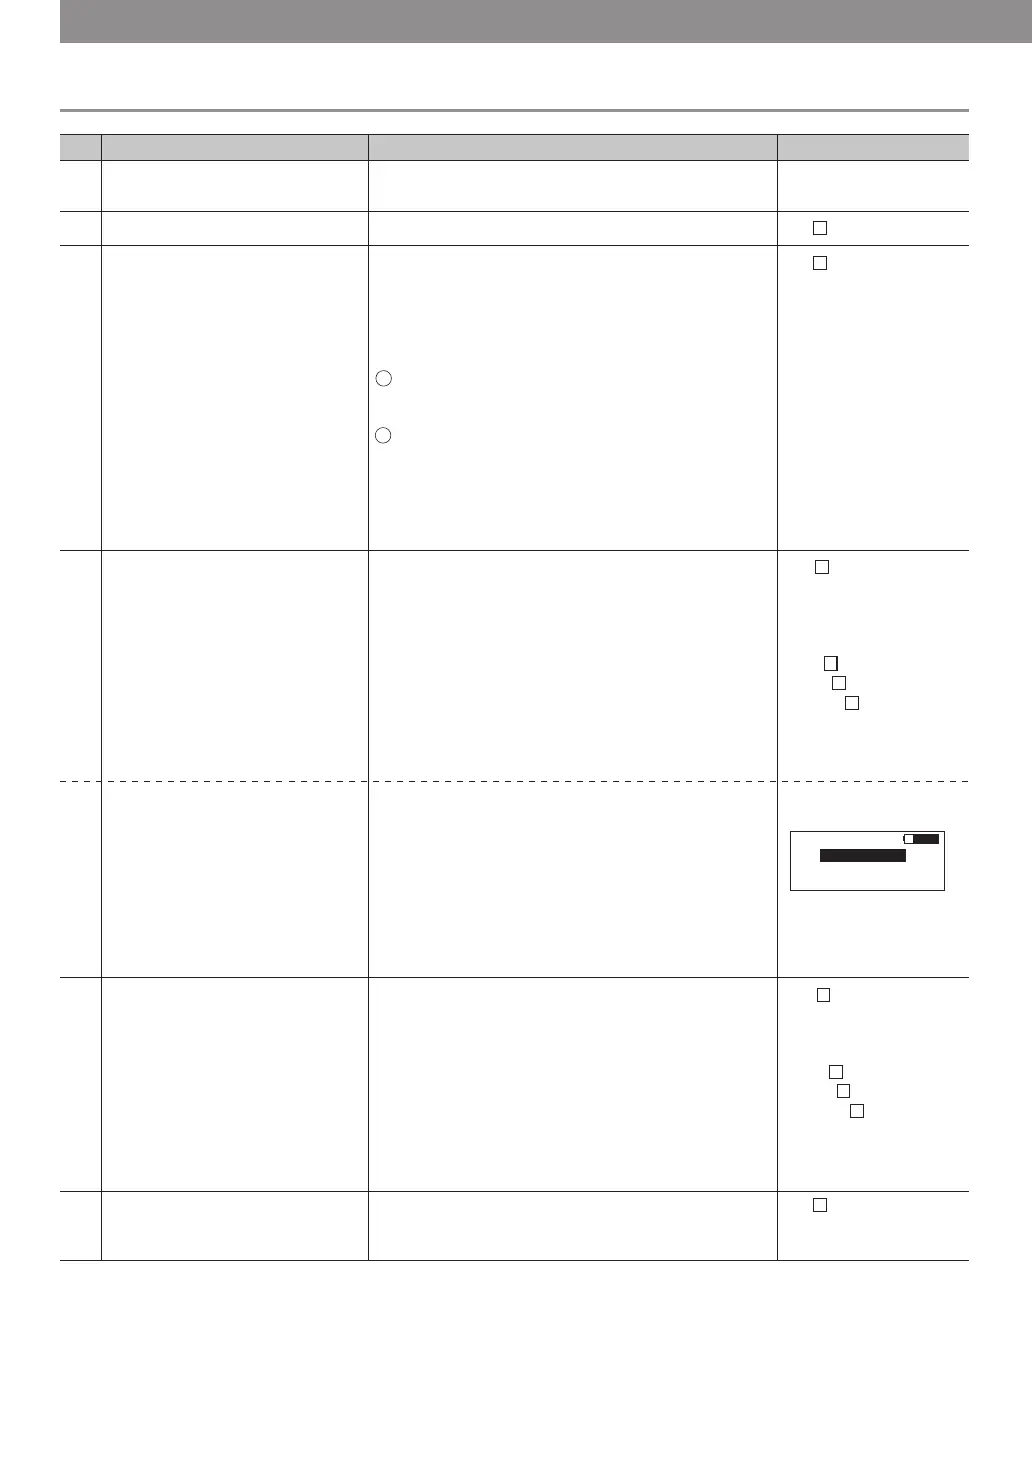
6
Procedure
Description Operation Display screen
5. Operation procedure of BDTM201
S= □□□mm
『
Allowable input capacity:
0001〜9999mm』
W= □□.□mm/R
『Allowable input capacity:
000.1〜999.9mm』
W=0 □.□mm/R
W=02 .□mm/R
W=025. mm/R
W=025.0mm/R
M= □□.□g/m
『Allowable input capacity:
0.1〜999.9g/mm×m』
M=0 □.□g/m
M=00 .□g/m
M=002. g/m
M=002.5g/m
Shows frequency after
measurement of tension.
"Hz" button − PUSH
[Shows frequency corresponding to the measured
tension.
When "Hz" button is pressed once again, the display
returns to tension mode.]
8-2
S No 02
PX 5M 4.1
PX 3M 2.0
01
03
02
PX 2M 1.4
Shows tension.
"Hz" button − PUSH
[Shows frequency corresponding to the measured
tension.
*When "Hz" button is pressed once again, the
display returns to tension mode.]
8-1
Start measurement. Get sensor in central span of the measure object
without touching it.
"MEASURE" button − PUSH: LED (green)
blinks, shows .
To vibrate the wire, flip the belt span with a
finger etc.: shows .
The following measurement is performed by the
sensor receiving sound without use of measure
button from the second time.
Since measurement is started by the senor
receiving sound, it is started as well even by a
noise if it has a relatively stable sound pressure.
Result is shown as well as beep sound emitted
and LED(green)turns on in 0.2 second after
reception of belt vibration sound.
[After the second
measurement, please
notice that the screen
shows the data
previously measured.
And you hear the beep,
the new data will be
displayed on the
screen.]
7
1
2
3
1
2