user manual
TFS-780
TFS-780 user manual
Page 21
secured to the Flashlight box above. Angle the downfills so that the top side is parallel to
the bottom of the cabinet above it. The exact angle will work out to be between 30
°
and
34
°
from the Flashlight box above it. For most applications this will give you the
optimum front fill coverage.
13.
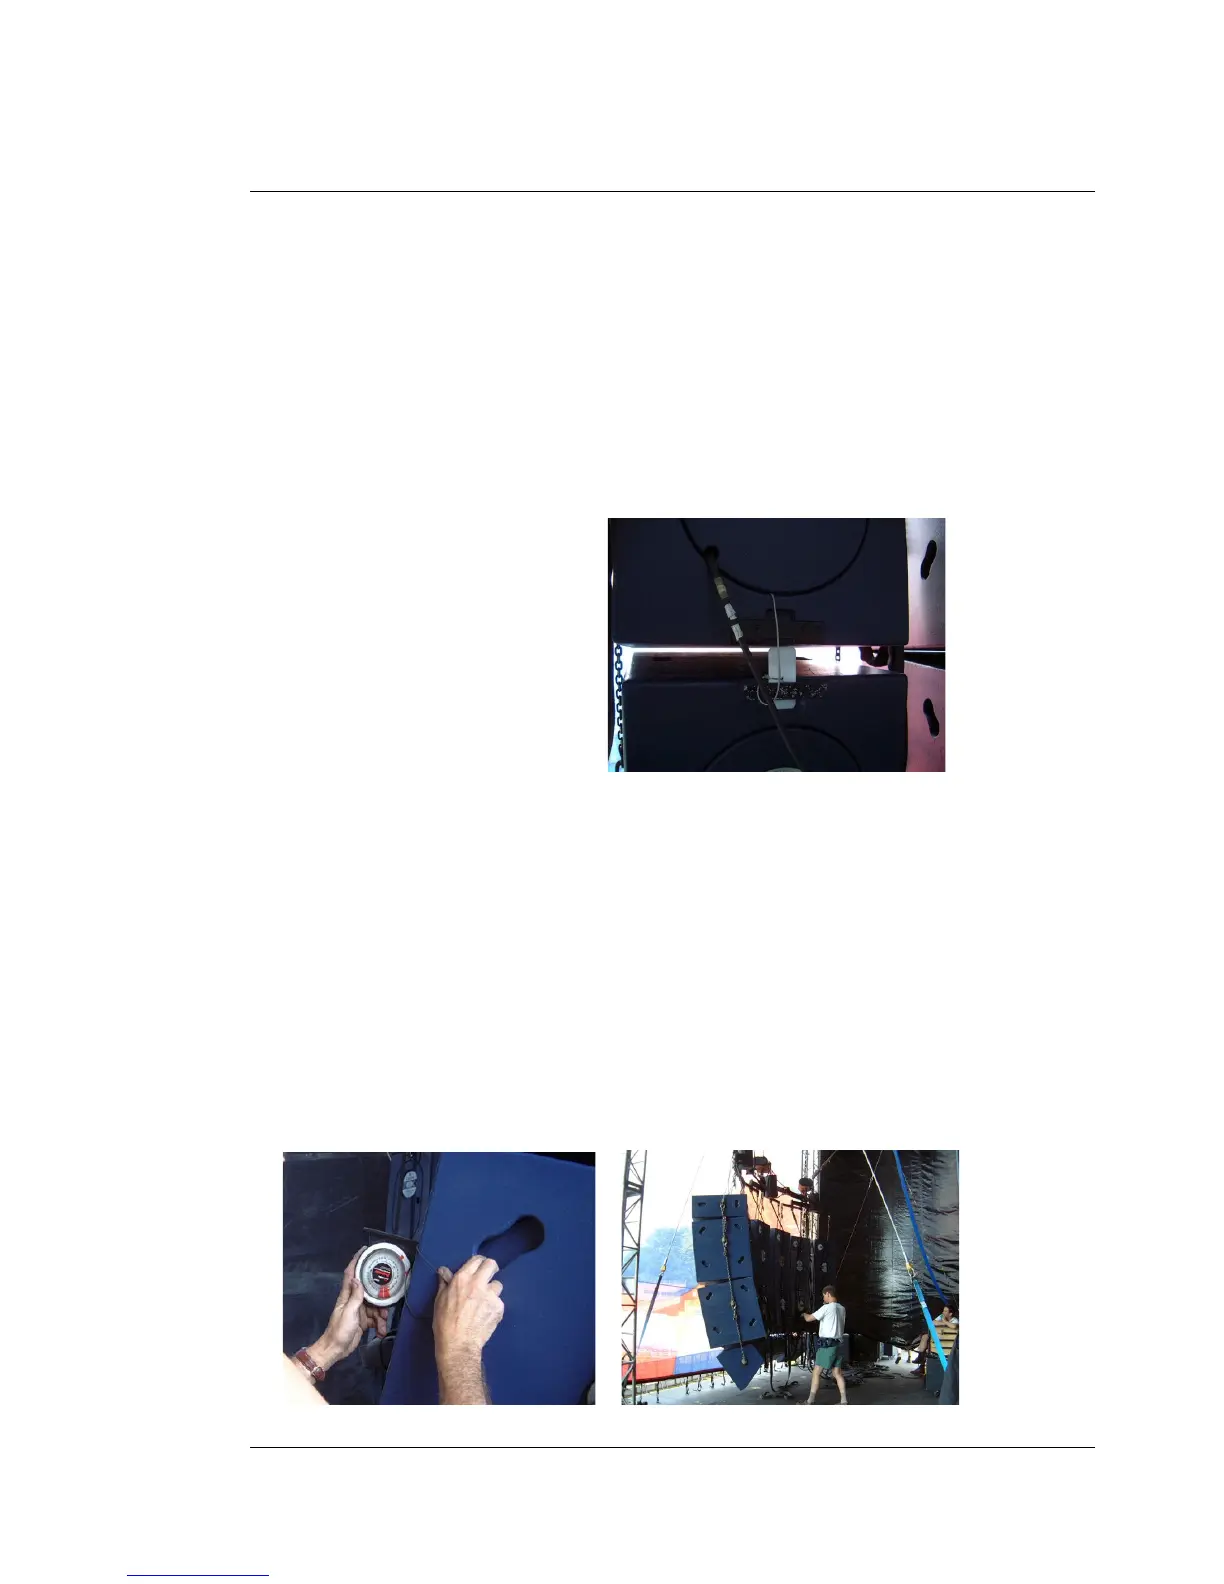
Attach a ratchet to the bottom kelping bracket on the lowest Flashlight box and feed the
free end of the tilting strap through the slot in the centre of the ratchet spindle. Place the
biscuits into the kelping bracket at the top of each box, and as you gradually pull
upwards on the strap guide the box above to allow the biscuit to settle into its lower
kelping bracket. The lower boxes will close up first as you continue to increase tension
on the tilt strap. When flying an array
with more than three Flashlight boxes
deep it is preferable that this procedure
be carried by two people, with one
person standing on a speaker box or
similar to be able to locate the highest
biscuit. When all the biscuits in the
column have positively located in the
kelping brackets, give the tilt strap one
more pull before beginning to ratchet
the column. If you leave too much slack at the free end of the strap the ratchet will not
be able to accommodate more than 2 or 3 layers of webbing without disabling the clutch
mechanism. At this stage do not put a lot of angle on the column, as it is much easier to
increase the amount of kelp than to decrease it. When using a chain length shorter than
link number seven in the clutch, a Flashlight box will naturally tend to hang pointing
slightly upwards, making the fitting of the biscuits very easy. However, if a shorter chain
is used (i.e. link number 8) you must fit the biscuit between boxes before attaching
chains to the lower box
.
14.
Check the tilt of the boxes now with an inclinometer. Gradually ratchet the column until
you have achieved the required downward angle of the PA. Repeat for the remaining
columns.
 Loading...