2
BASIC INFORMATION
Installation
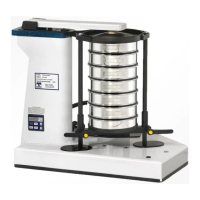
The sieve shakers (Ro-Tap
®
Models RX-29 & RX-30 & Coarse Model RX-812) must be mounted on a
Ro-Tap
®
Test Stand (R-40041), concrete foundation or heavy bench capable of supporting 200 lbs.
Moderate tension of the mounting bolts is all that is required.
Basic Operation
A) Ro-Tap
®
Assemble a stack of sieves, beginning with the top cover, the coarsest (largest) sieve opening on top, with a
pan on the bottom. Place the stack into the shaker, with the hammer tilted up and out of the way. Place the
Ro-Tap
®
sieve cover, with the plug installed, on top of the sieve stack. The sieve support clamp bar is then
adjusted, by loosening/tightening the two adjustable handles. Press the yellow buttons and turn handles in the
appropriate direction. Bring the top of the Ro-Tap® sieve cover flush with the top of the upper carrying plate.
NOTE: Some force may be required to move the support clamp bar on the Ro-Tap
®
II (RX-94).
This is due to the resistance of the gas safety spring.
B) Coarse Sieve Shaker
Assembly of the sieve stack is the same as with the Ro-Tap
®
. The clamping assembly is adjusted from the top
down by screwing the two knobs down on the threaded clamp bars.
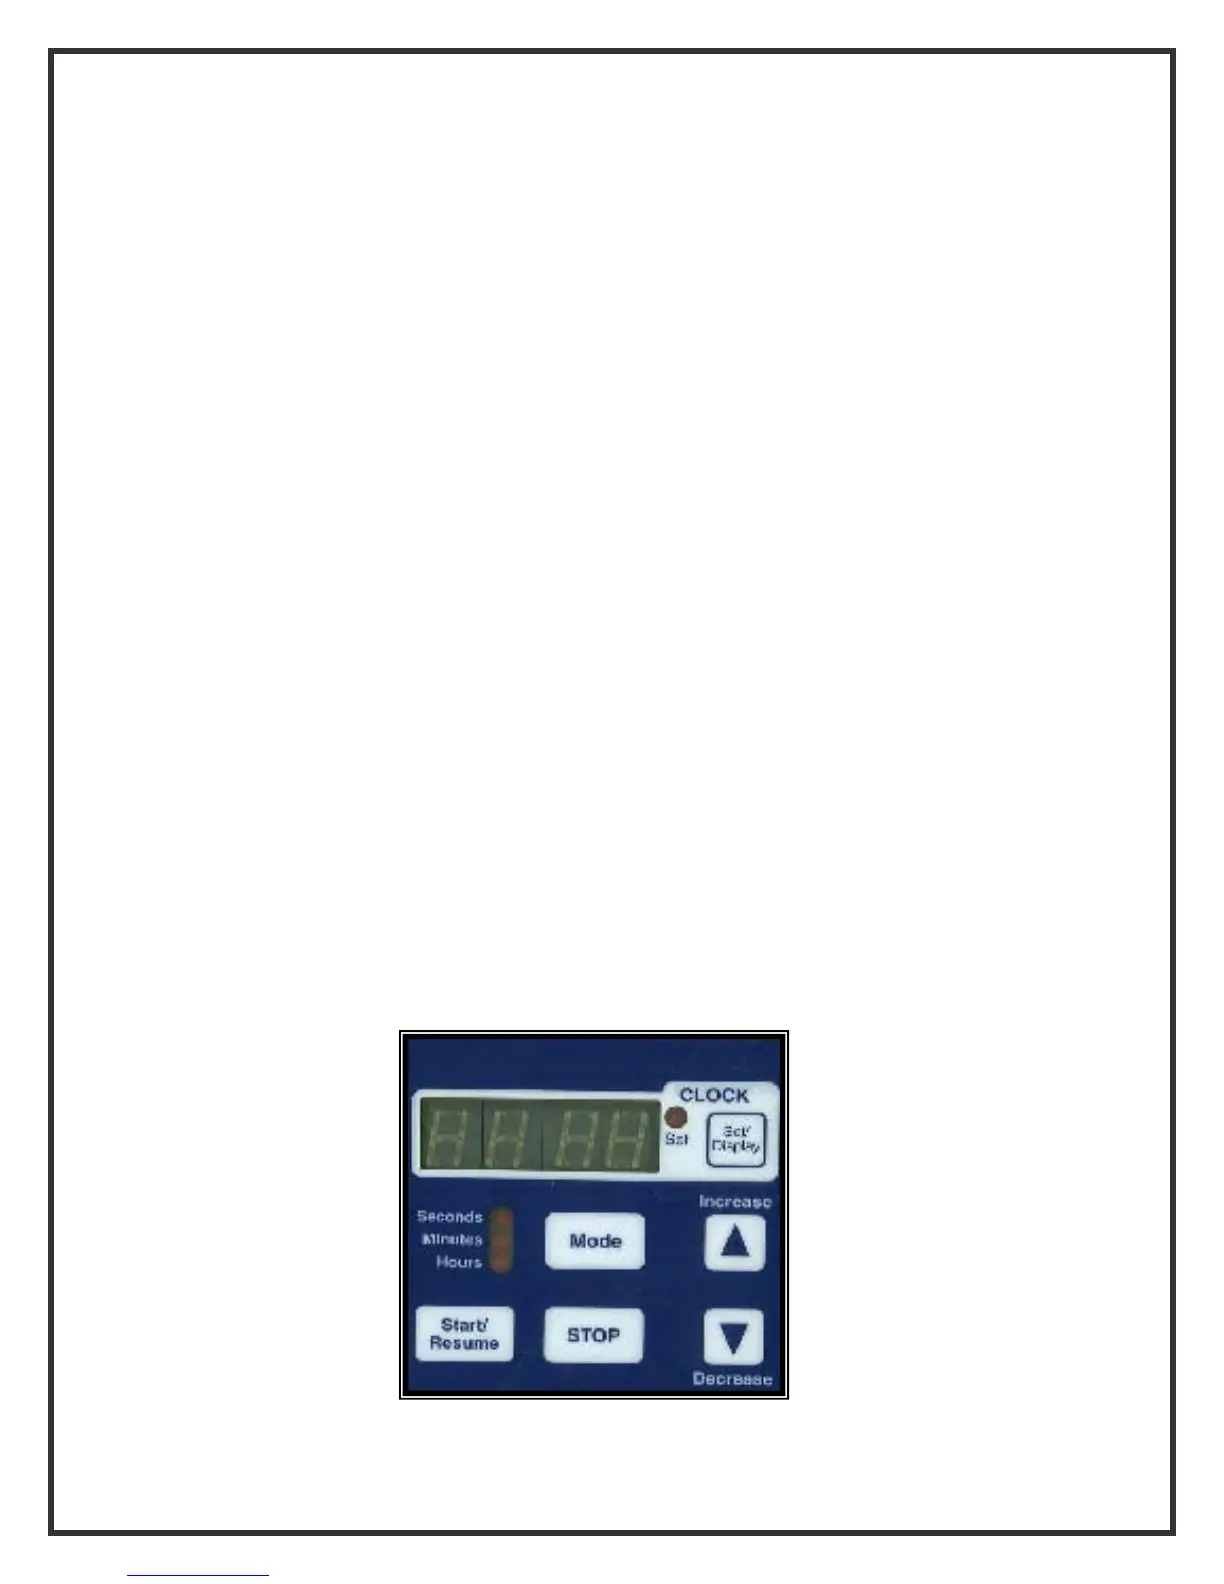
Starting the Shaker (Timer Function)
Make sure a sieve stack is in place at the time. To set the test run time, set the test duration by pushing the
increase button until the desired time appears in the digital window. Push the start button to begin the test.
An audible tone will be heard at the end of the test.
Should you wish to stop or interrupt the test at any time, simply push the stop button. Note that the remaining
test time is frozen on the readout. To continue, simply push the start button. Once a test is complete, if you
wish to repeat the prior process, simply push the start button. The most recent time will remain in memory.
NOTE: The timing device also has a clock function. To use this option, hold the “clock” set/display button and
adjust the proper time with the increase/decrease buttons.