2008 7 210OPTRS
A. DUMP OPERATION & CLEAN OUT
To dump the hopper, use the following procedure:
1. Back sweeper to container or area for dumping.
NOTE: Raise the pick-up head before backing sweeper or damage could occur.
2. Start sweeper auxiliary engine and let idle.
3. Actuate dump toggle switch located on the left side of the sweeper behind cab so
hopper raises and unloads debris. Work hopper door back and forth several
times to fully discharge load.
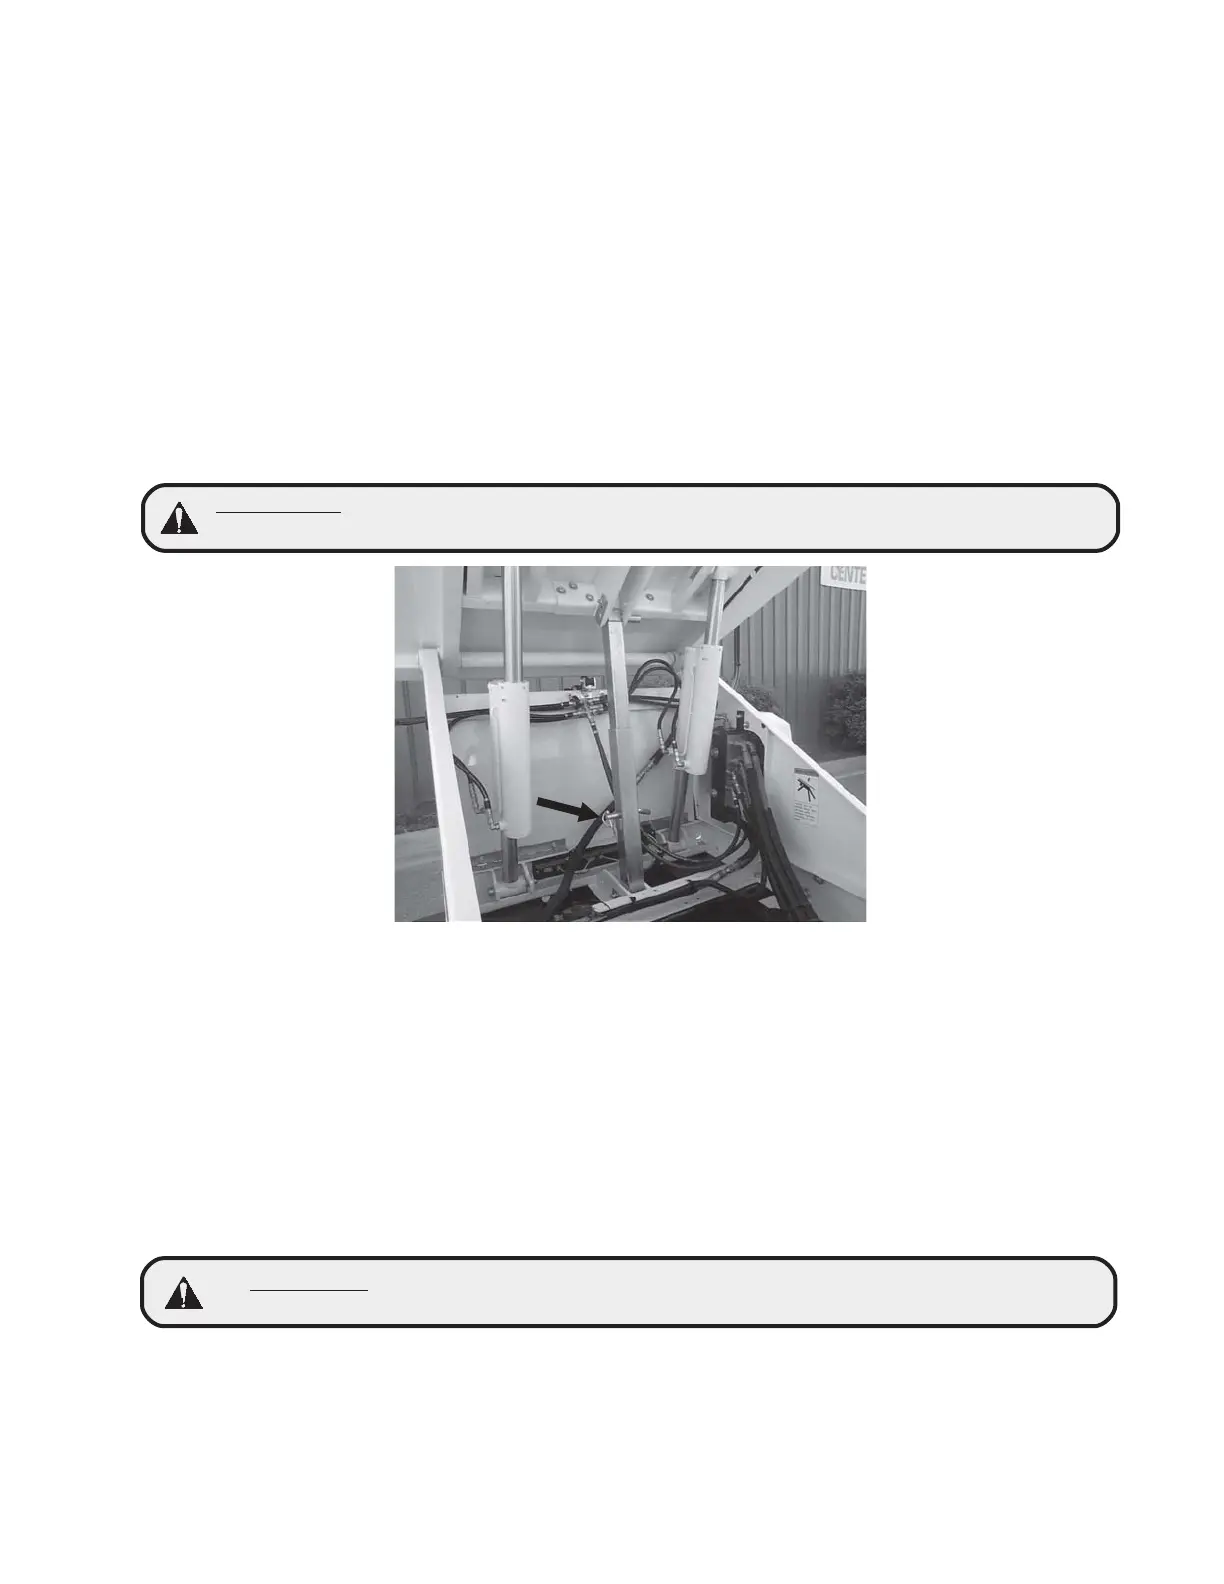
WARNING
: Do not work under or around fully or partially raised hopper
without first installing pin in lower safety strut!
4. Lower hopper; never drive sweeper in transit with hopper in raised position.
5. At end of shift, raise hopper and install pin in safety strut. Wash out hopper,hop-
per screen and skimmer hood. Also wash out the separator, suction hose and
bottom of pick-up head.
HOPPER ASSEMBLY
The TYMCO® Model 210 hopper has a volumetric area of 2.4 cubic yards (1.8 m) and is sub
-
jected to the most severe working conditions of any area on the sweeper. The worst enemy of
the hopper assembly is CORROSION!
To prevent the hopper from rusting, it should be thoroughly washed at the end of each shift. It
should be pointed out that even a small rust-through area on the hopper will have dramatic ef
-
fect on the sweeper’s performance. The hopper is the vessel from which the blower draws air;
thus, creating the vacuum necessary to lift debris from the pavement. A small leak diminishes
this vacuum tremendously.
To empty the load from the Model 210, the hopper is made to high dump into containers up to
60 inches (152.4 cm) high. Two large hydraulic cylinders are used to raise the hopper which
pivots on a massive hinge.
WARNING!
Never work under or around raised hopper without first installing
pin in lower safety strut!
(M01216)