Do you have a question about the typical GC6880 and is the answer not in the manual?
Users must read the manual, observe safety signs, use trained personnel for installation, and avoid specific unsafe conditions.
Controls execution of back seam segments or starting back seams.
Sets the maximum speed of the sewing machine.
Adjusts the speed increase rate.
Sets whether the needle stops at the up or down position.
Adjusts the speed for starting back-tacking.
Adjusts the speed for ending back-tacking.
Sets the speed for bar-tacking operations.
Sets the initial slow start speed.
Configures the number of stitches for the soft start feature.
Sets the speed for automatic constant-stitch sewing.
Enables or disables stitch correction for automatic end back-tacking.
Selects between JUKI or BROTHER mode for back-tacking.
Chooses between pedal-controlled or one-shot start back-tacking.
Determines machine behavior (continue/stop) after start back-tacking.
Turns the soft start feature on or off.
Sets the mode for pin insertion (semi-pin or single pin).
Adjusts stitch balance for start back-tacking.
Adjusts stitch balance for start back-tacking.
Selects end back-tacking mode (pedal or automatic).
System shutdown due to power module fault, over current, or blown fuse.
Moto and machine shut down due to low AC power or incorrect voltage connection.
Motor and machine shut down due to communication error between operation box and CPU.
Motor and machine shut down due to foot pedal connection issues.
Errors related to motor handwheel stuck, connector issues, or abnormal module output.
Manual back-tacking lasts for 15 sec; check switch if error persists.
Power off system, check motor encoder interface for loose connections.
Power off system, check motor encoder interface for loose connections.
Power off system, check motor encoder interface for loose connections.
Power off system, check control box and inform manufacturer.
Check nose open or ball switch control box for damage.
Check motor encoder interface and power connector for loose connections.
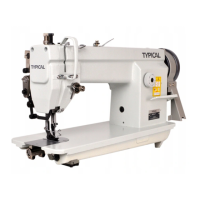
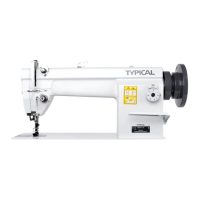
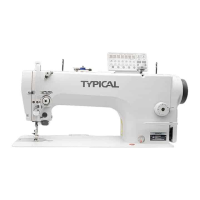
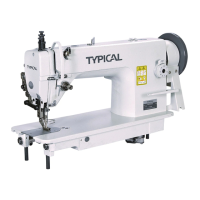
| Stitch Formation | Lock Stitch |
|---|---|
| Automatic Needle Threader | Yes |
| Drop Feed | Yes |
| LCD Screen | Yes |
| Operation | Electric |
| Speed Control | Yes |