CLR2160, CLRCO2175 15
8. When water begins flowing over the evaporator
(approximately 3 minutes), pour 1 packet of CLR cleaner
into the water trough. The cleaning process will last
approximately 45 minutes.
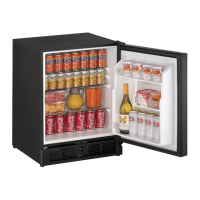
Figure 23
9. Following the cleaning process, sanitize the ice bin with
a bleach solution.
Dilute 1 tablespoon bleach in 1 gallon of warm water.
Apply this solution to the entire inside of the storage
area. Then rinse thoroughly with water.
The unit will resume operation approximately 15 minutes
after the automated cleaning process is completed. The
water fill valve will energize, fill the water reservoir, and
shut-off after three minutes. The compressor begins to
operate and water flows over the evaporator assembly
(ice cube tray). Initially, the water flow may not be
uniform, causing uneven sized cubes or water to spill into
the ice storage bin. This is a normal situation that will
correct itself within the first 24 hours of operation.
IMPORTANTIMPORTANT
• Discard all ice produced in the first harvest.
• Should power to the unit be interrupted during
the self-clean cycle, it will be necessary to repeat
the complete cleaning cycle after power is
restored.
Ice Cube Thickness Adjustment
INTERVAL - AS REQUIRED
Ice thickness adjustments are made using the control
panel as follows:
1. To enter the thickness adjustment mode:
a. Touch and hold the UP ARROW button.
b. Touch and release the DOWN ARROW button three
times, then release the UP ARROW button.
c. The display will switch to “0” to confirm the
thickness adjustment mode has been selected.
2. The factory setting is “0,” and the total range of
adjustment is -5 to +5 (ideal range is -1 to +1). Use the
UP ARROW button to raise the setting and thicken the
ice bridge, or the DOWN ARROW button to lower the
setting to thin the ice bridge.
IMPORTANTIMPORTANT
Ice thickness adjustment should only be made one
increment at a time. Allow ice maker production to
stabilize for 24 hours before rechecking ice
thickness.
3. Touch and release the LIGHT button key to exit the ice
thickness adjustment mode.
4. Remove all ice from the storage bin.
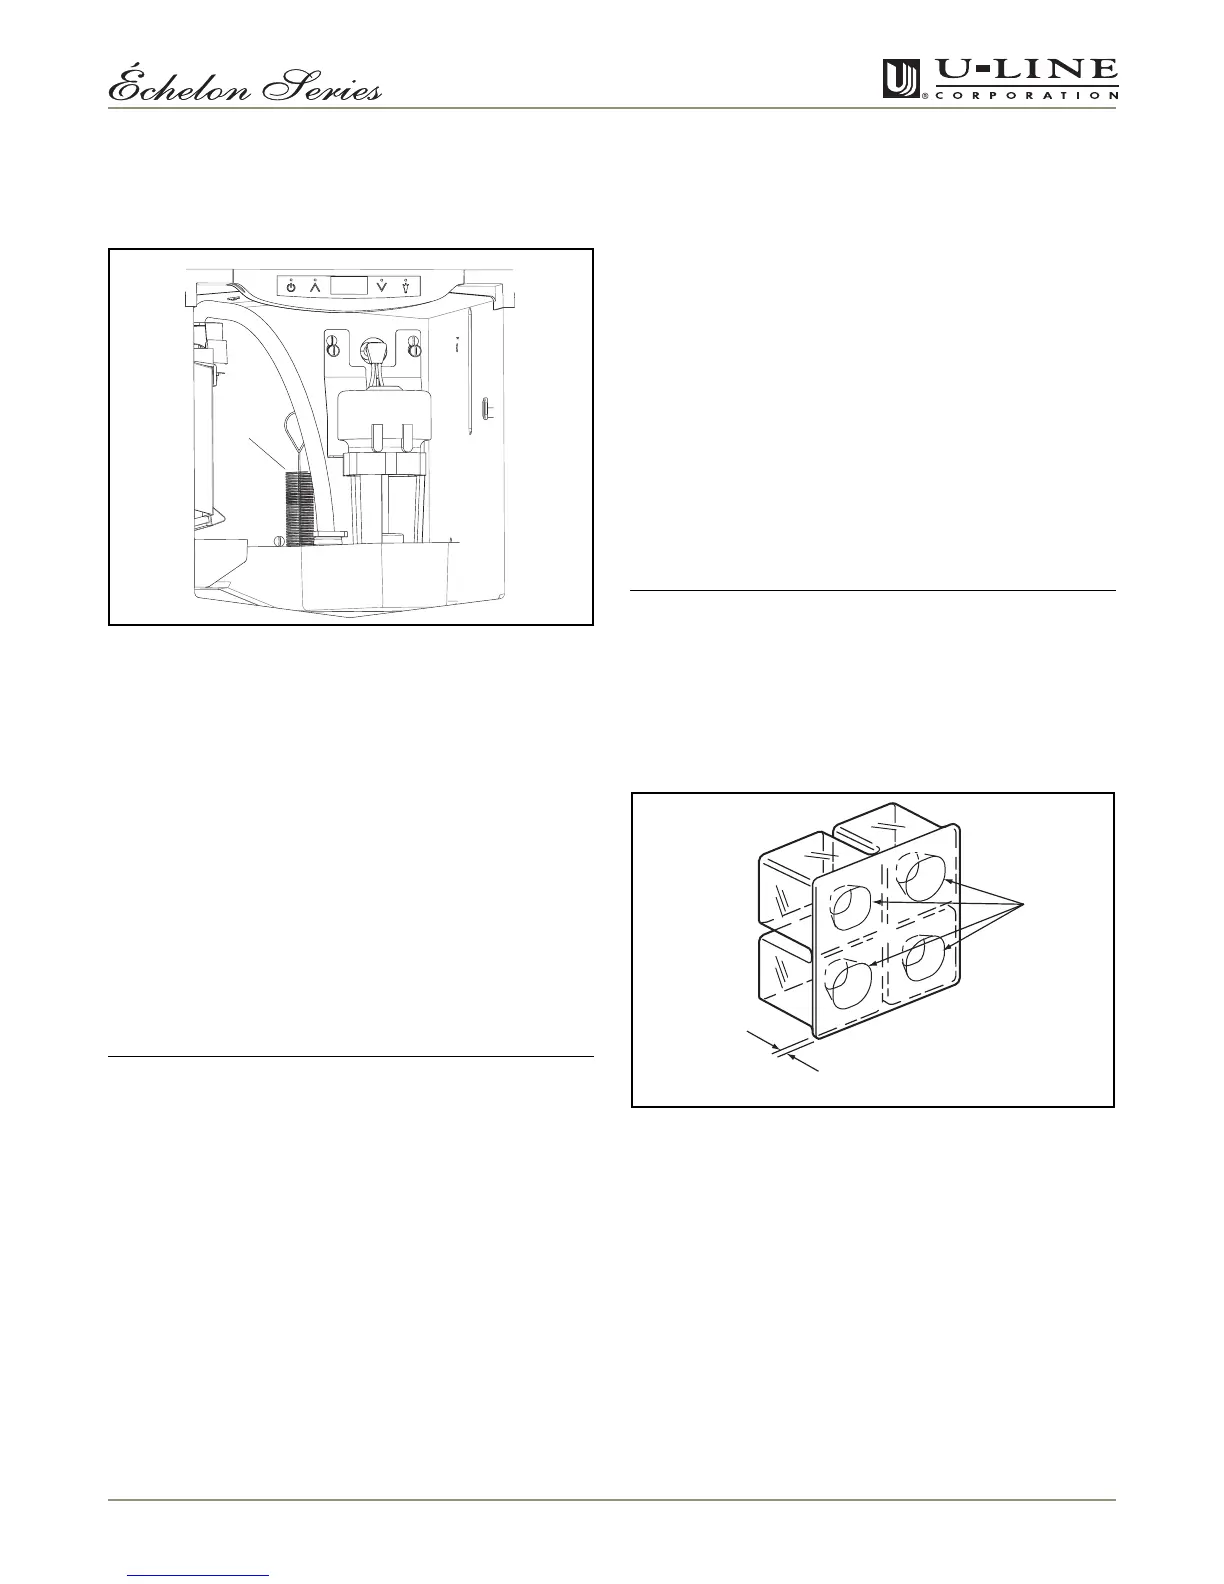
Figure 24
Ice cubes in any given batch will vary, so it is necessary to
choose cubes from the sample area for comparison when
making adjustments. If further adjustments are desired,
repeat Steps 1 through 4.
The ice cube thickness is factory set for best overall
performance. The factory setting is designed to maintain
an ice bridge of approximately 1/16" to 1/8" under normal
conditions resulting in a dimple of approximately 1/4" to
1/2" in depth. A fuller cube with less of a dimple results in
a thicker ice bridge. As the ice bridge becomes thicker, the
tendency for the cubes to stay together as a slab
increases. A bridge thicker than 1/8" may cause cubes to
overfill the ice bucket.
Brush
ULIN_0299_A
ICE BRIDGE
Ice Bridge and Dimples
 Loading...