Do you have a question about the U-Line H-7690 and is the answer not in the manual?
Identifies the Phillips Screwdriver required for assembly.
Identifies the Allen Wrench included for assembly.
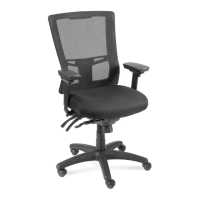
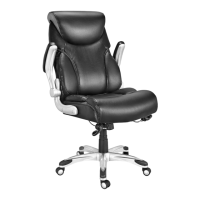
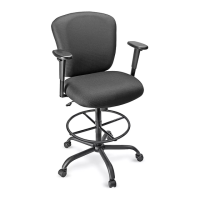
Lists all parts included in the chair package, such as seat cushion, back support, base, and gas lift.
Insert casters into the base, turn it upright, then insert the gas lift and dust cover.
Secure the back support post to the seat cushion using an 8x10mm screw.
Align and attach armrests to the seat cushion using four 6x24mm screws per armrest.
Align and attach the mechanism to the seat cushion using six 6x24mm screws.
Insert back support post into the mechanism, secure with a 10x23mm screw, and attach cover with two 4x20mm screws.
Lower the assembled chair onto the gas lift and press down to secure.
Lift lever to tilt back freely, push lever down to lock tilt position.
Lift lever to adjust seat and back angle simultaneously.
Press lever down to lock seat/back angle at desired position.
Pull lever to slide seat forward or back and release to lock.
Lift lever to raise seat with no weight, or lower seat while sitting.
Use back angle and tilt levers to lean back, pull lever (6) to tilt forward.
Turn knob clockwise to increase tension, counterclockwise to decrease.
Lift back to desired height or lower to lowest setting by releasing ratchet.
Adjust height, width, and depth of armrests using buttons/pads.
| Model | H-7690 |
|---|---|
| Brand | U-Line |
| Defrost Type | Automatic |
| Energy Star Certified | No |
| Voltage | 115 V |
| Frequency | 60 Hz |
| Type | Wine Cooler |
| Installation Type | Built-In |
| Width | 23.75 inches |
| Shelves | 6 |