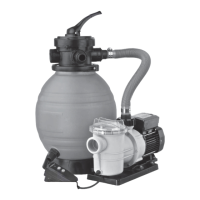
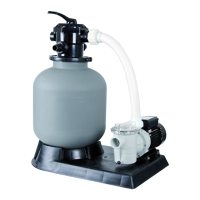
Pool Filter 300 - Pool Filter Set 300-2,5 m/h
1
4
Use
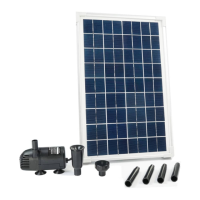
1. Pump
The pump is only for use in swimming pools.
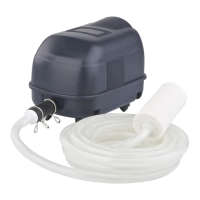
2. Filter
The lter, which operates using quartz sand, cleans the pool water, removing debris from trees, pollen, insects and other unwanted debris that
is the product of regular pool use.
General Safety
Packaging materials (e.g. plastic bags) can be dangerous or hazardous objects and shall be kept away from children, pets, etc.
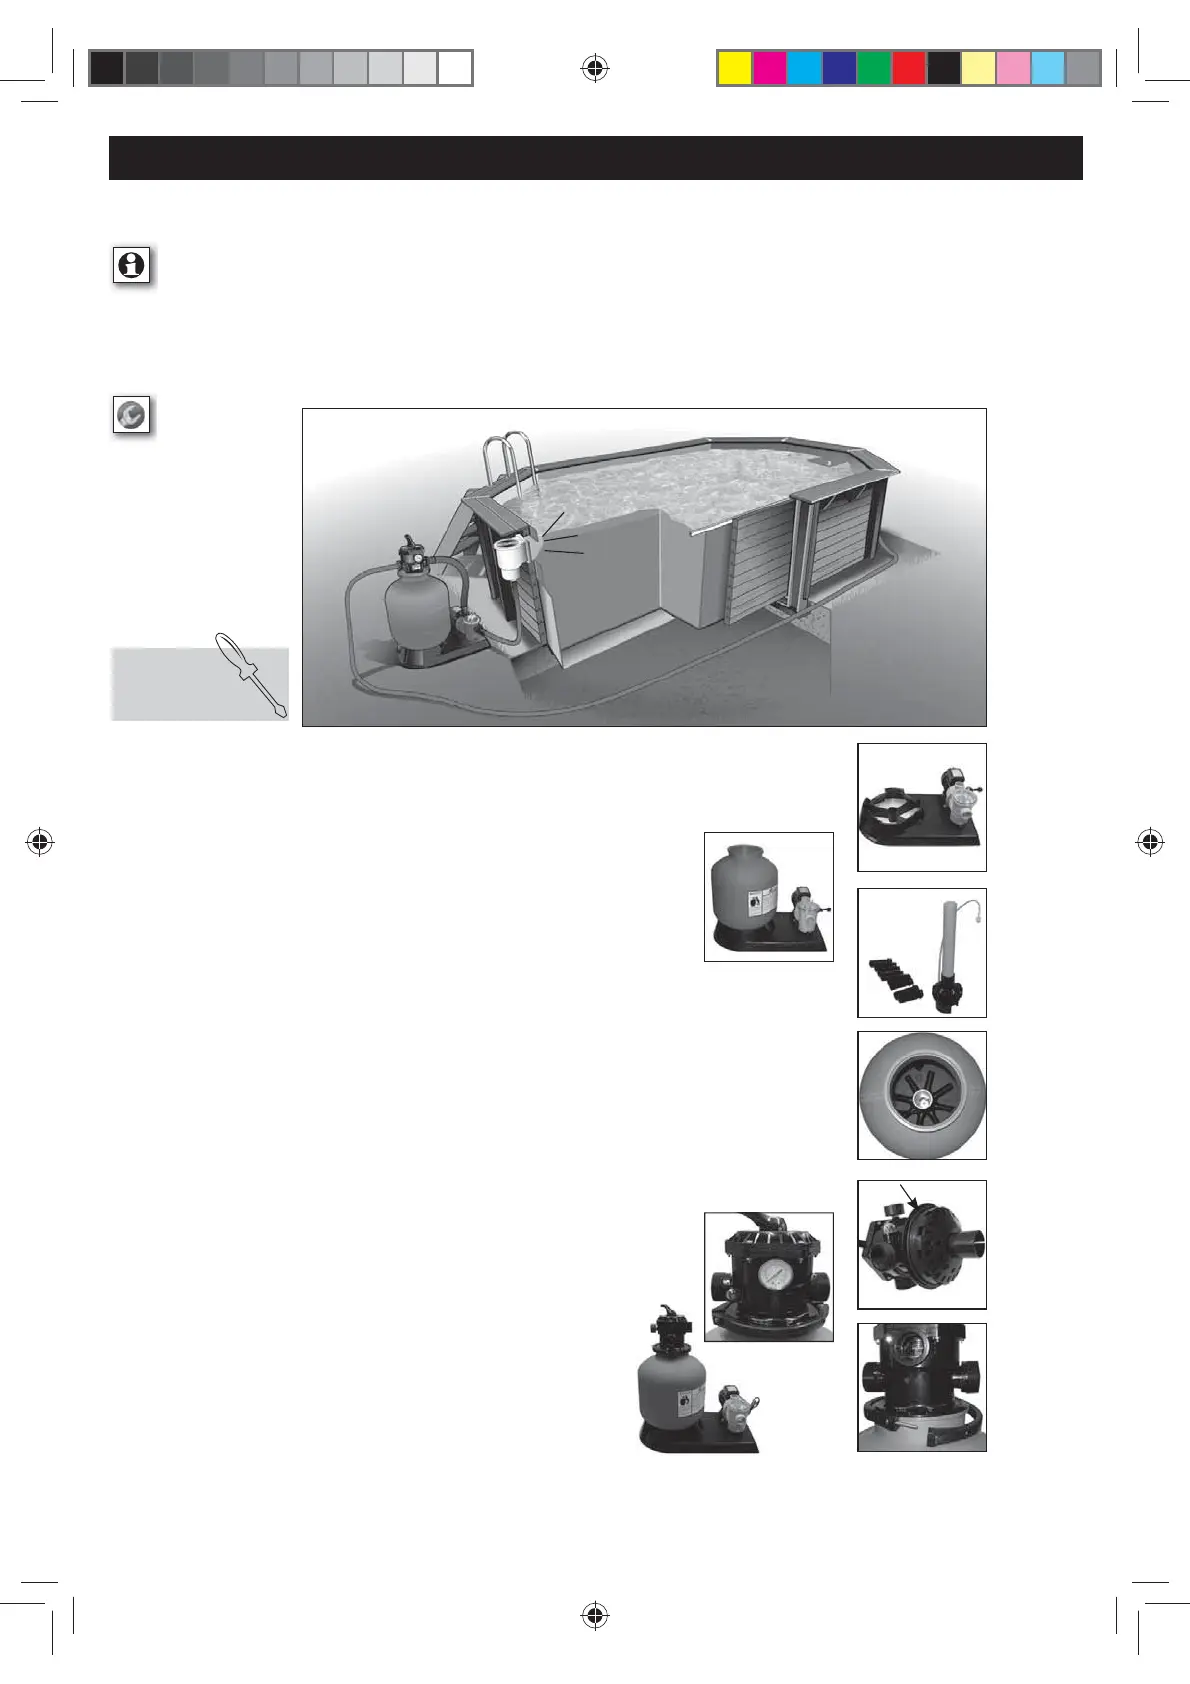
INSTALLATION
1 - ESTABLISHMENT
Install the lter on a clean at
surface while ensuring easy
access for handling the valve, as
well as for various maintenance
operations. The pump should
be preferably be charging, i.e.
underwater.
2 - ASSEMBLY
• Mounting on the base:
1 - Place the pump on the base and fasten using the screws provided with the pump.
2 - Position the tank on its support.
3 - Swivel the tank from left to right to lock it in place.
• Fitting the ltration system:
1 - Place the transparent anti-su
spension pipe on the base of the collecting tube, strainer facing upwards.
2 - Pass the collecting tube into the lter and t the strainers (¼ turn).
3 - Centre the collector in the bottom of the lter and keep it in place
with a little sand.
4 – Seal the top of the collecting tube with the transparent lid supplied.
• Installation of sand:
1 - 1/3-ll the tank with water in order to protect the strainers from the falling sand.
2 - Make sure that the central pipe is
properly in line with the upper opening.
3 - Delicately pour in the rst bag of sand in order not to upset the central pipe.
4 - Check that the central pipe is in the proper position, (for that, use the Top valve to
control the alignment of the unit).
Maintain the strainer of the anti-overpressure tube above the sand.
5 - Pour in the remaining sand without however exceeding 2/3 the height of the tank.
6 - Remove the
transparent lid.
• Installing the multichannel valve:
1 - Clean the groove of the valve joint and rim of the tank.
2 - Lubricate the O-ring and place it on the lower part of the valve.
3 - Place, using Teon, the pressure gauge on the valve in place
of the plastic screw.
4 - Clean the ange of the tank and put the valve in place, making sure that the collecting tube enters correctly
in the lower opening of the tank.
5 - To place both half supports on both sides
of the valve by taking care to place the „ screw impressions „
on the other side. To take care to carefully insert the anges of the valve and the lter in the support.
To insert screw and nuts and tighten the support. To alternate
screwing on the two screws in order to
have a homogeneous tightening torque. To temporarily leave some clearance when tightening
to leave the possibility for the valve to swivel.
You need a screwdriver
for lter assembly!
4
1- Place the riser pipe with the water distributor centrally on the base of the lter with a little sand.
2- Close the top opening of the riser pipe with the supplied transport cover.
1- Fill the lter tank 1/3 with water to protect the water distributor if the sand subsides.
2- The riser pipe must be positioned vertically and centrally i.e. at the centre of the tank opening.
3- Carefully ll the rst bag of sand so that the centre hose is not moved.
4- Check the correct position of the riser pipe (for this, use the multi-way valve to check everything is aligned).
5- Pour in the remaining sand up to max. 2/3 of the height of the lter tank.
6- Remov
e the transparent cover.
Manual Pool Filter 300 6-sprachig 2021_2 neu.indd 4
Manual Pool Filter 300 6-sprachig 2021_2 neu.indd 4
28.05.21 14:36