12
Measure dimension to fit
- Using the instruction on page 6 cut the vent piece B, to the appropriate length.
Note: the outer edge of the extension A should be cut so that it protrudes max. 0.5inch (10 mm)
through the outside of the wall.
- Slide the cut vent extension through the wall and
assemble it to the 90° elbow.
- Next install the 90° vent elbow, vent extension, and finally
the 90° vent elbow attached to the discharge terminal.
- Secure the vent assembly to the wall with the provided
pipe clamp.
- Seal the wall penetration with water proof silicon
sealant to prevent moisture from entering the structure.
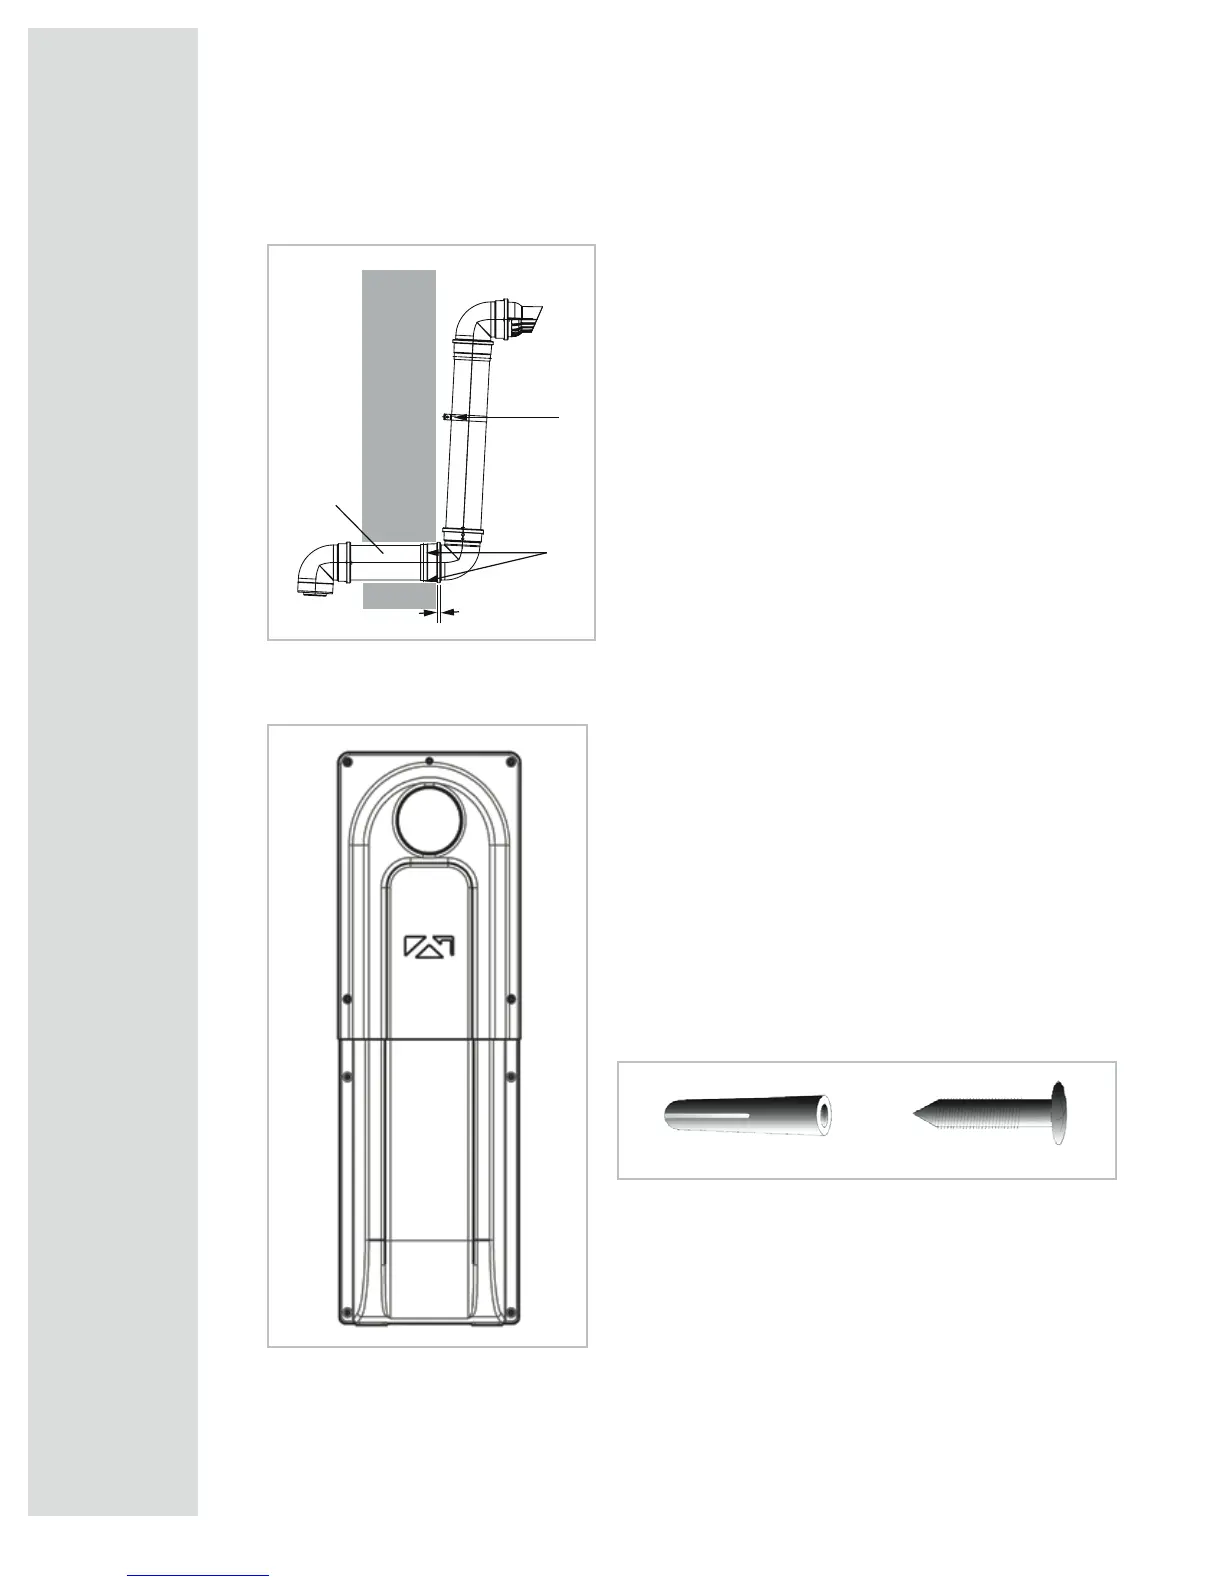
The sockets can be secured with the supplied (#8x1/2”)
sheet metal screws.
clamp
sealant
A
10 mm
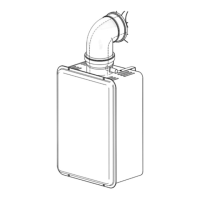
Installation of the raised horizontal cover
- Position the hole at the top of the enclosure over
the vent termination, slide the cover to the wall.
- The cover should be positioned in a vertical
position.
- If needed water-proof silicon sealant can be
used to seal the ridge at the top of the cover.
- Assemble the cover to the wall with provided
screws and wall anchors (optional) depending on
wallstructure.
- The screw positions are clearly marked on the cover.
If needed the cover can be cut in the middle and slid
together to reduce the overall length of the cover.
Note: Do not position any part of the cover or
vent system below grade.