VIDEOSTUDIO HELP
Table of Contents | Index Back 92
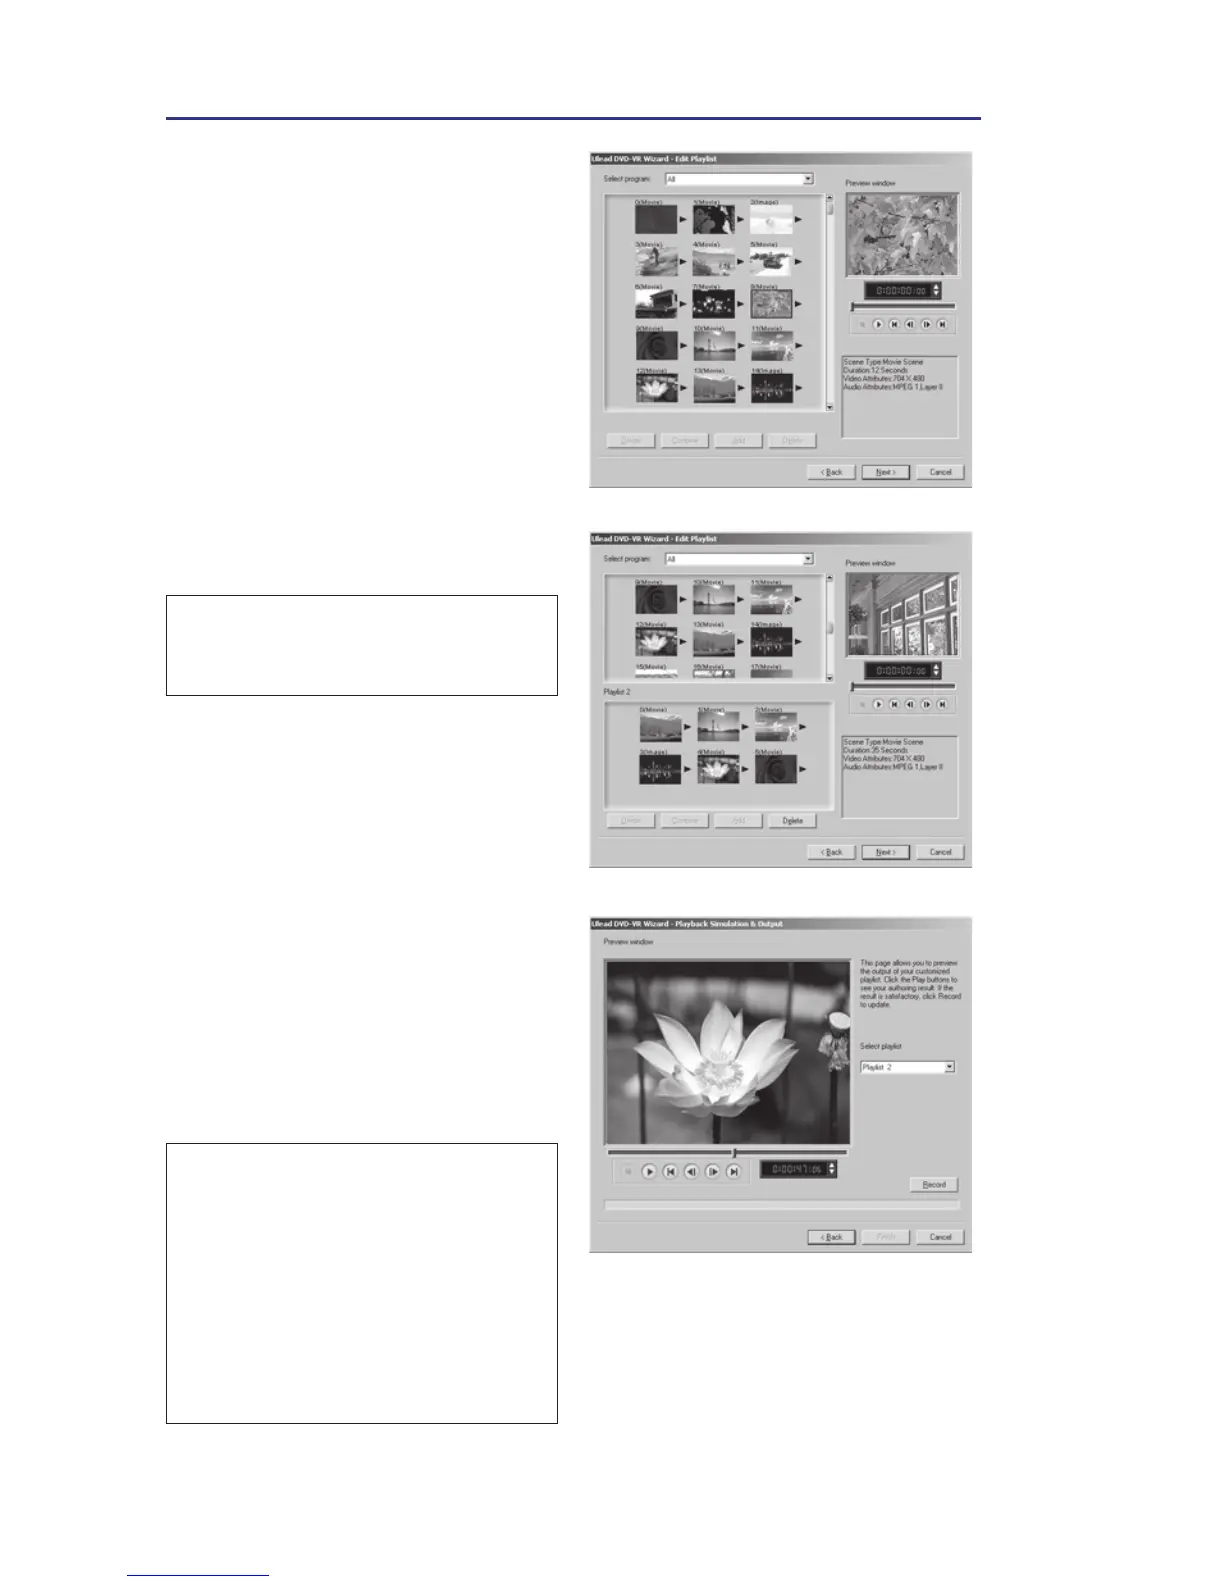
3. Select a playlist. (You can also
add or delete a list as needed.)
If you select All, all video clips
are in its original chronological
order. Once you’re done, click
Next.
4. In Step 3, if you select All you
can select multiple neighboring
clips for combination, or
divide a clip. You can also
select any clip to preview its
content. Once you’re done,
click Next.
Note: Select Program shows
different sets of programs recorded
in the chronological order.
5. In Step 3, if you select a
playlist, the list is displayed in
the lower pane while the upper
pane shows all available video
clips. Here, you can add or
delete any clip in the playlist.
(Drag-and-drop is also
supported.) Once you’re done,
click Next.
6. Use Select playlist to preview
any content as needed. Once
you’re done, click Record.
Notes:
• While recording is in progress, all
buttons are temporarily grayed out.
When recording is done, click
Finish to complete the task.
• While recording is in progress, you
can still cancel recording by
pressing [Esc]. By doing so, no files
will be recorded onto the disc.