Installation
WPP 15 E | Version 1.02 9
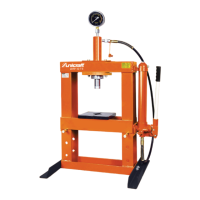
The following parts of the hydraulic workshop press are
provided in disassembled condition in the cardboard
box:
- Crossbeam feet
- Press table
- Pump unit
- Pressure gauge
These parts must be assembled or converted and se-
cured with screws.
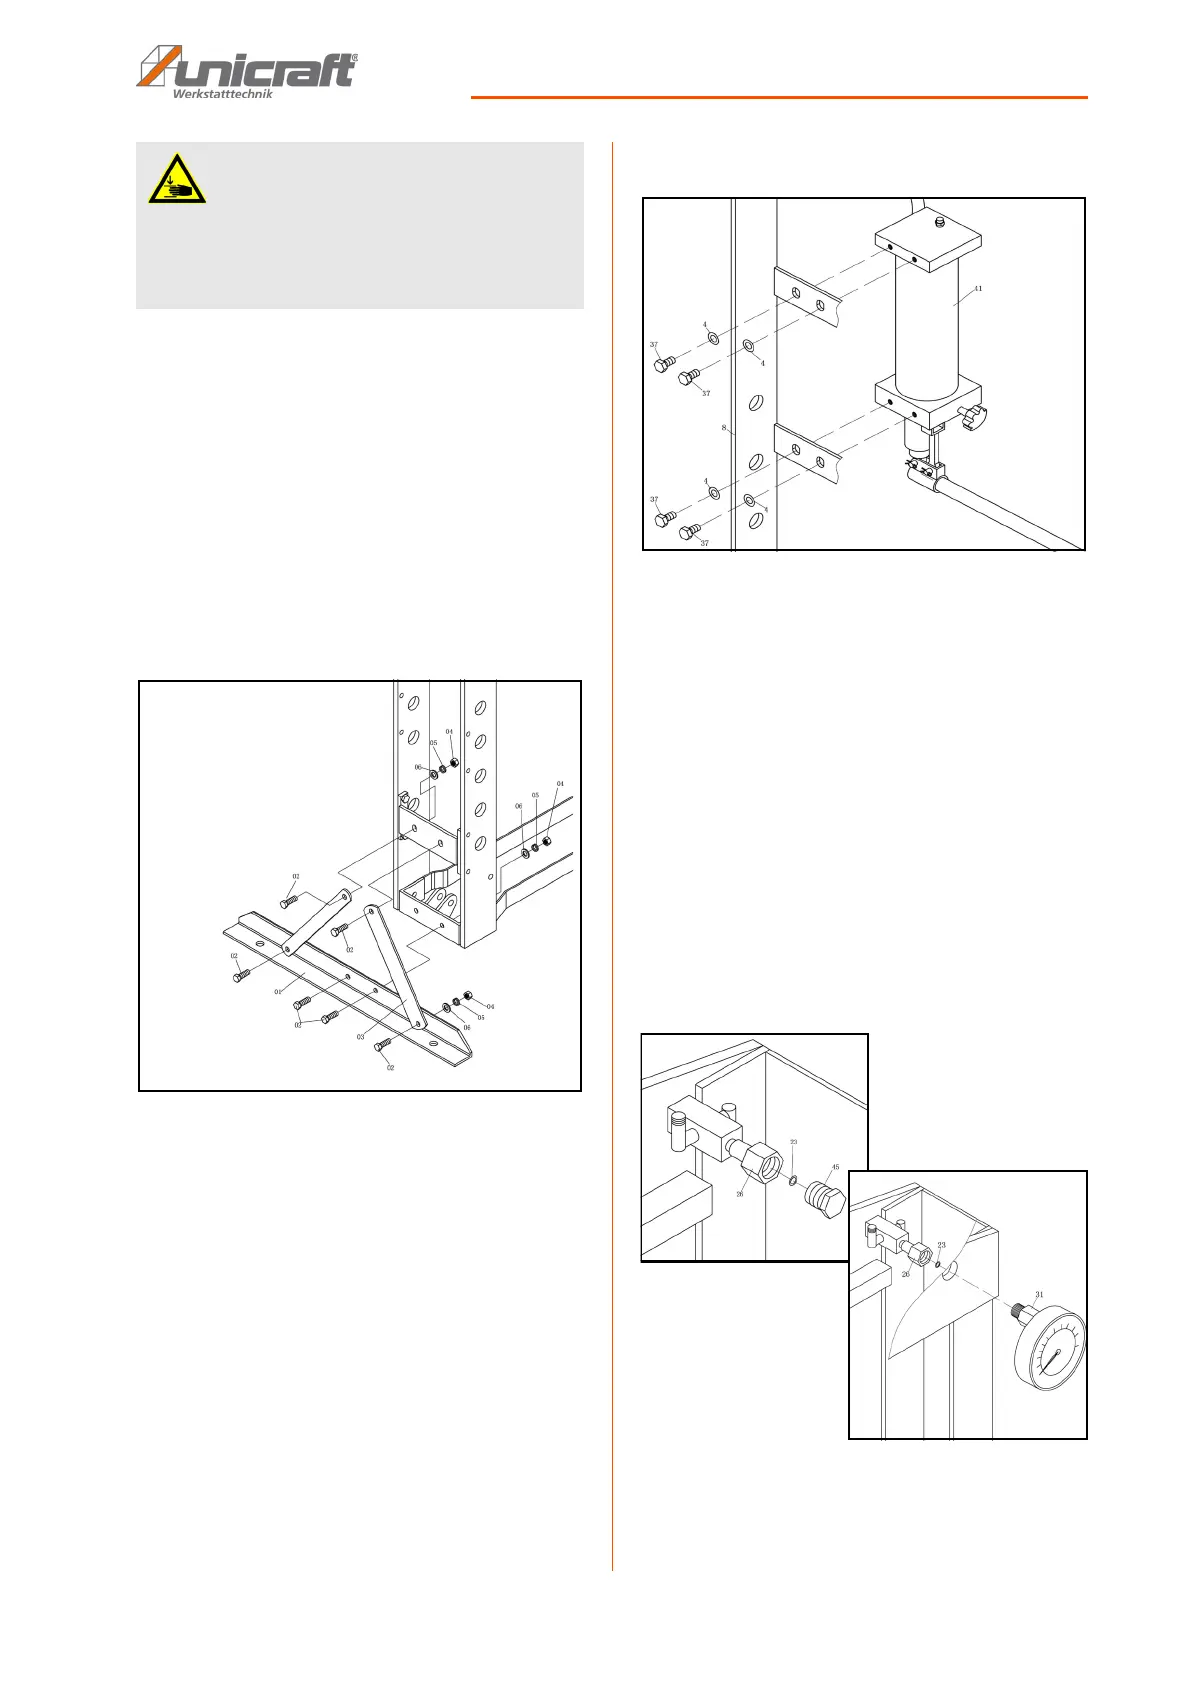
8.1 Installing crossbeam feet and press table
Fig. 6: Installing crossbeam feet
Step 1: secure the crossbeam feet and the two cross-
beams to both sides of the frame using the
screws, shims, spring washers and nuts (see
Fig. 6).
Step 2: insert the support bolts into the frame at the de-
sired height and secure them using the safety
splints. The position the press table onto the
support bolts in the frame.
8.2 Installing the pump unit
Fig. 7: Installing the pump unit
Step 1: screw the pump unit onto the outside of the
frame using the screws and shims (see Fig. 7).
Step 2: install the pressure lines.
8.3 Installing the pressure gauge
The machine is delivered with a seal plug instead of the
pressure gauge to prevent escaping oil. Replace it with
the pressure gauge.
Step 1: remove the sealing plug and seal.
Step 2: securely fasten the pressure gauge and seal to
the distributor (see Fig. 8). The connection
must not leak to prevent escaping oil.
Fig. 8: Installing the pressure gauge
ATTENTION!
Risk of pinching!
Risk of injury to fingers and hands caused by incor-
rect installation work on the workshop press.
- Keep in mind the workshop press' weight. Ensure
stable supports and support equipment.