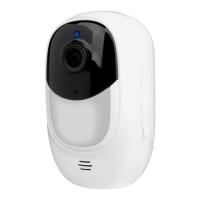
Do you have a question about the Uniden App Cam Solo+ and is the answer not in the manual?
Press the button on the back housing and slide it down to close firmly for weatherproof performance.
Charge the battery with the camera, separately, or using a Uniden Solar Panel.
Green LED indicates fully charged; Red LED indicates charging status.
Use specific chargers, avoid non-Uniden solar panels, and charge between 0°C and 45°C.
Designed for motion events and remote viewing, not 24/7 operation. Battery life details provided.
Search for 'Uniden Solo' in the App Store (iOS) or Google Play (Android) and install.
Follow in-app prompts. Run the app, add the camera, and tap the '+' button to begin setup.
Locate and align the camera's QR code with the phone's scanning frame.
Select 'Connect to Wi-Fi' to proceed with connecting the camera to your network.
Tap 'I have heard the voice prompt' if the setup confirmation is heard.
Input your Wi-Fi network password and confirm correct entry for configuration.
Show the generated QR code on your phone to the camera lens at approximately 20cm.
If 'Connection to the router failed' is heard, press 'I heard 'Wi-Fi connection failed''.
If 'Connection to the router succeeded' is heard, press the confirmation to finish setup.
Name your camera and create a password (min 6 characters) for secure access.
Tap the camera, sync time, then start live view or access device settings.
Navigate the menu to add devices, adjust settings, access live view, or check battery status.
Adjust sensitivity (Low, Mid, High) for optimal detecting distance for motion and vehicles.
Install camera angularly (angle > 10°) to ensure effective motion detection.
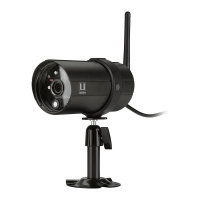
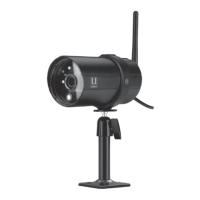
Dress the camera with the silicone cover, attach the safety rope, and mount it securely.
Follow steps to attach the security mount plate to the wall and then the camera.
Follow steps to attach the security mount to a tree using the strap and hook.
Press the security mount button to release, then unscrew the camera from the mount.
Covers product for 1 year, accessories for 90 days. Requires proof of purchase.
Details conditions that void the warranty, such as damage or improper maintenance.
Warranty covers the product and accessories; user-generated data is excluded.
Outlines remedies for defects and consumer rights under Australian/New Zealand law.
Procedure for claims, contact details for Uniden Australia, and data backup advice.
| Connectivity | Wi-Fi |
|---|---|
| Power Source | Rechargeable Battery |
| Weather Resistance | IP65 |
| Night Vision | Yes |
| Two-Way Audio | Yes |
| Wireless | Yes |
| Smart Detection | PIR Motion Detection |
| Resolution | 1080p |
| Field of View | 120 degrees |
| Storage | MicroSD card, Cloud |
| Battery Life | Up to 180 days |
| Mobile App | Uniden App |