13
EN
The device should be transported only in an upright position, otherwise it may damage the controller.
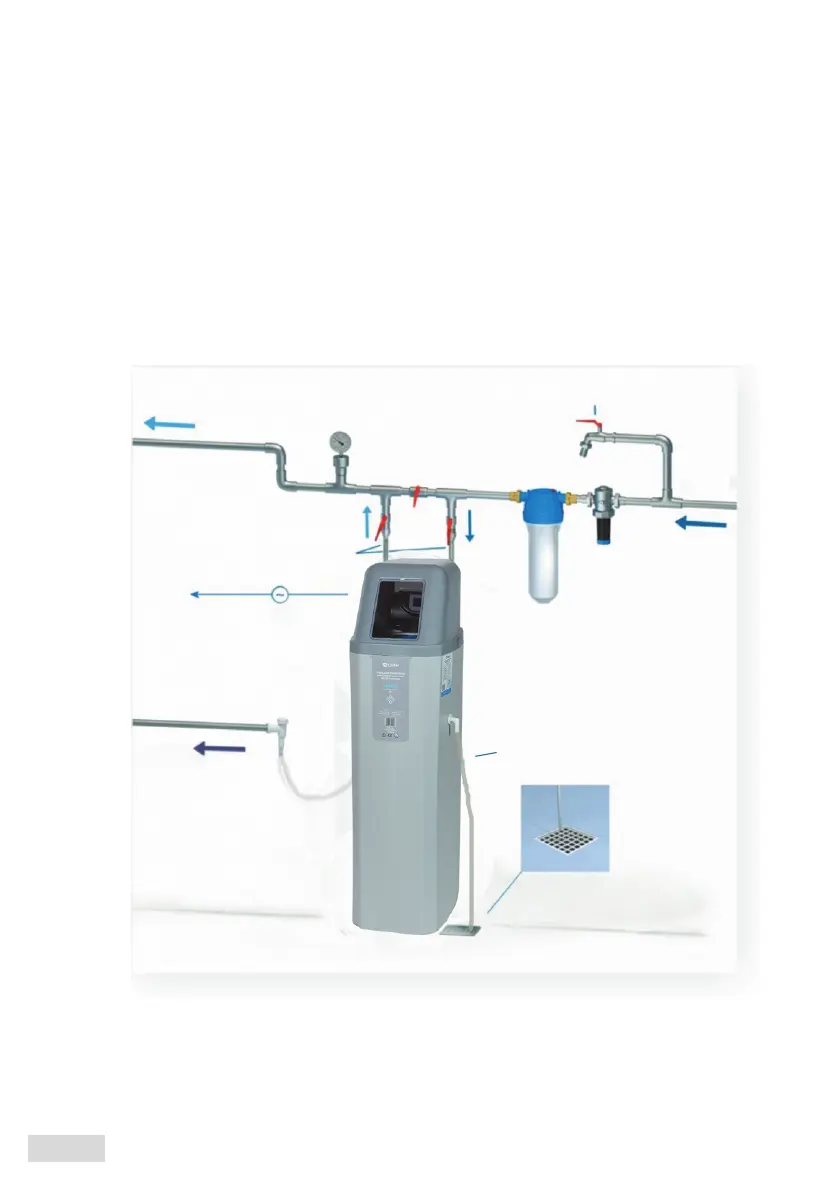
When installing the soener:
- make sure you have the knowledge or hire a professional
- make sure the placement area is clean, flat, stable and it can withstand the load of the soener filled with water
and salt
- make all connections according to the local laws and regulations
- to seal all threaded, gasket-free connections use PTFE tape only. Using tows is prohibited and may result
in connections damage
- soener must be preceded with at least 50 micron rating sediment pre-filter (eg. UST-M's PS or PP)
- lubricate rubber seals (o-rings) on a control head and by-pass valve using silicone grease
- the device can be connected to all standard installation systems (PVC, PPR, etc.) using flexible hoses
- connection is made using push-in stems provided with the by-pass
- secure the connection between a stem and a bypass using red safety clips
- it is alowed to connect the soener using half unions
- mind the proper water inlet and outlet. Flow direction is indicated by the arrows on the by-pass valve
- use a hose with at least 1/2” diameter for drainage
- secure the hose on a drain connector using a metal clamp
flexible connection
210-230V
Fig.1. Soener connection scheme
drain line
overflow hose
drainage outflow(grill)
outlet
inlet
manometr
prefilter
pressure
reducer
alternative output to the garden
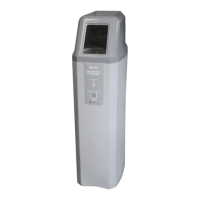
soener