12
GB
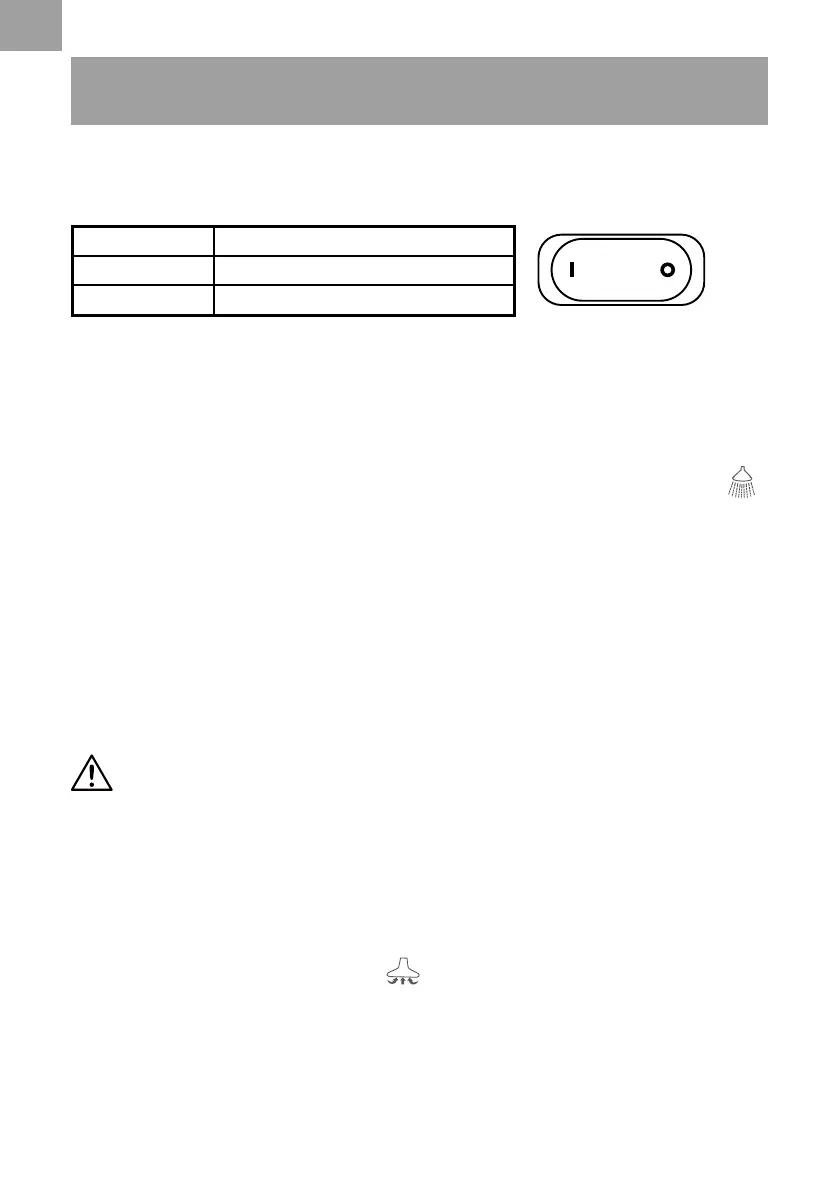
1. Switching On/Off
Connect the mains plug to a suitable power outlet.
2. Programming Remote Control
OPERATION
Position Status
I on
O off
NOTE: The remote control supplied with your vacuum cleaner is already pre-set and does not
require pairing upon rst use. To reset the remote control, follow the steps below.
1) Ensure the vacuum is plugged into the power outlet.
2) Switch the on/off switch to the “I” ON position.
3) Locate the detergent mode button on the vacuum head indicated by the following symbol .
4) Press and hold the detergent mode button until the indicator light (
①
) illuminates continuously
(Fig. 13).
5) With the light still illuminated, press and hold the detergent mode button on the remote
control handle until the indicator light on the vacuum head starts to ash to indicate pairing is
successful. You should now be able to operate the detergent and vacuum modes using the
remote control handle (Fig. 14).
6) If the indicator light does not ash, repeat the previous steps or consult the troubleshooting
section on page 17.
3. Wet & Dry Vacuum Operation
WARNING!
ENSURE YOU READ, UNDERSTAND AND APPLY SECTION
ENTITLED ‘SAFETY INFORMATION’.
1) Verify that the correct lter is installed for wet or dry vacuuming and the container latches are
secured.
2) Secure the locking end of the hose into the vacuum suction port.
3) Push the desired accessories onto the remote control handle or extension wand.
4) Plug the power cord into a power outlet.
5) Turn on the motor by assigning the switch to the “I” ON position. Press the vacuum mode
button, indicated by the following symbol , on either the remote control handle or the
vacuum head (Fig. 15).
6) Once you have completed vacuuming, switch off the vacuum by pressing the vacuum mode
button on either the remote control handle or the vacuum head. Switch to the “O” OFF position
and unplug the power cord from the power outlet (Fig. 16).