Seite 20 von 72 // page 20 of 72
Das Dokument darf nur vollständig und unverändert verwendet und weitergegeben werden. Es liegt in der Verantwortung des
Anwenders, die Gültigkeit dieses Dokumentes bezüglich seines Produktes sicher zu stellen.
Documents are only to be used and distributed completely and unchanged. It is strictly the users´ responsibility to check carefully
the validity of this document with respect to his product.
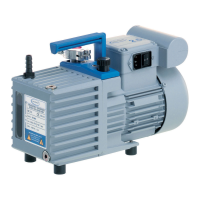
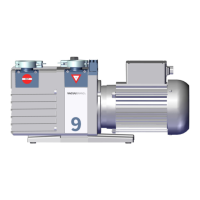
Disassembly of the pump
- Drain oil (see ”Oil change” in the instructions for use).
- Disassemble oil mist filter if applicable.
- Position pump so that it rests on the face of the oil reservoir (on rating plate).
- Unscrew screws at the fan cover and remove fan cover.
- Unscrew screws at the motor and remove motor from the housing. Remove armature from the motor.
- If the coupling is visibly worn, check for grooves (e. g. by feeling with finger nails). In case of depres-
sions, replace coupling. Do not polish coupling as thin hardened layer may be damaged and micro-
scopic grooves will cause oil leaks. Remove cross coupling.
Disassembling the pump unit
- Remove shielding together with O-ring.
- Unscrew screws at the removable sleeve and remove sleeve.
- Unscrew screws at the rear side of the pump housing.
- Remove housing with pump unit from the oil reservoir and position it on the housing.
- Remove bearing cover.
- Remove threaded plug of the detent ball in the bearing cover. Remove and check detent ball with
spring, replace if necessary.
- Disassemble silencer nozzle. Attention: The nozzle is secured with adhesive Omnifit
®
50M. Check
silencer nozzle for passage and clean if necessary.
- Remove two aggregate screws and remove bearing cover.
- Remove oil pump rotor with oil pump vanes.
- Check vanes and replace if necessary.
- Remove low vacuum stage stator with oil separator. Check oil bores (diameter 0,8 mm) for passage.
- Disassemble outlet valve. Check valve cap, spring and valve seat. Replace valve cap and spring if
necessary.
- Remove low vacuum stage rotor with vanes. Disassemble cross coupling and rotary vanes. Check
vanes and replace if necessary.
- Only RZ 2.5/6: Remove intermediate bearing plate, high vacuum stage stator, high vacuum rotor with
cross coupling.
Changing the shaft seals
- Check shaft seals in the bearing plate and bearing cover and replace if necessary.
- Remove shaft seal. Do not damage surfaces.
- Press in new shaft seal.
☞ Assemble shaft seals only by using a special mandrel (see table and drawings). Apply pressure only to
the outer ring. Take into consideration that the mandrel will pass under the seal and ensure that no
other part can be damaged.
 Loading...