Seite 45 von 72 // page 45 of 72
Das Dokument darf nur vollständig und unverändert verwendet und weitergegeben werden. Es liegt in der Verantwortung des
Anwenders, die Gültigkeit dieses Dokumentes bezüglich seines Produktes sicher zu stellen.
Documents are only to be used and distributed completely and unchanged. It is strictly the users´ responsibility to check carefully
the validity of this document with respect to his product.
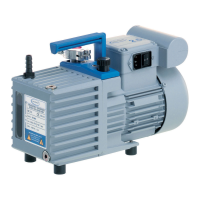
Assembly of the pump
☞ Lubricate all wear faces with pump oil.
☞ Install new O-rings, stretch slightly to seat if necessary.
- Assemble removable sleeve.
- Fill the chamber in front of the removable sleeve with pump oil.
- Assemble fit-in key.
- Press in the coupling until limit stop using a rubber mallet (do not damage parts e. g. motor shaft).
- Position coupling cross.
- Position shielding.
- Assemble aggregate to housing.
- Fill half of the pump housing with vacuum oil.
- Position O-ring in housing.
- Position coupling.
- Position high vacuum stage rotor with vanes and high vacuum stage stator. Position O-ring. Assemble
intermediate bearing. Position coupling.
- Position low vacuum stage rotor with vanes, position low vacuum stage stator.
- Position O-ring and coupling.
- Assemble bearing cover.
- Fix the aggregate with both aggregate screws with seal rings. Pay attention to equable fastening.
- Position oil pump. Position vanes, obey orientation.
- Fill in oil in oil pump chamber.
- Assemble cover plate.
- Assemble detent ball with spring.
- Position complete assembled aggregate in the oil reservoir and assemble to housing.
- If necessary replace felt at the lower side of the pump housing.
- Assemble the connecting hoses and hose cover.
- Assemble separator and oil mist filter if necessary.
- Fill in pump oil (see ”Oil change” in the instruction for use).
- Allow the pump to run with gas ballast valve open and inlet closed for approx. 1 h.
Note: Replacing the motor is only possible at the factory. Special tools are necessary.
Checking the diaphragm pump is described in the instructions for use for the RC 6.